We are a participant in the Amazon Services LLC Associates Program, an affiliate advertising program designed to provied a means for us to earn fees by linking to Amazon.com and affilated sites. We may earn money or products from the companies mentioned in this post.
If you sew, you’ll need to do a lot of pressing and ironing. Fortunately, there are a lot of pressing and ironing tools to make this faster and easier! First, let’s look at the difference between pressing and ironing, and why you’ll need to do each while you sew.
Ironing versus pressing in sewing
Ironing fabric
Ironing is sliding the iron across the fabric to get out wrinkles. It’s a good idea to iron fabric before cutting it out, as placing a pattern on wrinkly fabric can lead to inaccurate cutting.
The fabric could also shrink a bit (especially if you didn’t pre-wash. I do recommend prewashing fabric).
Pressing seams
Pressing is placing the iron over the top of a seam after sewing to make the stitching meld together.
While pressing, don’t move the iron back and forth like you are ironing a rumpled tablecloth. You hold the iron in place for a few seconds to help make the seam and the fabric sit just right.
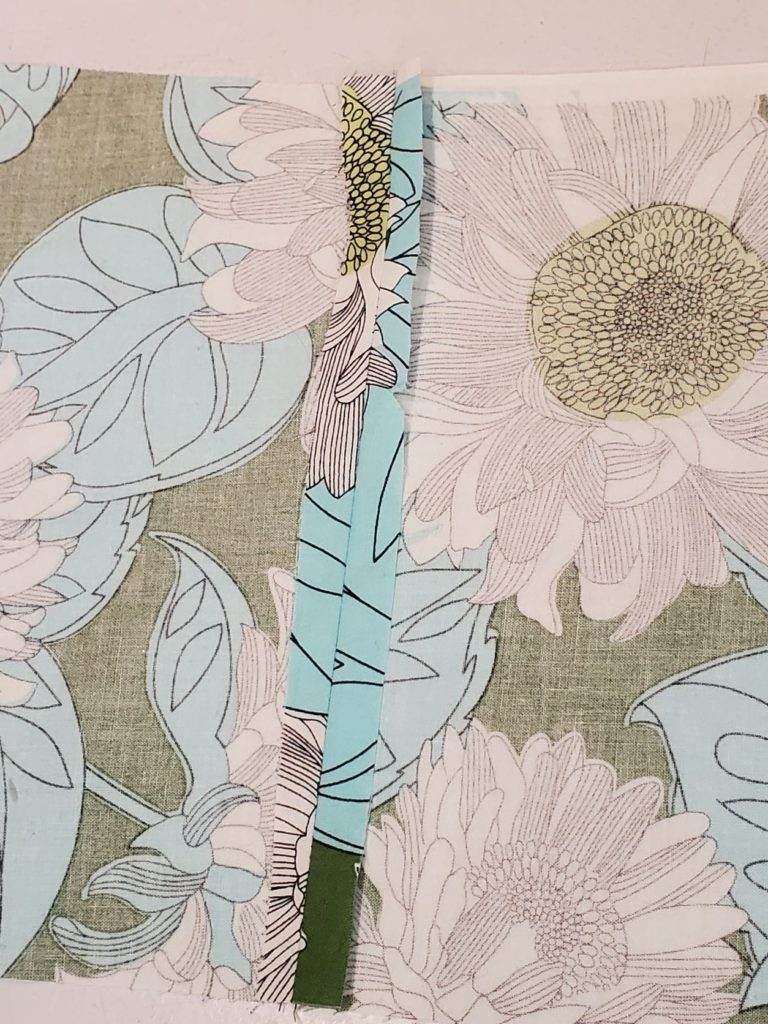
After pressing flat, you may press your seams open or to one side. If pressing to the side, I like to press toward the back.
Pressing and Ironing tools for garment sewing
I wrote an article recently about how to sew darts, and mentioned using a tailor’s ham while pressing darts.
I had a few reader questions about this and thought I would give the humble tailor’s ham and other pressing tools their own post.
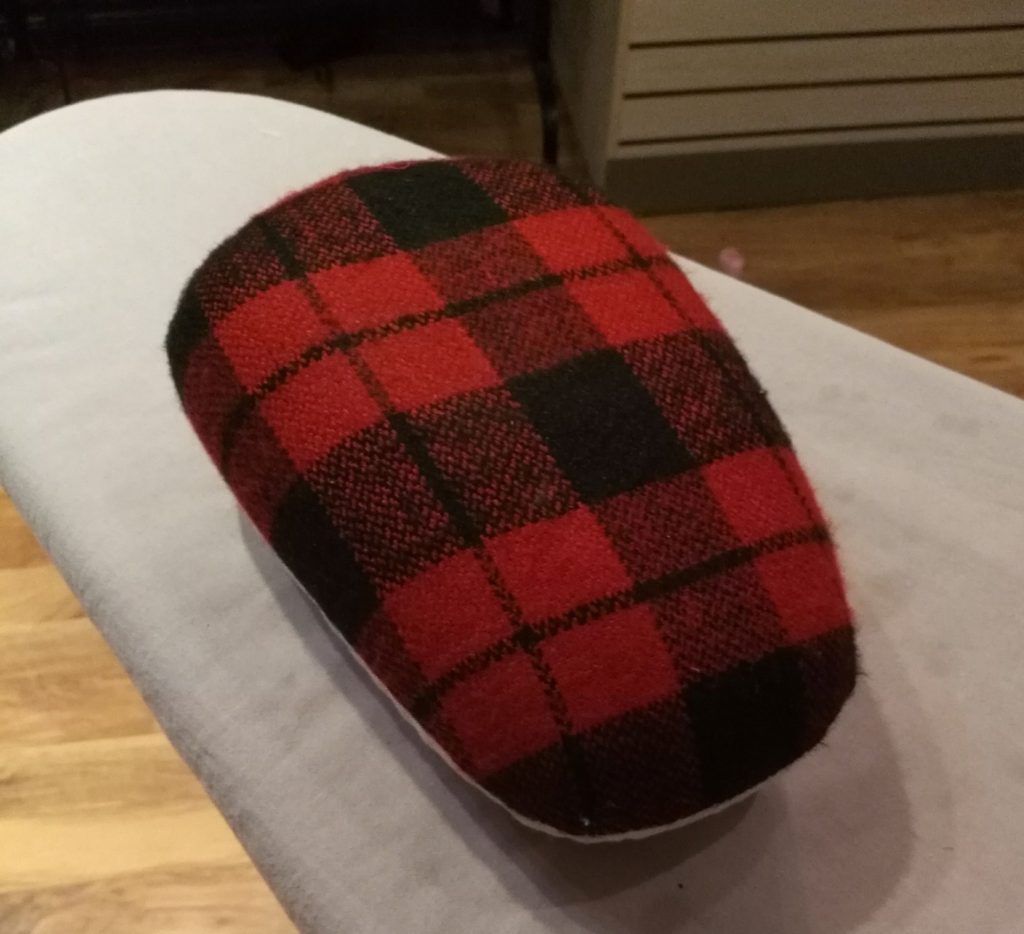
Pressing darts with a tailor’s ham
Ok. Let’s think about darts.
Darts tailor a garment over curves. When you need to press a dart or a curved seam, if you try and press it on a flat ironing board, it will be a bit like trying to flatten an orange peel. You need to press curves on a curved surface.
The tailor’s ham offers support under the curve while you press. Experiment with different edges of the ham as there are different degrees of curve.
I have also placed the ham on its side for a more gentle curve.
This is particularly useful if you are doing something like pressing the end of the dart on a shirt and want the tip of the dart to go smoothly into the rest of the fabric.
- If you are pressing darts, press them with the extra fabric in the dart going toward the side seam).
- Usually, a tailor’s ham will have a different fabric on top versus bottom – (wool/canvas) – use the wool side for wool and the canvas side for other fabrics.
What if I don’t have a tailor’s ham?
Keep in mind the purpose of the ham is to match the curve of what you are pressing.
In a pinch, you could use something like a rolled-up towel, or stuff a sock with rags and fabric scraps and tie the open end.
If you happen to have a sleeve board, you might be able to make do as those tend to have a rounded top.
Pressing and Ironing tools to make your sewing projects easier
A press cloth:
- Usually cotton, it goes in between the iron and fabrics where the iron could leave a shiny mark, like on some synthetics or wool.
- You don’t need to buy anything special here. Just use a square of cloth, or even an old dish towel.
Interfacing designated press cloth:
- When using fusible interfacing, place the glue side (the side with the dots) on your fabric, and use a press cloth on top.
- I put a big “X” in pencil across one side of the cloth. The side with the X will always be the side touching the interfacing. This side will usually get some interfacing on it, so you want to keep that away from your iron, and don’t use that press cloth when you are not applying fusible interfacing.
I hope that cleared a few things up for those of you who haven’t used a tailor’s ham before, or wanted to learn more about ironing versus pressing. Do you have any other pressing tools that you use?
YOU MIGHT ALSO LIKE: Top Clothing Care Hacks
Want to learn more about altering clothes you already have, to fit your unique body and style? Receive my free guide full of tips to get you started doing your own clothing adjustments by signing up to my newsletter here.
6 responses to “Pressing and Ironing Tools”
Interesting. I never really thought of there being a difference between “ironing” and “pressing,” though now that I read the definitions, it makes perfect sense.
I will definitely be visiting your blog again as I am an absolute failure at sewing but I always have things that need alterations.
Bettye
https://fashionschlub.com
Thanks Bettye! Yes ironing and pressing might seem the same at first, but they have two different applications 🙂
If there is something you are stuck on alterations-wise, let me know via email or on one of my social media links! I might just be able to turn it into a tutorial for you!
“I put a big “X” in pencil across one side of the cloth. The side with the X will always be the side touching the interfacing. ” Great tip! Can’t wait to do this next time I use fusible interfacing. I usually check like 3x before ironing lol.
Glad that tip is helpful! And your press cloth need not be anything fancy. An oddly shaped scrap will do.
I’ve been sewing for a long time and always what the ham was for. Now I know and will probably get one. There are many more times in my future when I will need it. Thank you!
Glad you found it useful!