We may earn money or products from the companies mentioned in this post.
Why would you sew darts on the back of a dress?
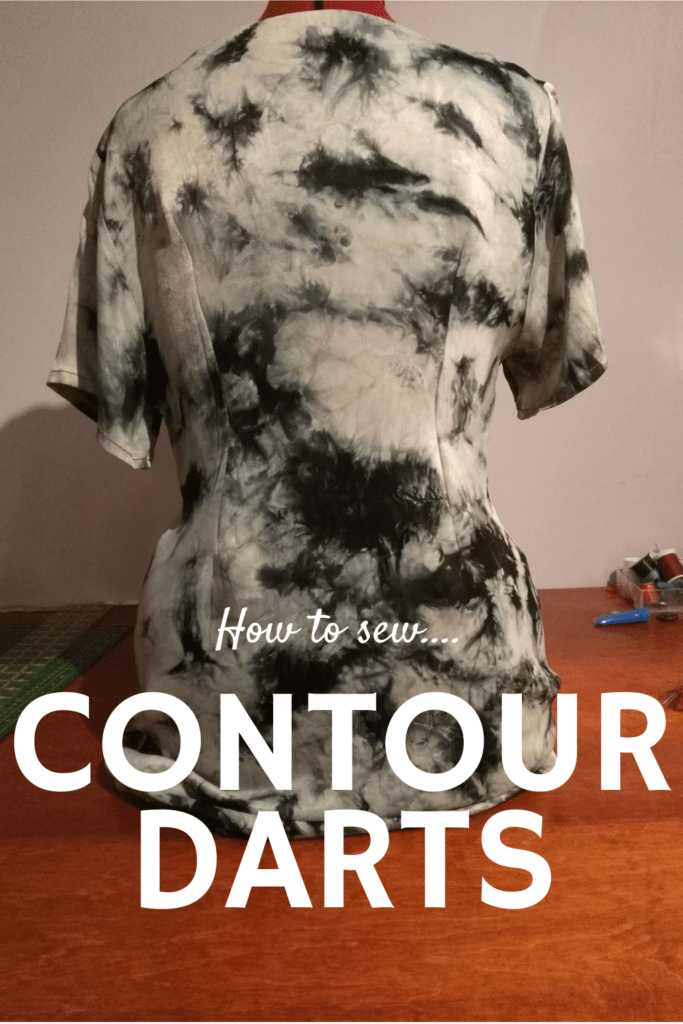
A skill you will want to master if you are interested in altering your own clothing is pinning and sewing darts on tops and dresses. I like to have my clothes darted in the back, and this tutorial goes over how to sew darts on the back of a dress.
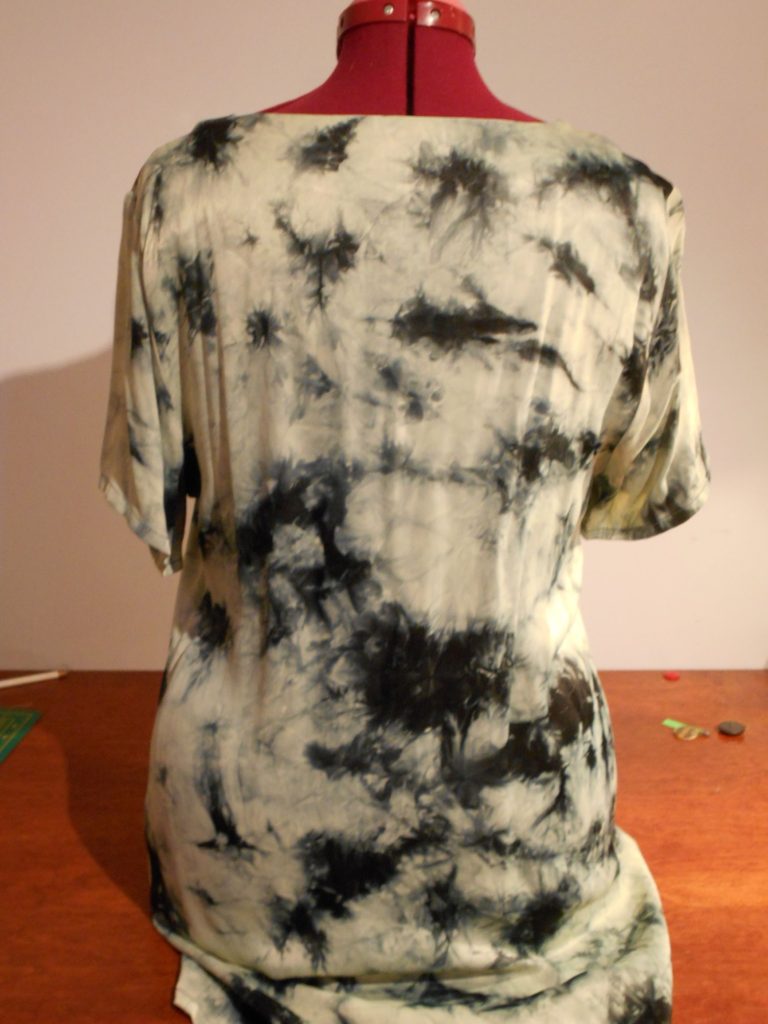
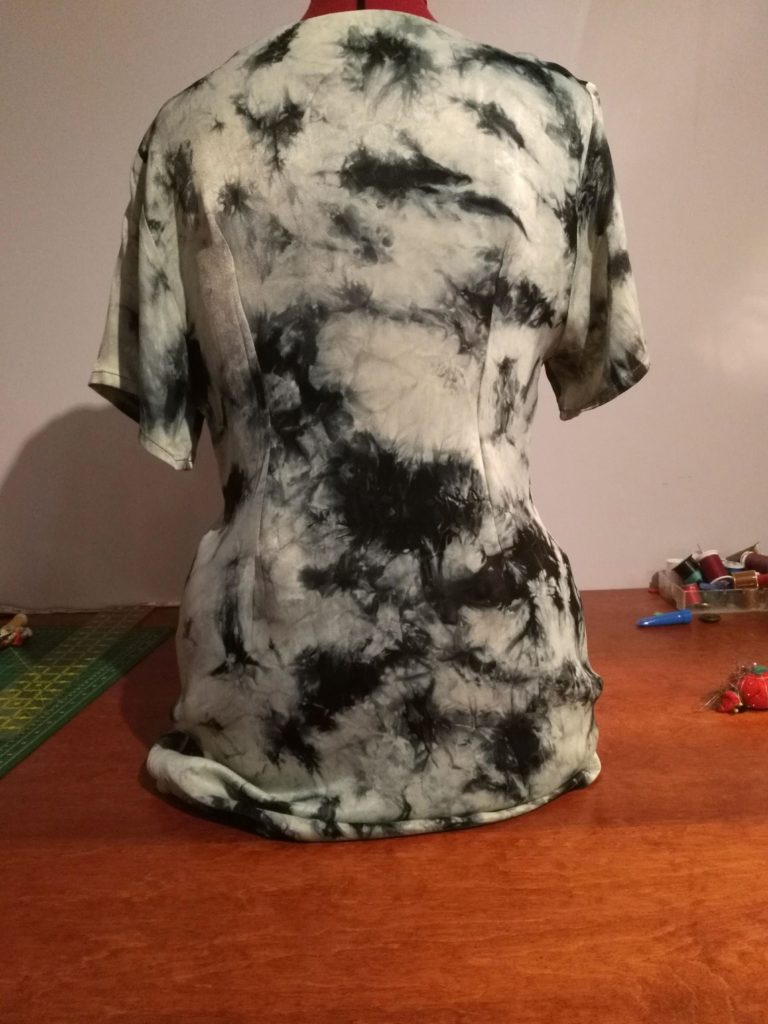
However, this could be used for waist darts in the front of a dress, or for a button-down shirt as well. I found the below dress a bit too boxy on me, so I threw it on my dress form and went to add darts on the back.
SEWING TOOLS YOU WILL NEED:
This post contains affiliate links. Should you click the link and make a purchase, I receive a small commission at no extra cost to you.
- Pins
- Measuring tape
- Sewing machine
- Tailor’s chalk
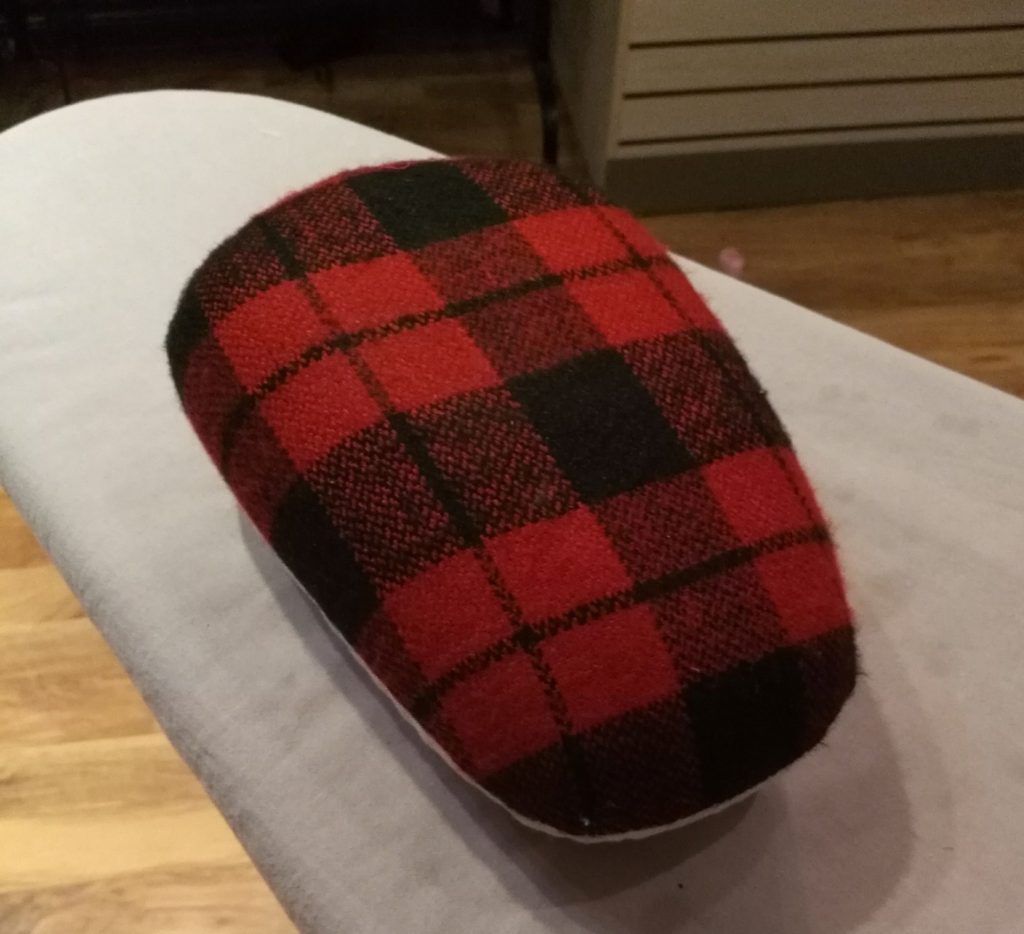
- Tailor’s ham (optional but helpful!)
I find it easiest to have the garment on inside out during the pinning process so that you don’t have to transfer the markings to the inside of the fabric after the fitting.
Pinning darts on the back of a dress
To begin, you will need to think about how much ease (or in other words, how tightly) you would like the finished product to be.
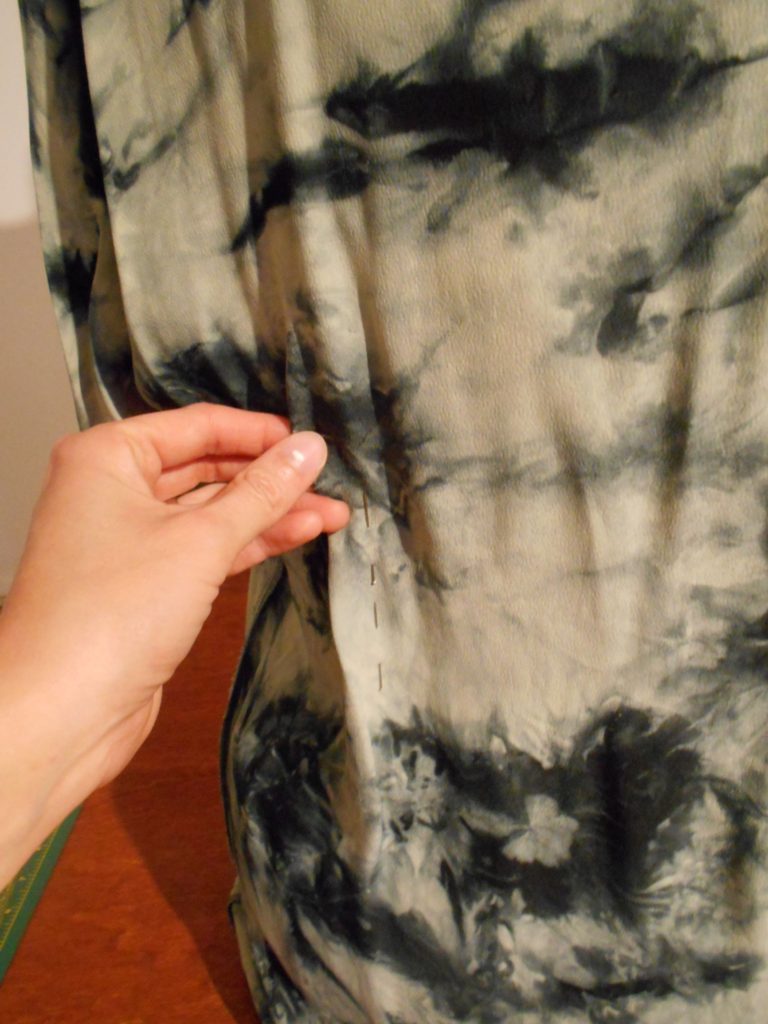
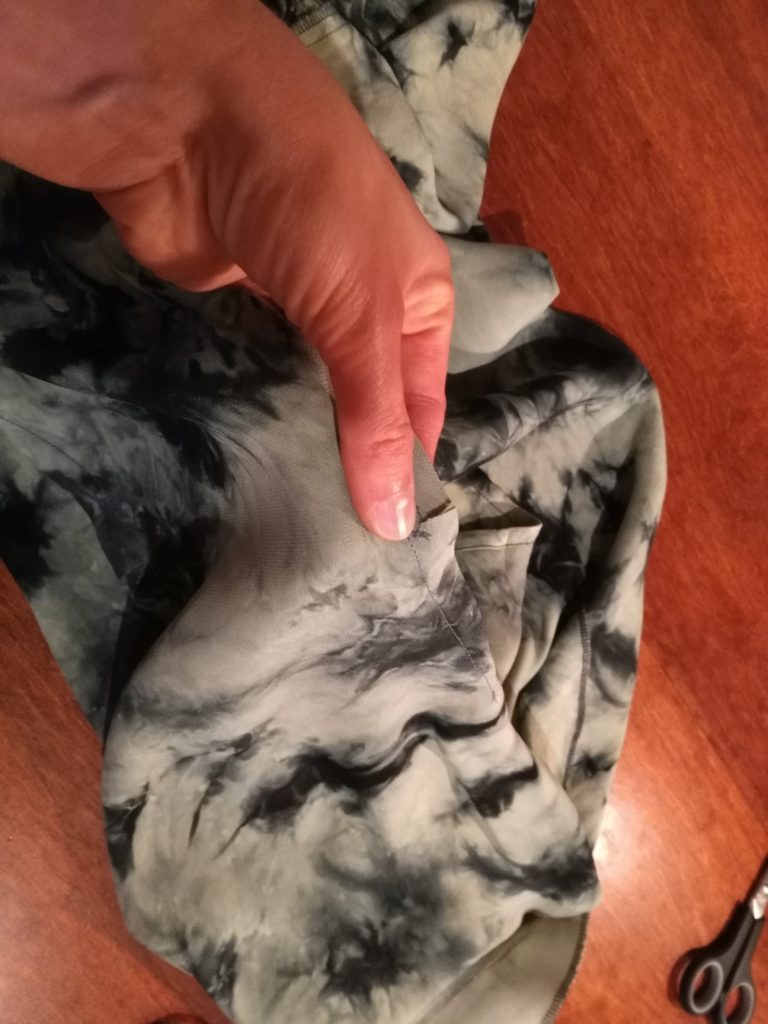
First, pinch the fabric where you would like the darts to go, starting where the darts would be the deepest (the most taken in). Typically this is at the smallest part of the waist.
Pin here, trying your best to pin the two darts the same (but don’t stress over perfection between the darts too much here – we will measure and even them out later).
I’m using a dress form to pin my darts and take pictures, but it’s optional. You can pin it on yourself with safety pins.
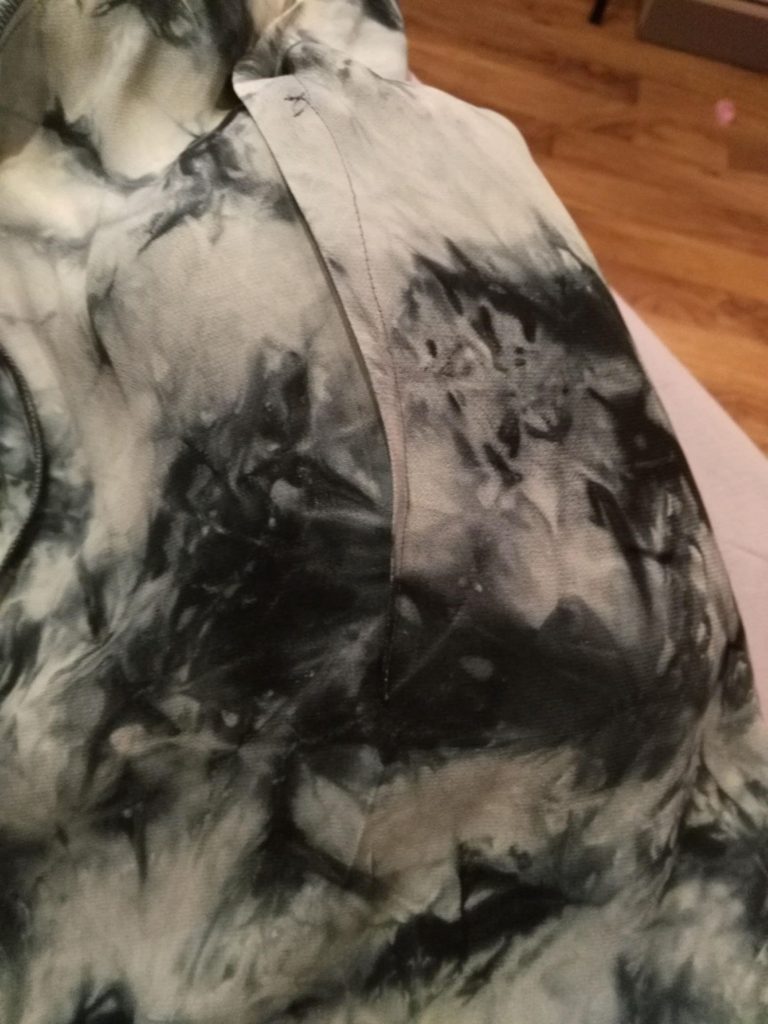
The darts need to taper out to nothing at the top and bottom. Keep pinching and pinning your dart until you get to the top and bottom of the dart.
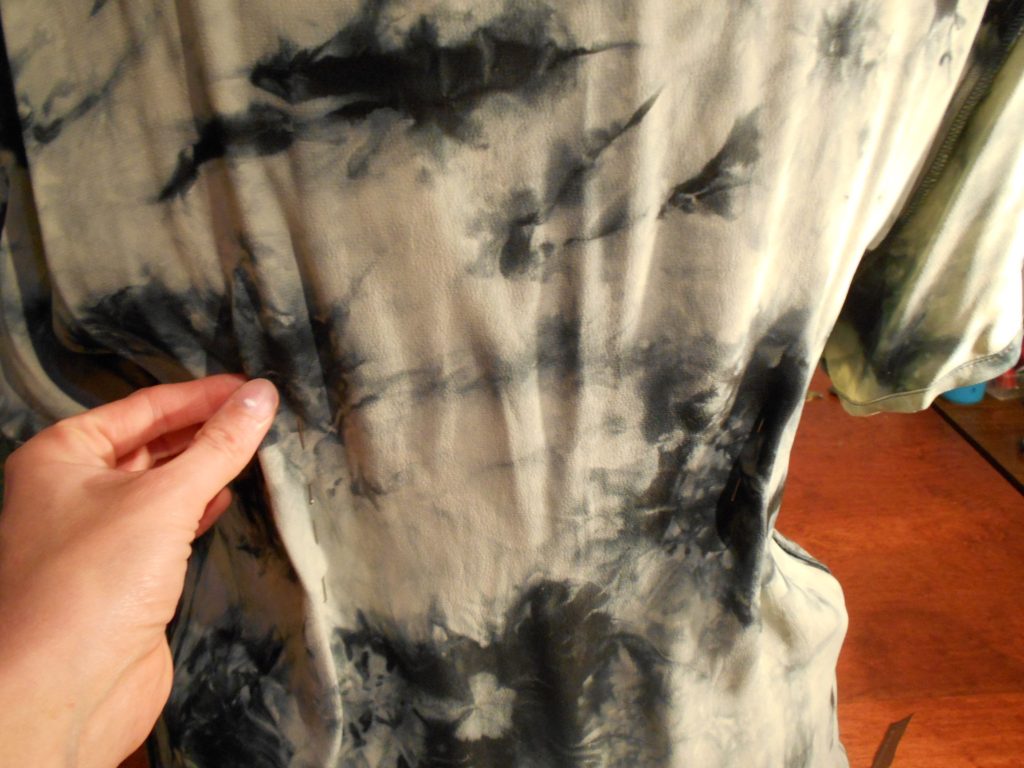
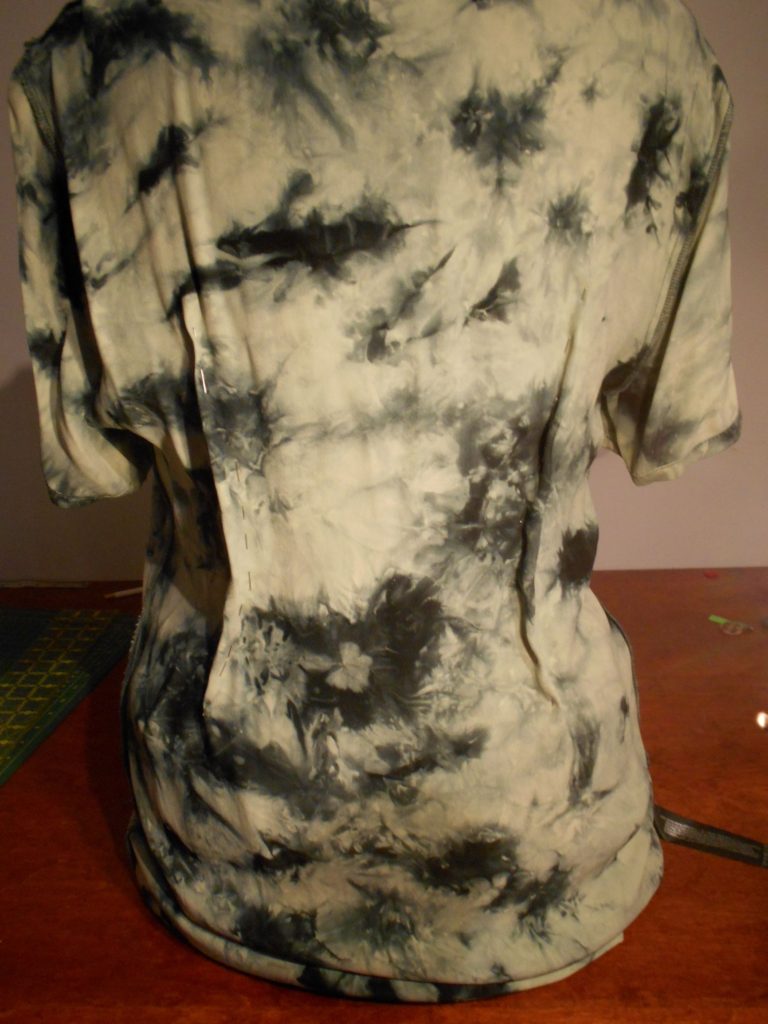
Your darts may now look something like this. They might also be much shorter – do what fits best here! Mine are curved, with the darts being closer to the side seam at the top, in at the waist, and back out again at the bottom. Again, yours might have a different curve. There is no one right way here.
Also…I just learned that this type of dart is also referred to as a fish-eye dart and I had no idea! I always called it a contour dart.
Compare the dart placement
Now it is time to check that our darts are even.
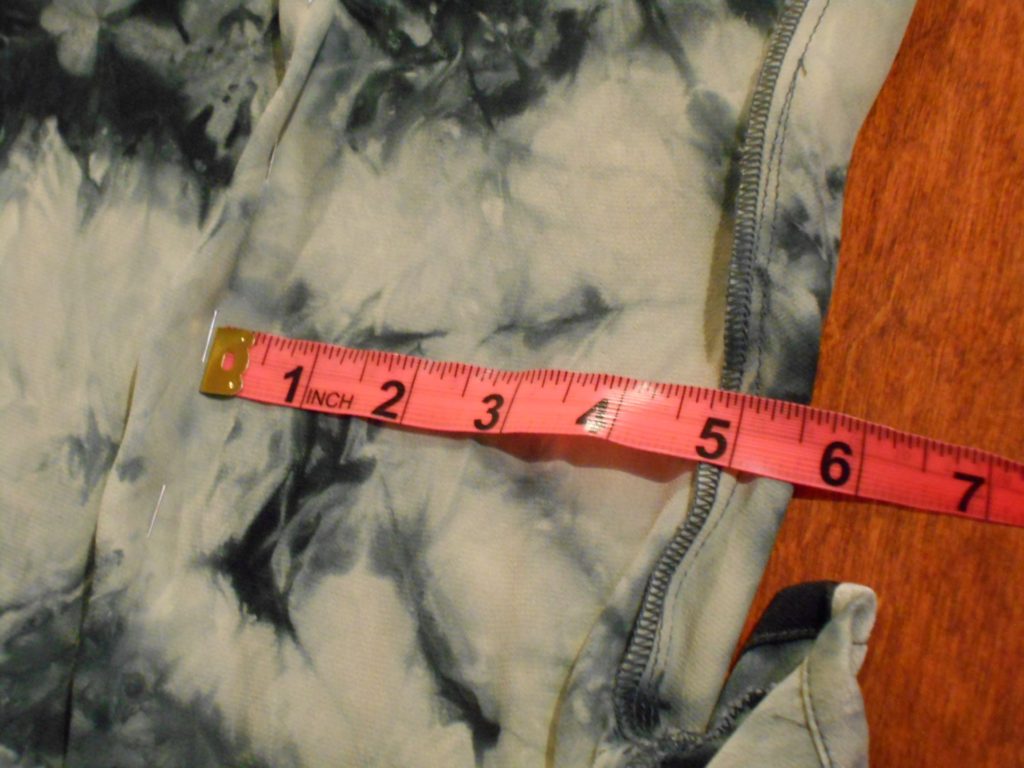
Place the two darts next to each other and check that they are the same length, shape and depth. You may have to change them slightly so they match, just do this by gently adjusting the fabric and pins to make the two darts equal.

Then check the dart placement in a few spots. I measure from the pin of the deepest point out to the side seam, then the top of the dart to the shoulder seam. You may have to even out the darts here.
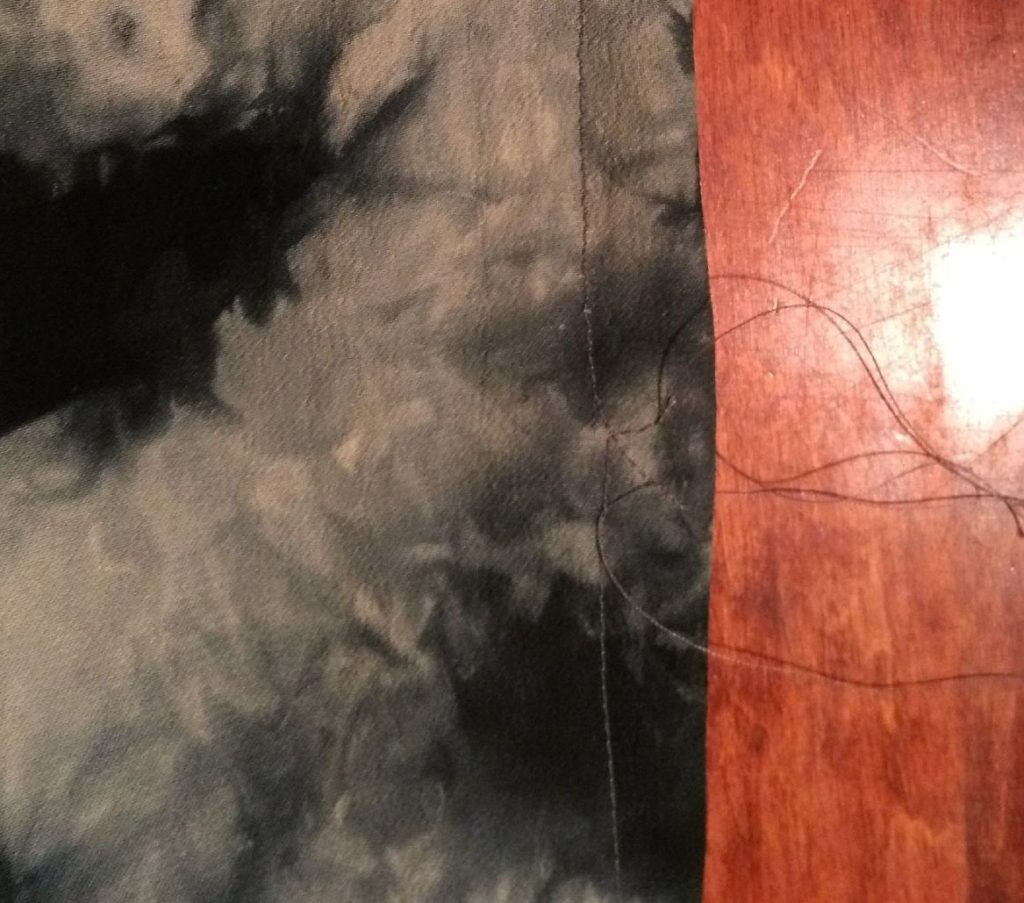
Then mark the stitching line with tailor’s chalk. Keep a few of the pins in. At the top and bottom of the dart, I like to mark the end of the dart with a horizontal pin.
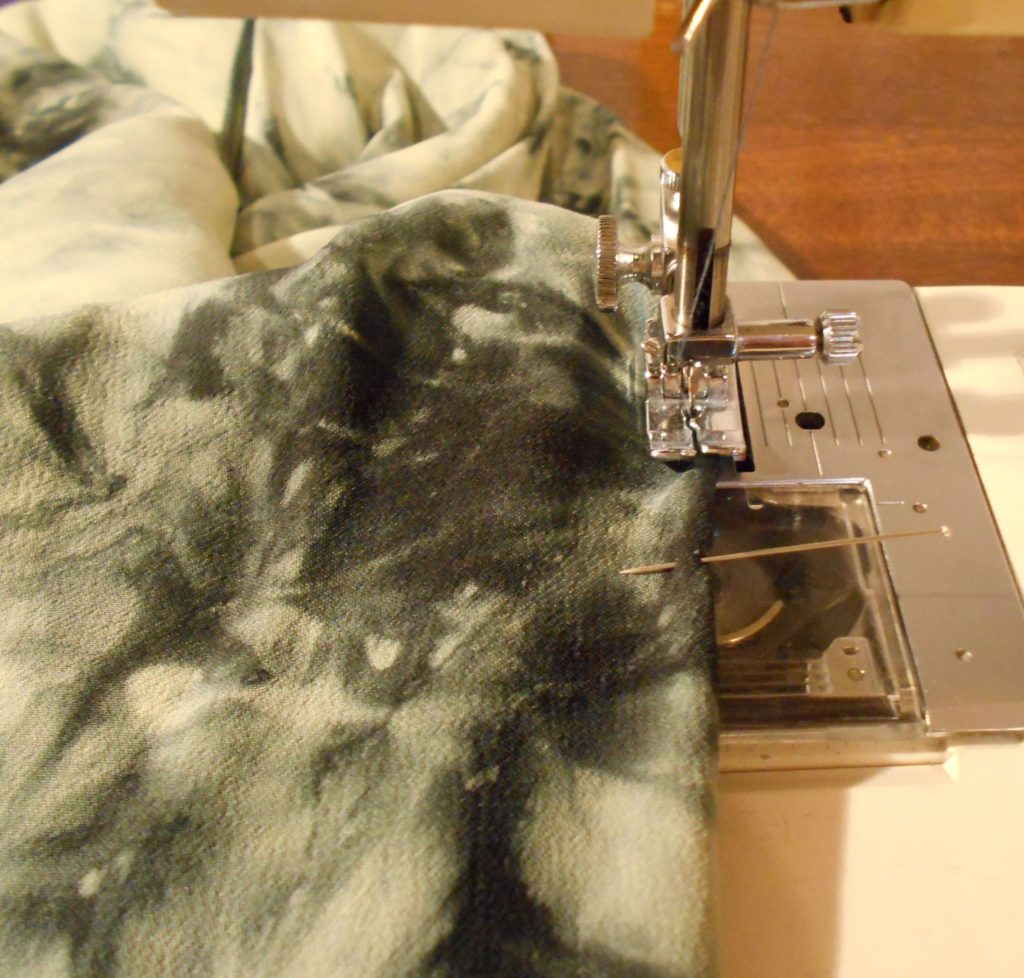
Sewing the darts
Now it’s time for the sewing machine! You are going to start sewing in the seam allowance of the deepest part of the dart, pivot when you get to the stitching line of the dart and taper to nothing at the end where you have your horizontal pin.
Then sew the other end of the dart the same way.
When you get to the end of the dart, you can finish it two ways:
- Carefully backstitch in the seam allowance; OR:
- Sew off the edge of the fabric. Then double knot the thread, and take a handsewing needle and secure the thread. Do this by weaving it back through the stitches.
The latter is considered a couture finishing technique, and best for lightweight fabrics. This is the way I prefer to sew darts on the back of a dress.

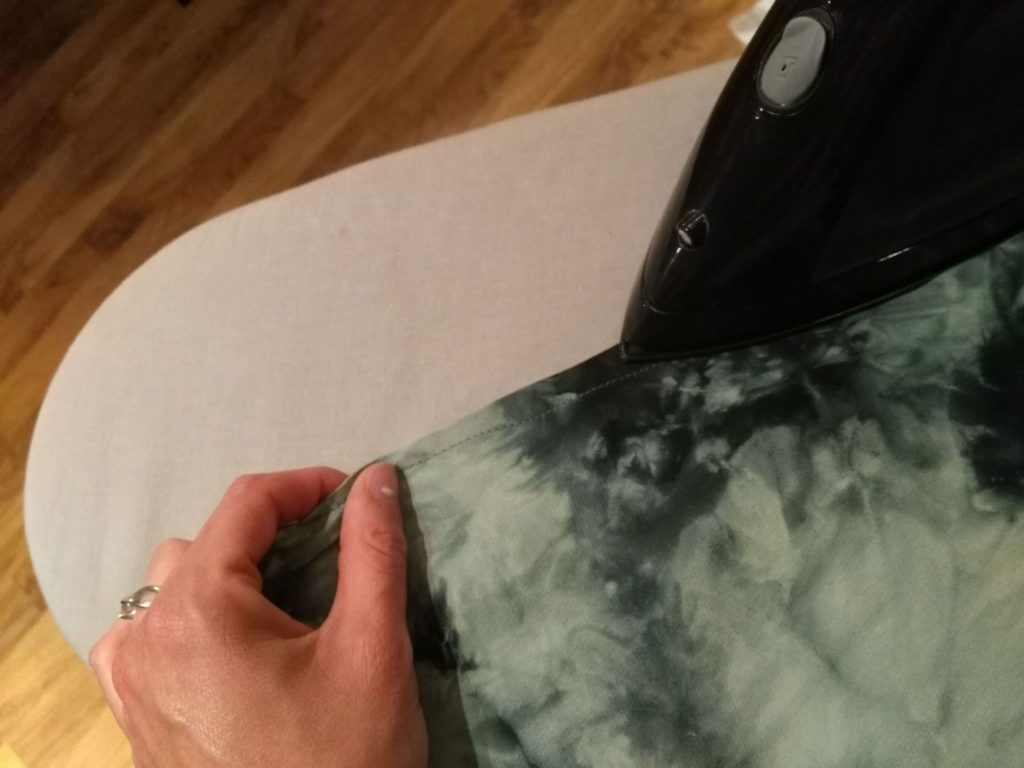
Press the darts
Now for the final step! Pressing the darts.
Press the dart flat to meld the stitches together. Then place over a tailor’s ham and press to the side. Take extra care over the end of the dart to press it well. Otherwise, the dart could pucker at the end.
If you don’t have a ham, you could improvise with a rolled-up towel. (For more on tailor’s hams and pressing, read my post Pressing and Ironing Tools).
Lastly, clip the seam allowance of the dart near where you started the stitching to allow the dart to relax, being careful not to get too close to the seam.
Your darts are now complete! If you have any questions, leave a comment on this post. Happy sewing!
Want to learn more about altering clothes you already have, to fit your unique body and style? Receive my free guide full of tips to get you started doing your own clothing adjustments by signing up to my newsletter here.
If you are ready to get better at doing your own alterations, check out my eBook where I share my alterations processes, how to fit clothes on your own body, sewing tips for alterations and more.

8 responses to “How to sew darts on the back of a dress”
I had no idea handsewing the thread back through the dart stitches was considered a couture technique. As far as I’m concerned that’s just how you do it!
I really need a tailors ham. I’ve been improvising with towels and whatnot for years, but I really ought to get the real thing at this point.
Pressing darts is so important. I would recommend getting a tailor’s ham if you are someone who makes or alters clothes, it is easier to get a better sitting dart with one. I wouldn’t say that it’s a necessity if you are just starting to learn how to sew, but good for an intermediate level. Helps avoid getting that pucker at the end of the dart. 🙂
Really good instructions. I have sewn a few years back, and this comes in handy for remembering. Videos are awesome! Thanks!
Thanks Debbie, glad it was a good refresher for you!
Thank you! I never thought of tailoring something with darts!
Yes! I also do this on denim shirts, I just prefer this type of fit on me. If you found this helpful, you might like the free alterations tips PDF I have for people who sign up for the newsletter pages.elisesewingstudio.com/tailoring-pdf
Happy sewing!
Elise
I had a sewing business and did this type of alteration all the time, works great! I found that doing a french seam kept lightweight fragile fabric edges tucked into the french seam, and from fraying. Pining from the back first was always my rule of thumb plus I could do all my pinning on top of the fabric vs inside out.
Thanks for sharing your tip!