
We may earn money or products from the companies mentioned in this post.
Sewing level: Beginner to intermediate
Piping is way to add an extra design element to any sewing project – I’ve used it for details on clothing (like around a neck opening, the lapel of a blazer, waist seam between a bodice and skirt for example) and also for upholstery. While I usually sew clothes, right now I’m working on some slipcovers for furniture and am making LOADS of the stuff. I bought about 90 feet of cord to cover. You don’t need to start making 90 feet of piping – but it’s not much harder to make a lot than a little 🙂
You can buy piping ready made or make your own. While buying piping can save you time, it’s nice to know how to make your own out of whatever fabric you like. Then you can do things like make piping out of the same fabric you are using for a lining, or it might be a good way to use some scraps of fabric you like but aren’t sure what to do with. I typically choose cotton fabric for making piping. The important thing would be to select fabric that isn’t too thick.
SO WHAT IS PIPING?
Piping is basically a cord or string with fabric wrapped around it and stitched down. It’s used for a decorative element anywhere where you can see a seam – and can be added to nearly any seam in any pattern for anything. You could take what you learn here and add it to a pattern you already have to give it a little extra detail.
YOU WILL NEED:
- Cording (basically string – you can buy this at a fabric store. Or if you are doing home decor and want a thicker cord, you can get some at a hardware store)
- Bias tape (we’ll cover how to make your own, or you can use bias tape from the fabric store)
- Piping foot or zipper foot (I am using a zipper foot here)
FIRST: WE NEED SOME BIAS TAPE.
If you are using store bought bias tape, press the bias tape open and skip down to the step where we sew the bias tape around the cord.
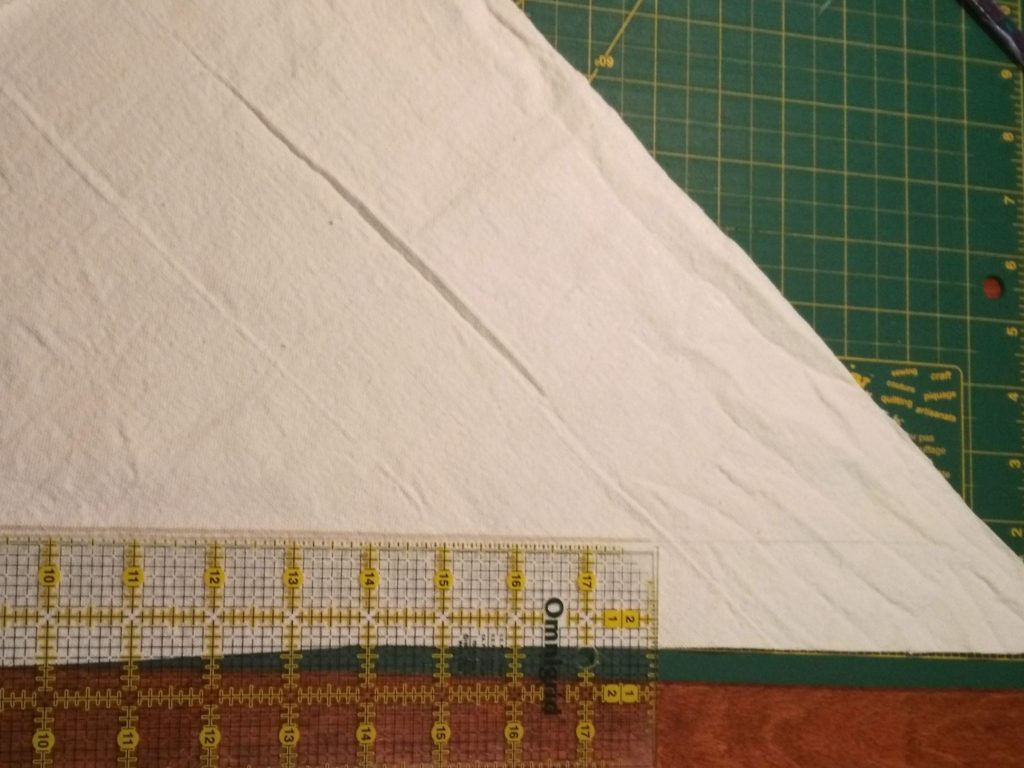
To make your own bias tape, cut a square of fabric. The size isn’t super important, but if you are trying it out for the first time, you could try a 12″x12″ square or so. This one is bigger.
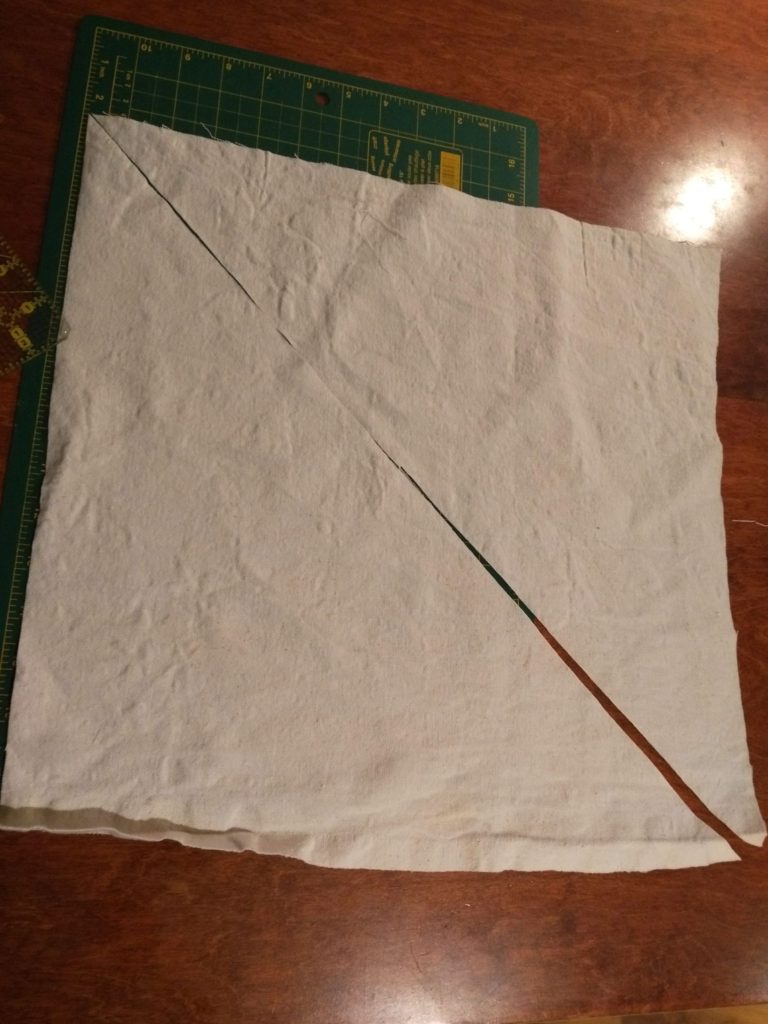
Cut the square across the diagonal. I like using a rotary cutter here, but you can draw a line and use scissors to cut.
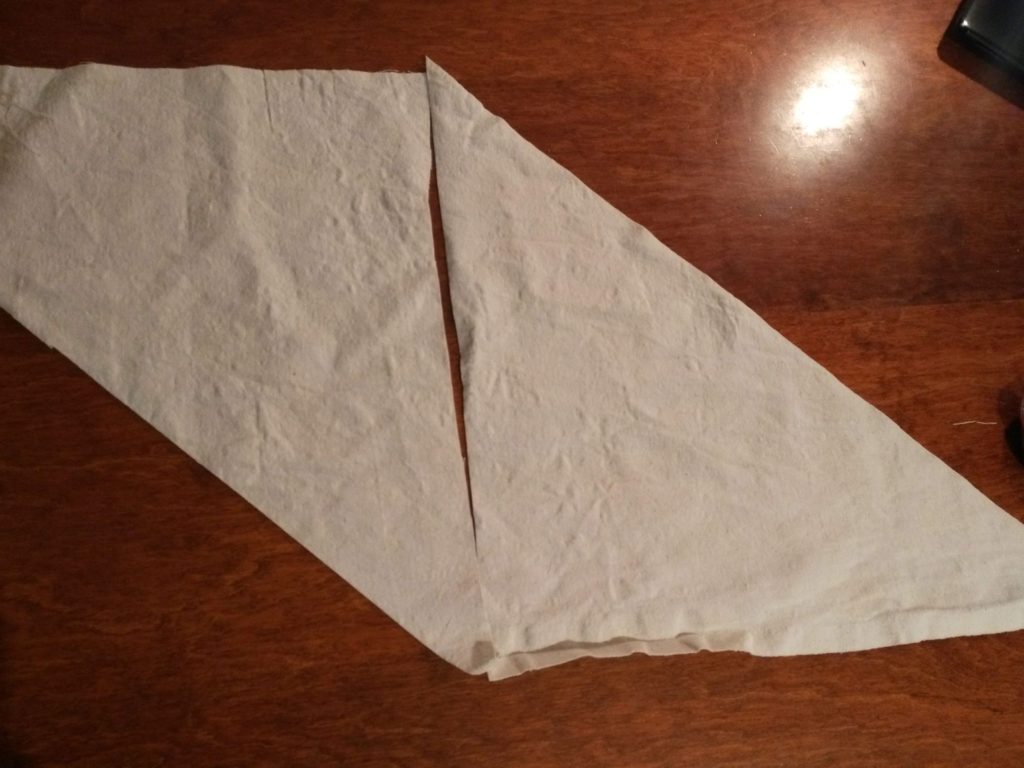
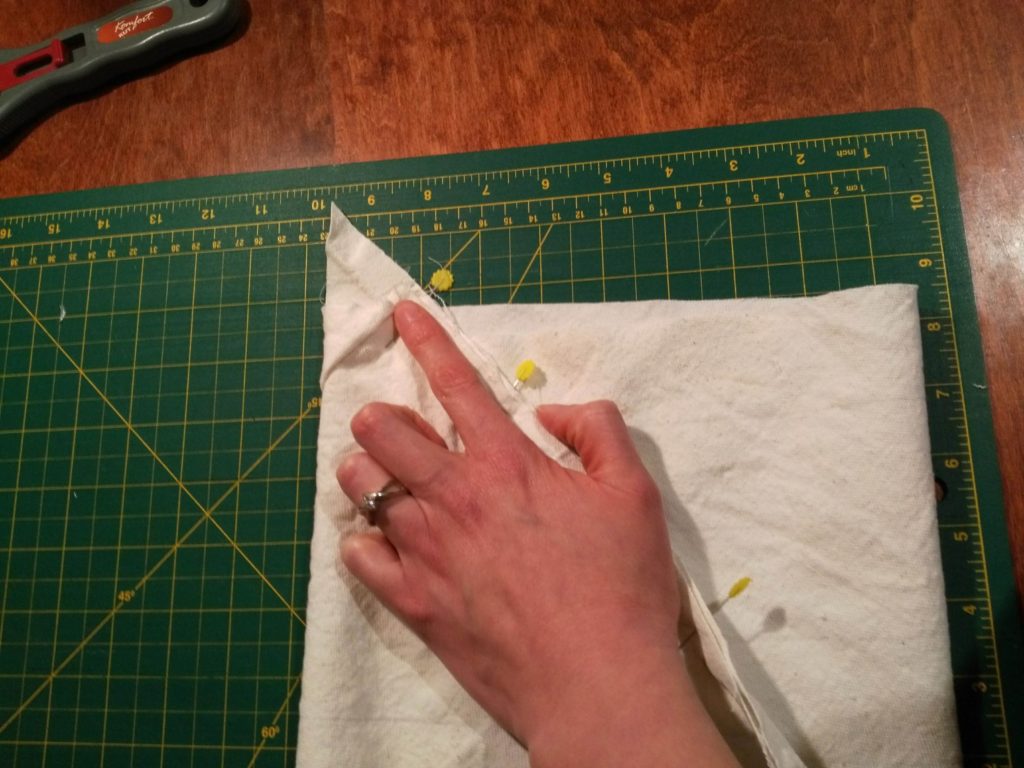
Here’s the tricky part: take your pieces and make this shape. If your fabric has an obvious right and wrong side, make sure they are wrong side up.
Pin them in the middle and then stitch that edge.
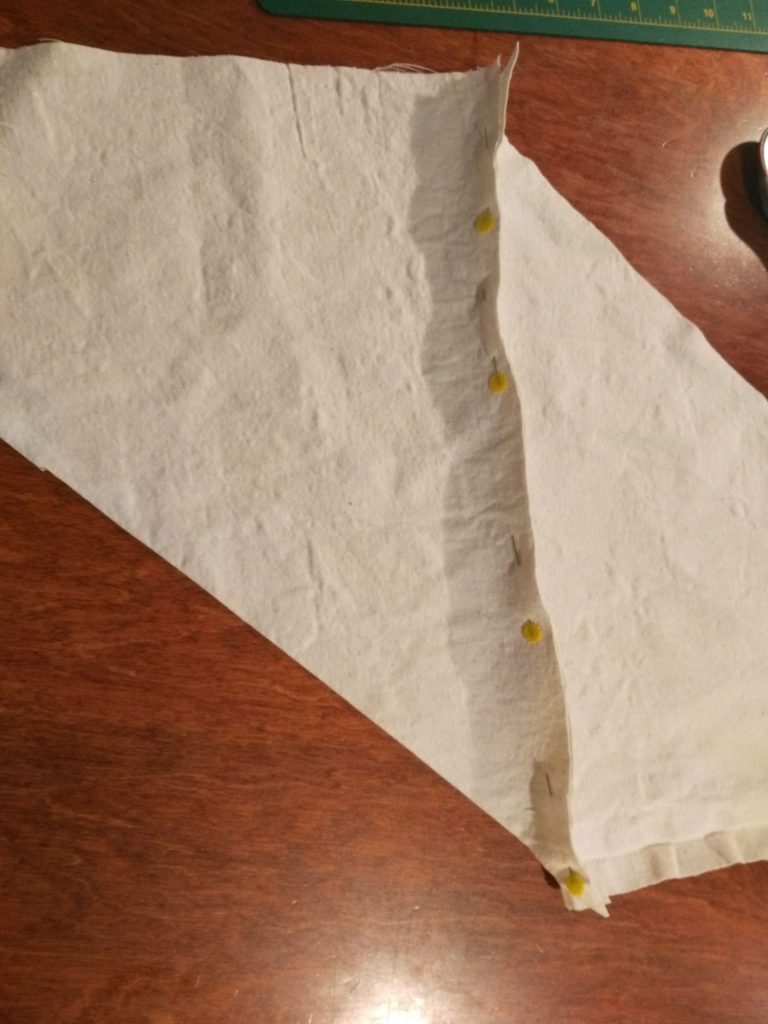
Press it open. Draw a series of lines parallel to the bottom – along the bias (diagonal) cut. These will be your cutting lines later (don’t cut yet!). These are 1.5″ wide. If the last row isn’t a full 1.5″, cut off the excess so you have even rows across.
Now to match up your lines – but they have to be offset by one line (or in other words, don’t match straight accross – drop one line below the other when you pin it). I’m pointing here to the offset part. What we’re doing is making a spiral of tape. If you match the seams straight across, you will end up with strips, not one continuous piece. Pin matching each line. Sew this seam 1/4″. Press seam open.
Match lines, but offset the first match to make continuous bias tape. 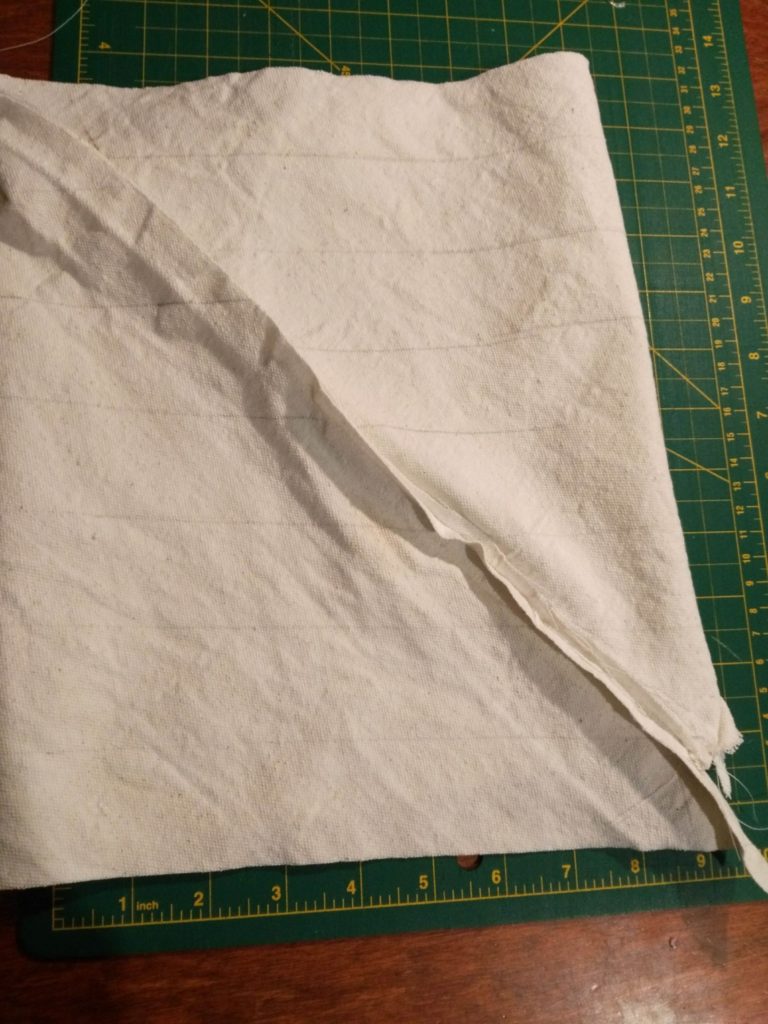
Lines have been matched and stitched. Notice how it is offset in the bottom right corner of image.
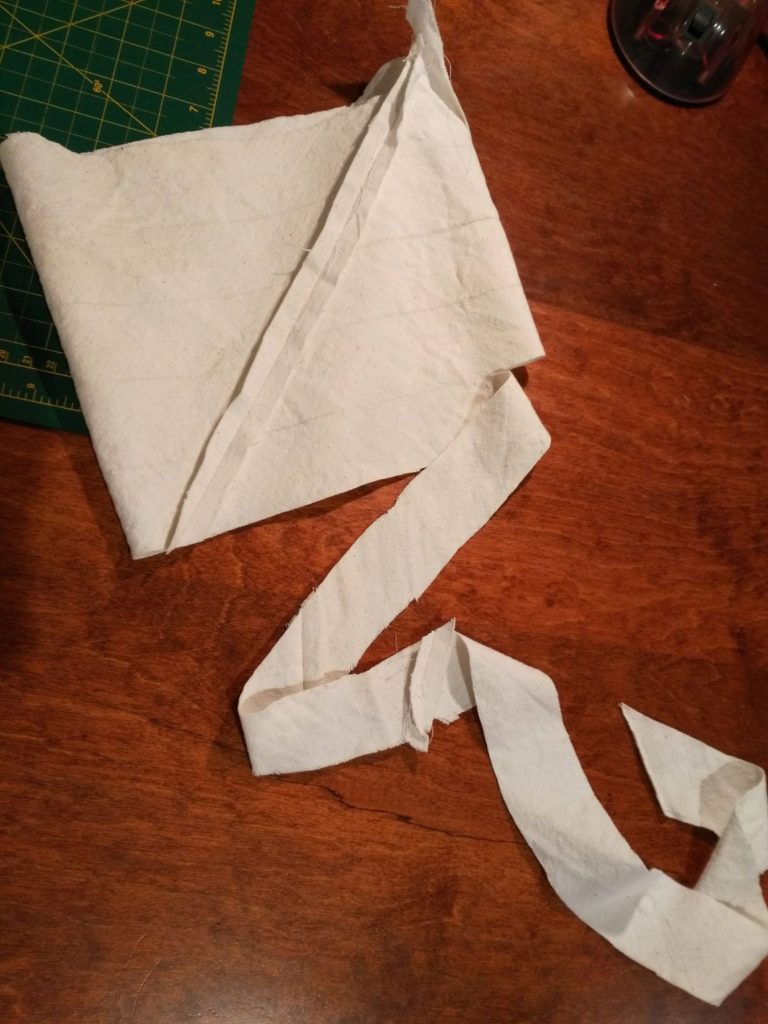
Using scissors, cut along your line. The whole thing will end up making one continuous strip. This is your bias tape. You can use this method for making bias binding, or for bias strips for piping. (What does bias mean anyway? I have an article explaining bias and other sewing terms).
Now sew the bias tape to make the piping.
First, notice that there will be some seam allowance running though your bias tape from when it was stitched together – make sure this is on the inside. Then lay your cord on top of the side with the seam allowance, and fold the bias tape so the edges touch with the cord inside. Using either a zipper or piping foot, sew the piping, so the presser foot is next to the cording, stitching the two layers of bias tape.
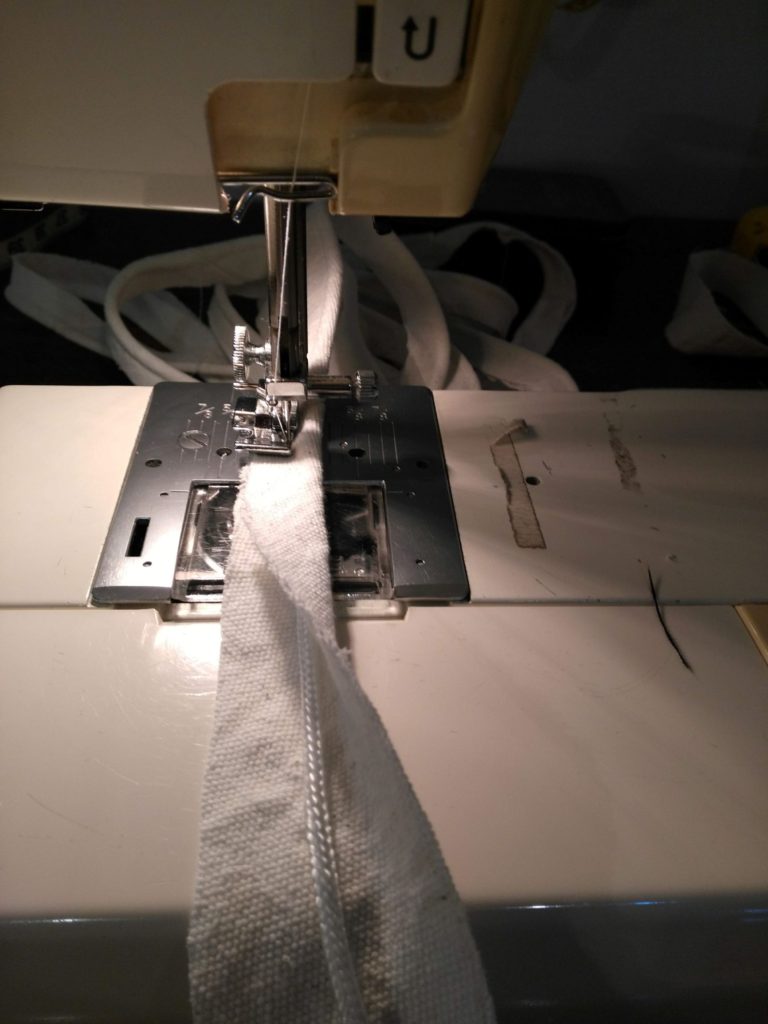
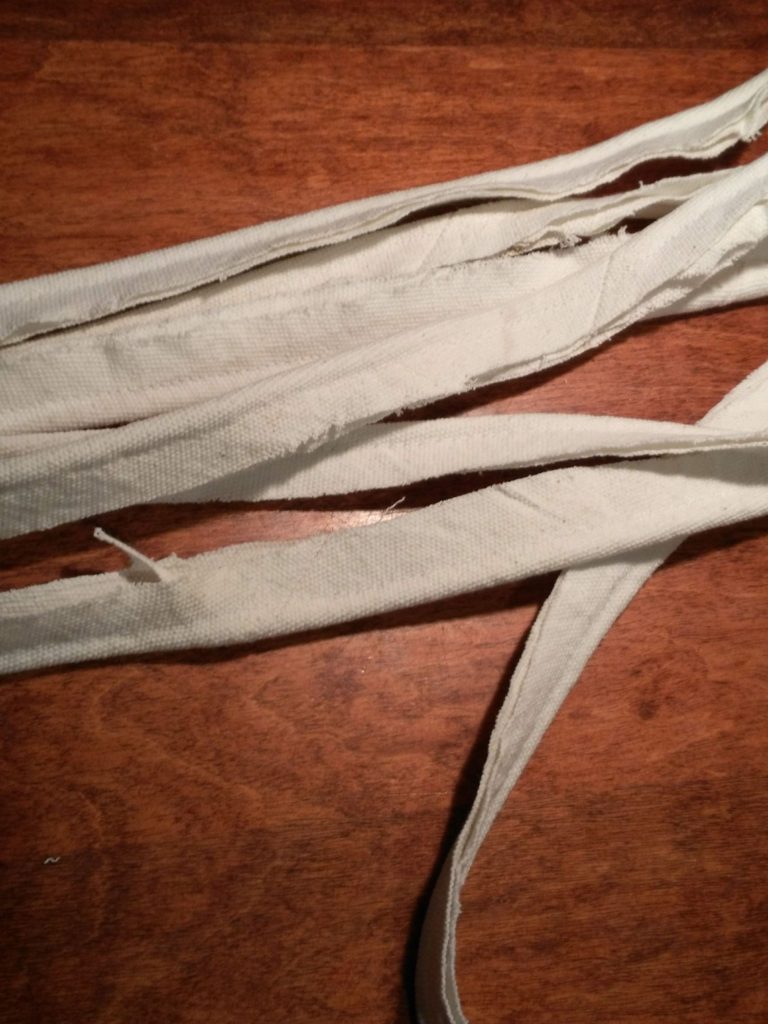
You have sewn your own piping!
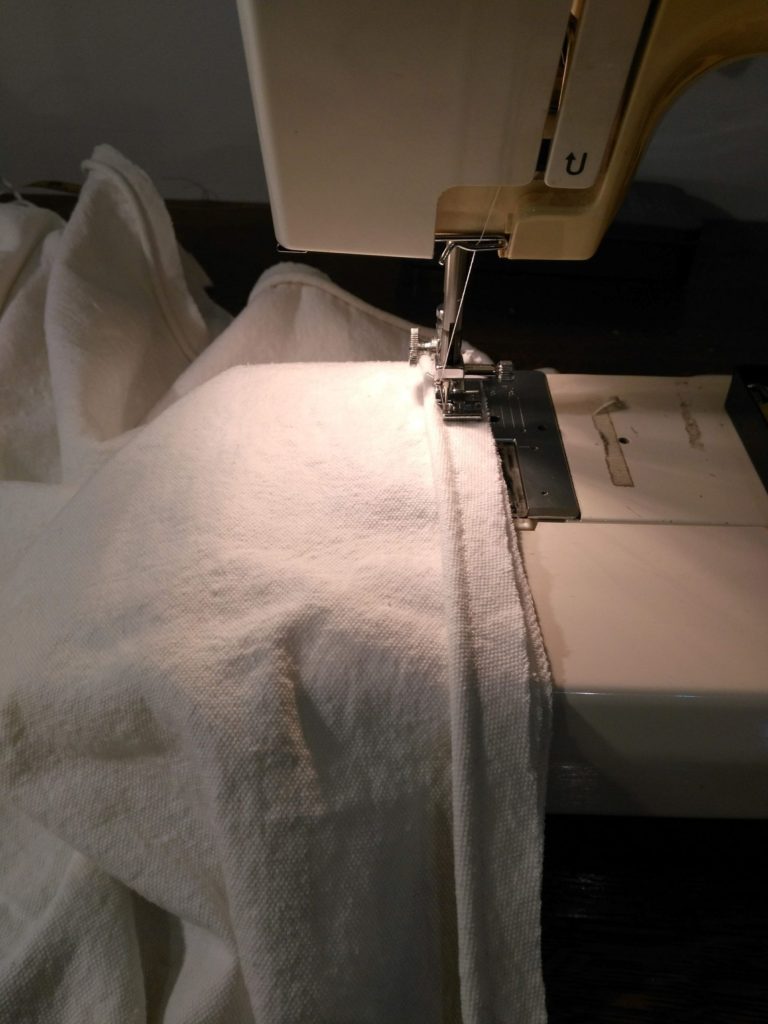
Sew the piping in your project.
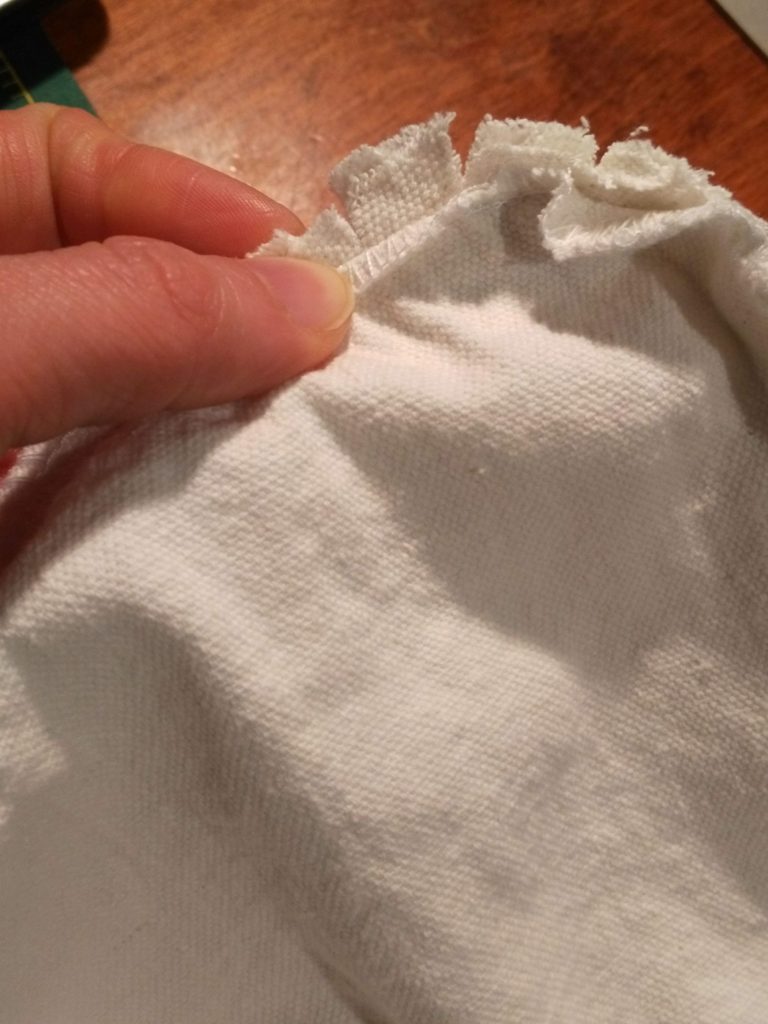
Now….what are you going to do with your piping? You can sew it in nearly any seam for some extra detail. Just place it lining up with the edge of your fabric where you want it to go, in between the two right sides of your fabric. The raw edge is bias, and shouldn’t fray too much.
Put the raw edge of the piping against the edge of your fabric. Sew using a zipper or piping foot, with the edge of the presser foot against the piping, like you did when you made it.
If you are sewing around a curve, you will need to clip or notch the seam allowance to allow the seam to relax, otherwise it will pull and not lay flat. More on clipping and notching here. You can also choose to sew it just to one piece of fabric first so you can see it better, if you don’t want to sandwich it between the two pieces of fabric in one step.
At this pint I would recommend pressing your seam. Adding piping is a fun way to add some colour or contrast to your creation.

Piping on a slipcover for a cushion. 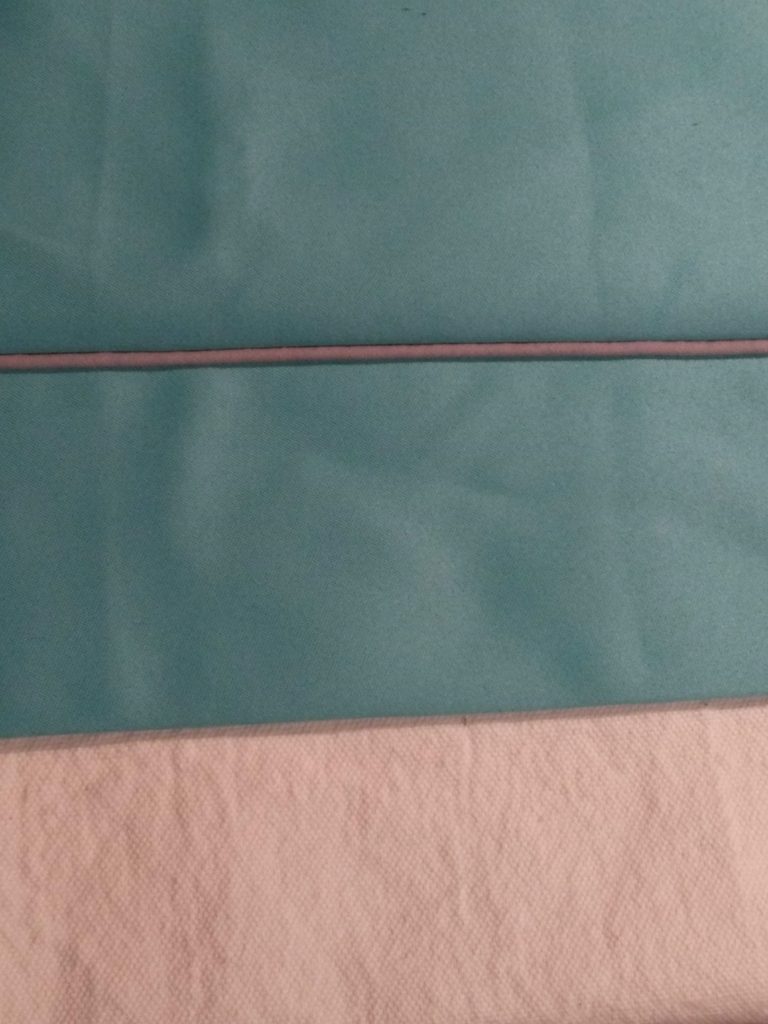
Another example of piping, this time using ready made piping which is narrower than what I had made.
You have now completed adding piping to your project!
If you liked this article, you might also like Pressing and Ironing Tools.
Want to learn more about altering clothes you already have, to fit your unique body and style? Receive my free guide full of tips to get you started doing your own clothing adjustments by signing up to my newsletter here.