We may earn money or products from the companies mentioned in this post.
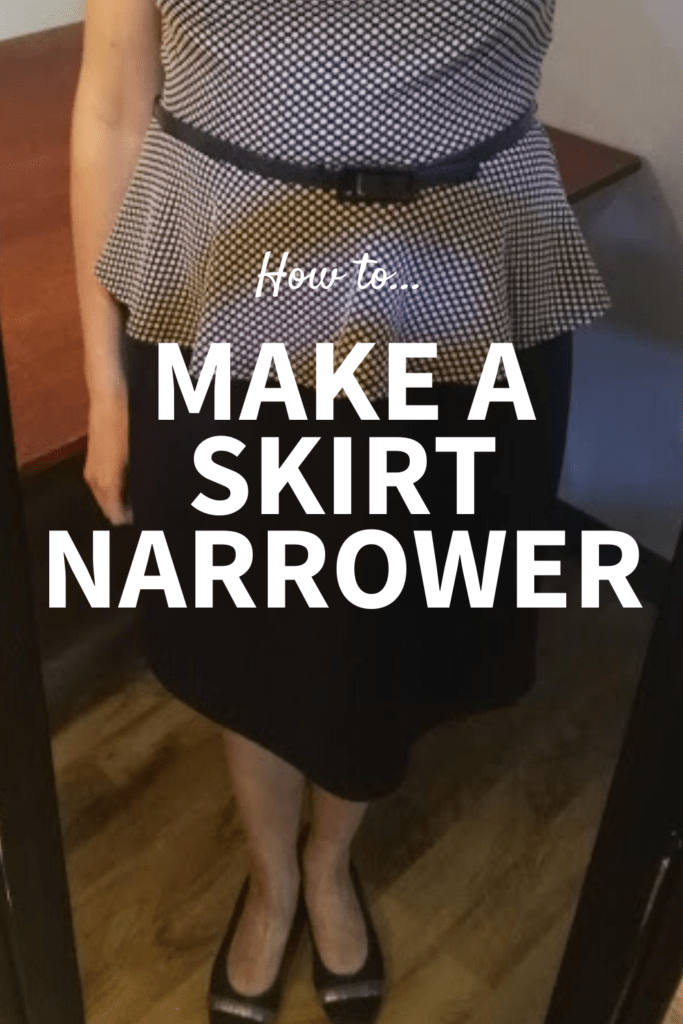
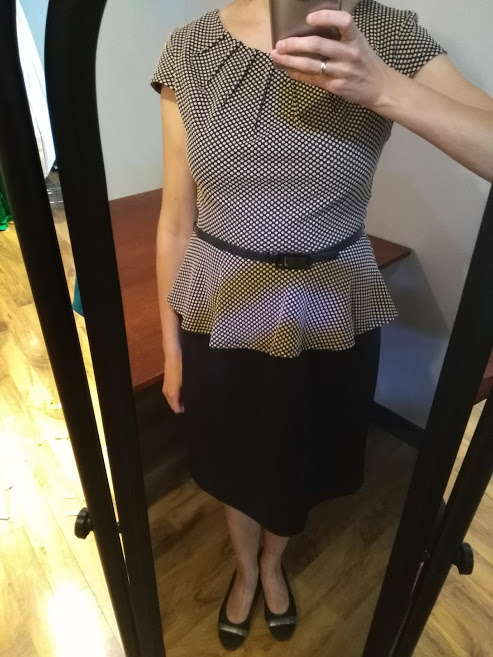
A little while back I picked up a dress from a charity thrift shop. The only thing was it was a bit too big over the hips and I wanted to make it narrower -but that is a relatively easy fix!
In this case the skirt was a little loose on me, but you could also use the same technique to turn an A-line or straight skirt into a pencil skirt.
YOU WILL NEED:
- Pins
- Tailor’s chalk
- Hip curve ruler (optional)
- Measuring tape
- Sewing machine
Fitting your skirt
First try your skirt/dress on in front of a mirror, inside out so you can better access the seams. Pin it in to your desired fit over both side seams, making sure you are pinning it in about the same amount on each side. When you are happy with how it fits pinned in, change and lay it on your table.
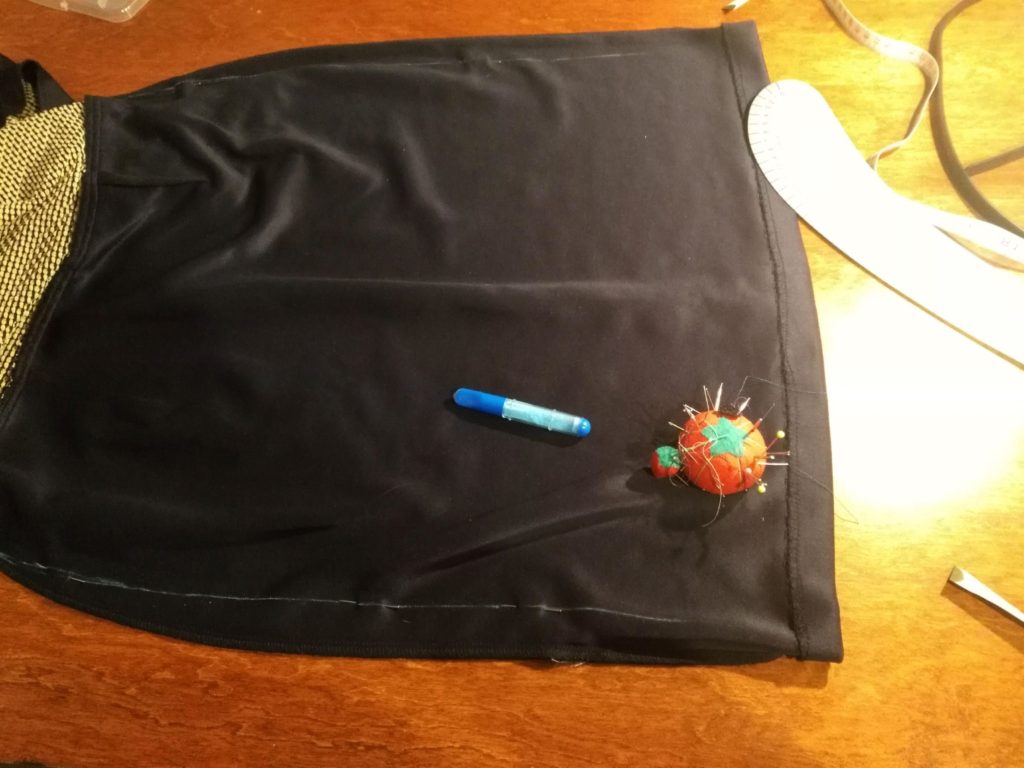
Even out the pins on each side, measuring to make sure that you are taking it in the same amount on each side.
Use tailor’s chalk to mark your seam line. I used a hip curve ruler to make drawing the line easier, but you don’t have to use one.
Sew the skirt in
Stitch along your chalk lines. For the best seam, start sewing from the hem and finish at the hips. You want to make sure to ease your stitching into the original stitching at the point you no longer need it narrower – a smooth transition into the original garment stitching is important because otherwise it will pucker and make a little outward dimple on your hips.
With your skirt still inside out, press your seam flat. If your new seam allowance is more than 1″ or if your fabric is very thin, you may need to trim your seam allowance once you know you are happy with the fit. Try it on to check your alterations, take it in a bit more if you wish. Press your seam open.
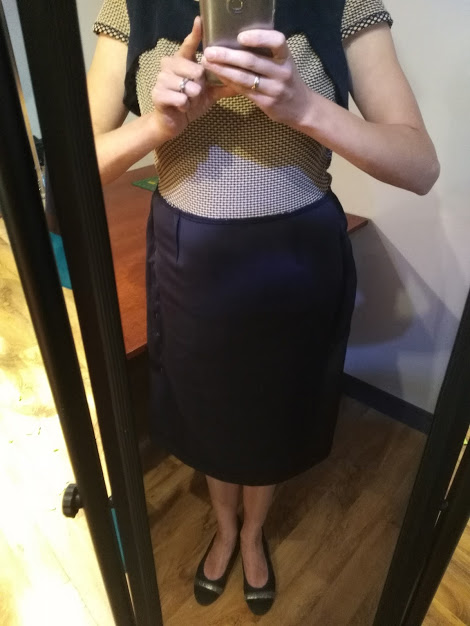
You now have a well fitting skirt. You’re done!
If you are ready to get better at doing your own alterations, check out my eBook where I share my alterations processes, how to fit clothes on your own body, sewing tips for alterations and more.

2 responses to “How to make a skirt narrower”
This is right on time! I have a red A-line skirt that I attempted to turn into a sort-of pencil skirt and it was a fail. I’m glad I didn’t throw it away because I will attempt to do this again. Also, I don’t think I know how to correctly thread my needle on my sewing machine. I feel like the threads be everywhere! Any tips on that? Also, how can I avoid sticking myself in the legs (haha – no seriously) when using the pins to get the desired fit?
Hi Rese, thanks for chiming in. I do hope you can give your skirt another go. Regarding thread bunching, this can be for a few reasons, but the first ones to check would be that your bobbin is not in the wrong way (just take it out and flip it around and put it back). Another could be that there is a problem with your needle, if it hasn’t been changed in a long time try a fresh one. It could also be threaded incorrectly. Make sure that the thread is sitting properly in the tension discs (but changing the thread tension dial is not the solution here, and could make other problems).
As for pinning, don’t pin it super close to your body, have a little space between (at least 1/2″). Even if you are going for a form fitting fit, you need a little space in between for some breathing and moving room. You may find it easier to put pins in with the pins pointing up (pointy end up and pin head towards the floor) as you will be able to see better where the pin is going. I hope some of these help. Let me know if you have any more questions, or feel free to post the finished product!
Elise