
We may earn money or products from the companies mentioned in this post.
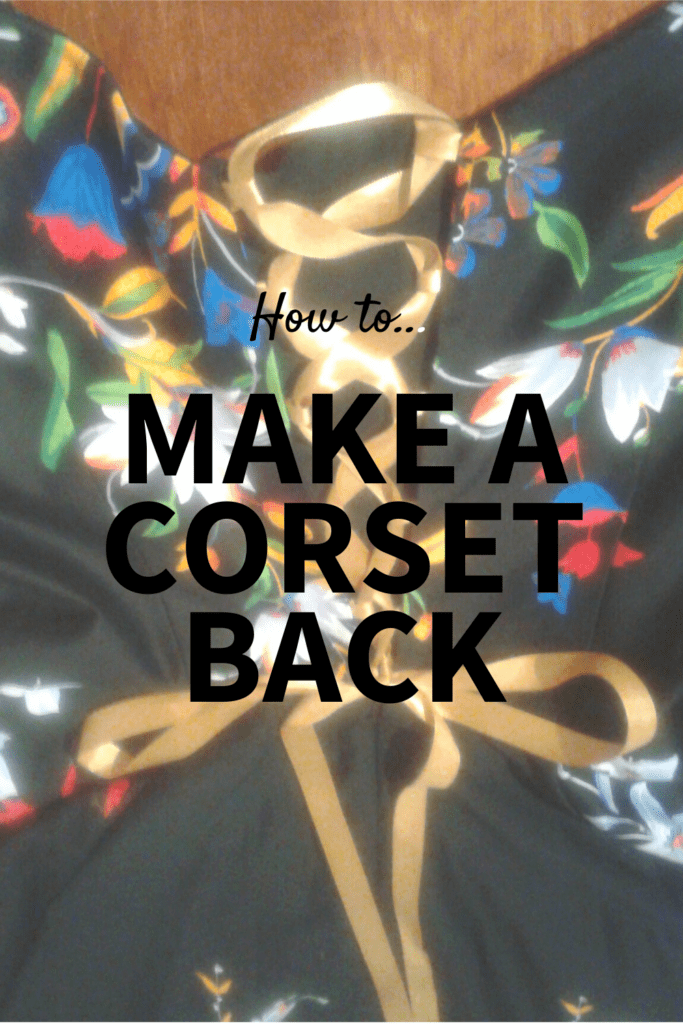
Changing a zipper to a corset back in a dress makes a well-fiting result
It’s happened a number of times while doing alterations: I get a call from someone who has ordered a dress, they love it but the zipper won’t go all the way up.
“Is there anything you can do to let the dress out so I can wear it?” she will ask.
Instead of letting it out at the side seams, I will offer to take the zipper out and make a panel and a lace-up back.
YOU WILL NEED:
- Measuring tape
- Safety pins
- Extra fabric to match (or contrast!) your dress
- Fusible interfacing
- Ribbon or cord
- Sewing machine
- Fabric scissors or rotary cutter and cutting mat
- Ruler
- Hook and eye closure
Decide on where the zipper stops and your lace up back starts
Most zippers that go up the centre back of a dress start at the hip line and go up to the top. Usually in the situation I described the zipper will comfortably go up part way. Try on the dress and put a safety pin on each side of the zipper where you want the lacing to start. (Note: This MUST either be where the zipper comfortably can no longer zip up, or below that point where the zipper no longer zips up, otherwise the dress will gape open!) I usually have this somewhere between the natural waist and the hips.
Take two measurements:
- 1) from where you have placed the safety pin to the top of the dress measuring over the spine
- 2) the distance at the top of the dress where the fabric on each side doesn’t meet. You will need these measurements later to create a panel to go underneath the lacing.
Removing the zipper
Starting at the top of the dress, open the seam where the zipper is and stop where you have decided that the lacing will start. Cut off the excess zipper, leaving about 1/2″ allowance to tuck under. Fold this allowance back, and hand stitch your zipper end down.
Apply a hook and eye to the top of the zipper where you have stitched it in place (the mark you made for your zipper to stop and the corset panel to start) . Now your zipper should zip from the bottom to part way up the dress to where your lacing starts, and not zip past your hook and eye.
IMPORTANT: When you are opening up the zipper seam and trimming the excess, ensure that the zipper tab is at the bottom – if the zipper is zipped up, you will loose the zipper tab and need to put in an entirely new zipper!
Planning the corset back loops
Now lay your dress flat on the table, with the shortened zipper zipped up to the hook and eye. You will need to plan your placement of the loops. There isn’t a strict rule about this, the spacing is more about personal perference/design.
I often go for about 1.5″ in between my loops, but of course you have to even it out depending on the length of your center back opening. I find it easiest to mark the spacing with pins and play with it a bit until I’m happy with it.
Make the lacing loops
Now you are ready to cut loops. Here I have used satin ribbon, but you can also use fabric that has been sewn into a spaghetti strap. I just cut the ribbon to 2″ pieces, fold in half and pin in place. Stitch down. If your dress has a lining, put the loops in between the outer fabric and the lining.
Sew the corset back panel
You will need to make a panel to go in behind the lacing – unless the person wearing it wants that part of their back to show under the lacing (I have done this for someone who wanted to show a scar on her back). To make the panel, you need to have the measurements from when the dress was tried on – the distance at the top, and the length the panel needs to be.
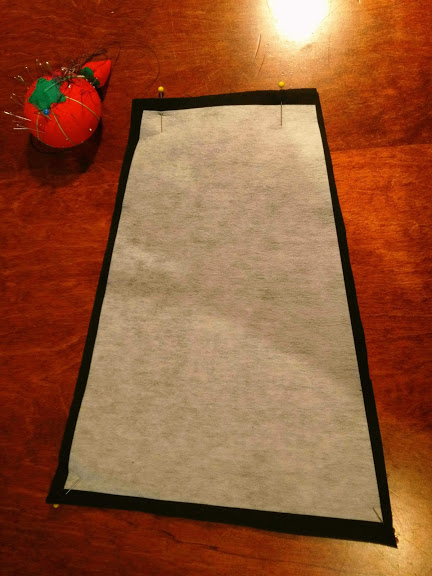
To make the panel, I usually make the bottom about 5″. Add 3″ to your measurement for the length for the panel, and add 3″ to your top measurement. Draw out your measurements on two pieces of fabric.
Apply fusible interfacing to the top layer on the wrong side of the fabric, making the interfacing about 1/4″ smaller on all sides so it does not go over the entire seam allowance.
With fabric right sides together, stitch around the panel with 3/8″ seam allowance, leaving an opening at the bottom. Trim excess seam allowance in the corners. Turn it right sides out, press, then stitch the opening shut. Your panel is now ready.
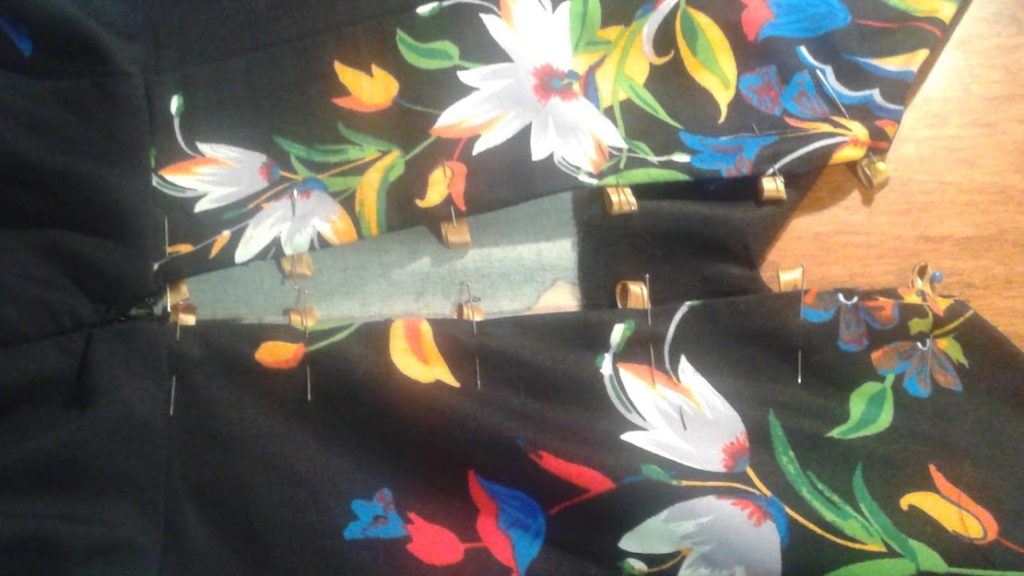
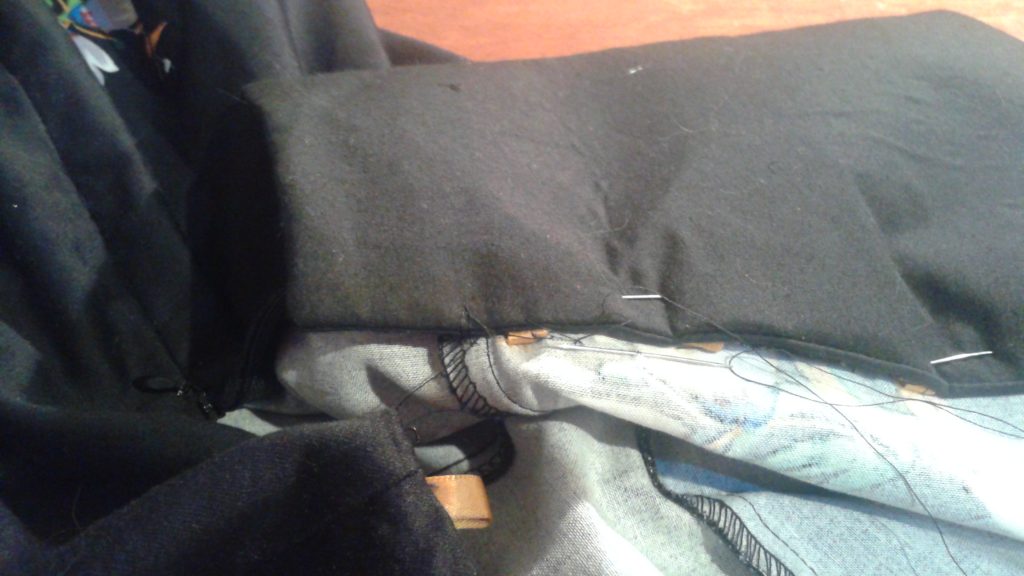
Sew the panel to the dress
Line your finished panel up along the left side of the opening on the dress. Pin 3/4″ in from the edge, and cross stitch carefully in place, making your stitches as invisible as possible. Make sure it lines up nicely at the top.
If you have a dress form, you might want to try it on the form at this point, but it’s optional.
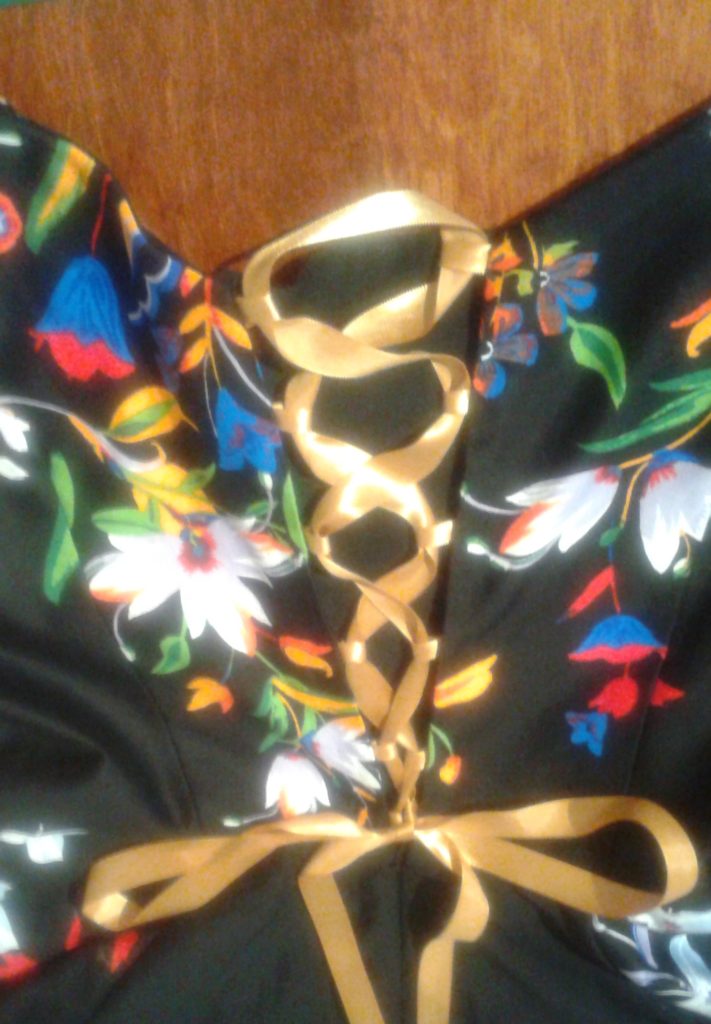
Once your panel is stitched in, your dress is almost done. Starting at the top, add the lace, cris crossing as you go like a shoe lace.
When getting into the dress, loosen the lacing and then gently tighten starting at the top and working down, almost like doing up skates. These loops aren’t intended to take a lot of strain, so be gentle and don’t just give it a big yank from the bottom.
Tie in a bow, and now you have a perfectly fitting unique bodice!
I recommend washing fabric before starting your project. If you are looking for more eco friendly alternatives to regular liquid detergent that actually is convenient and gets your clothes clean, I’ve started using Tru Earth Eco Laundry Strips. (Should you click the link and make a purchase, I make a small commission at no extra cost to you)

If you are ready to get better at doing your own alterations, check out my eBook where I share my alterations processes, how to fit clothes on your own body, sewing tips for alterations and more.

YOU MIGHT ALSO LIKE: How to Sew a Skirt Narrower
2 responses to “How to sew a corset back dress”
Thank you for well written and easy to follow instructions on how to make a lace up back dress. I am an accomplished seamstress but had no idea how big to make the loops and how far apart to place them- I had visions of going to a bridal store and covertly measuring the loops on a wedding gown!
So glad you found it helpful! I have seen dresses with the loops closer together as well- it is a more a matter of design and not a rigid rule. I was quite happy with how this dress turned out. I think it looks more formal to have the loops closer together, but that is just my opinion.