We may earn money or products from the companies mentioned in this post.

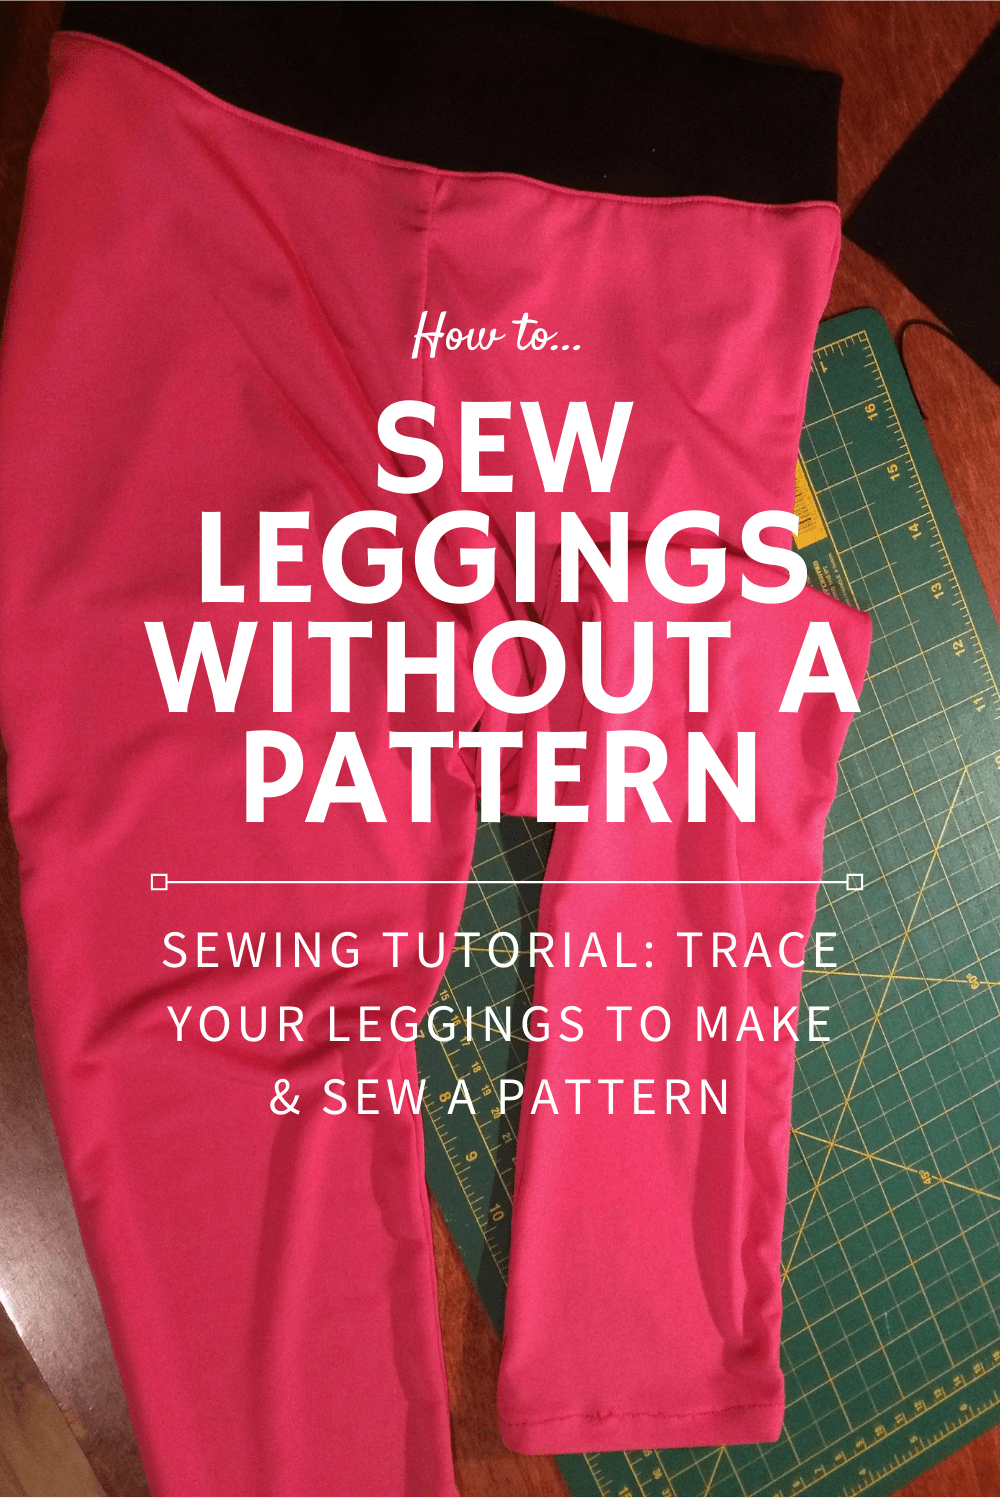
How to sew leggings without a pattern
Want to sew leggings, but don’t have a pattern? No problem. I’ll show you how to make a pair of leggings using the ones you already have as a guide. These have a yoga waistband.
To make your own leggings, you will need:
- Pair of pull-on pants or leggings
- Pins
- Tailor’s chalk
- Fabric scissors
- Ruler
- Tape Measure
- Knit fabric
- Sewing machine needle suitable for knits (jersey or ballpoint needle)
I chose a fairly soft and slinky knit fabric for the main fabric, and a heavy knit fabric for the waistband. However, you can use the same fabric for both.
Make sure your fabric is washed and dried prior to starting your project, otherwise the fabric may shrink in the wash. It also softens up the fabric.
I recommend Tru Earth laundry strips – instead of a big plastic jug, you can use eco-friendly and convenient strips of detergent delivered to you – much easier if you use a laundromat too!

Make your leggings pattern on paper or fabric
You have two options for this project:
- Make a pattern from your existing leggings by tracing directly onto fabric (fastest method)
- Make your leggings pattern on paper (best if you want to make more leggings again!)
The pattern-making process is the same for paper or fabric – doing it on fabric just skips the step of tracing the paper pattern on the fabric.
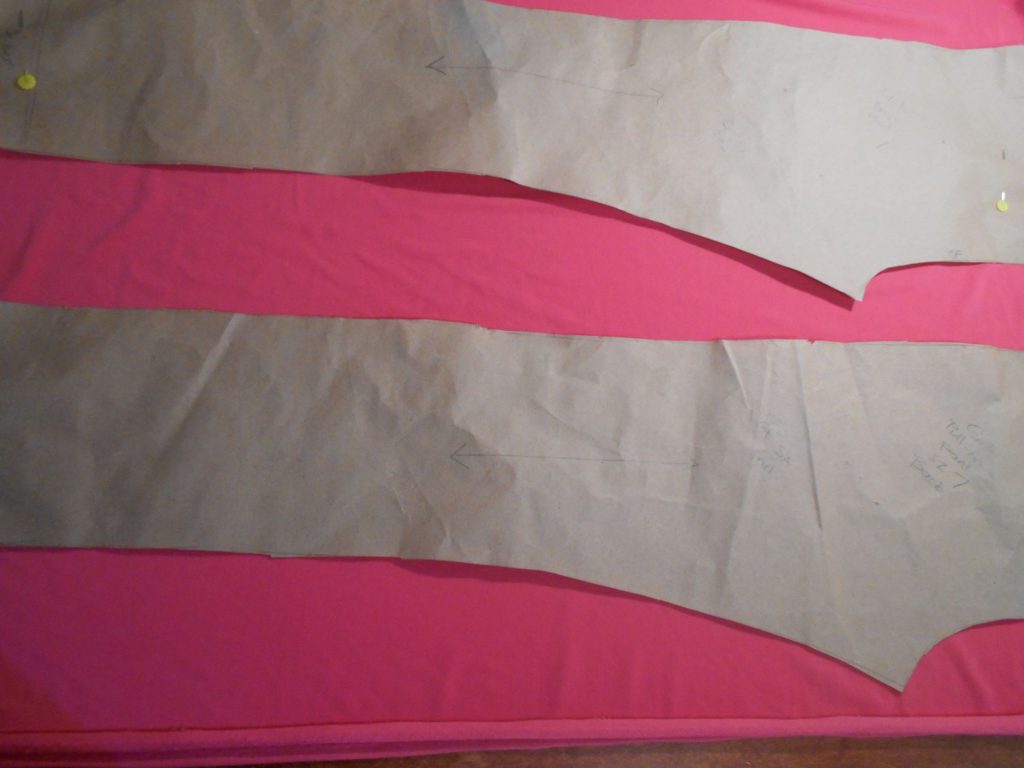
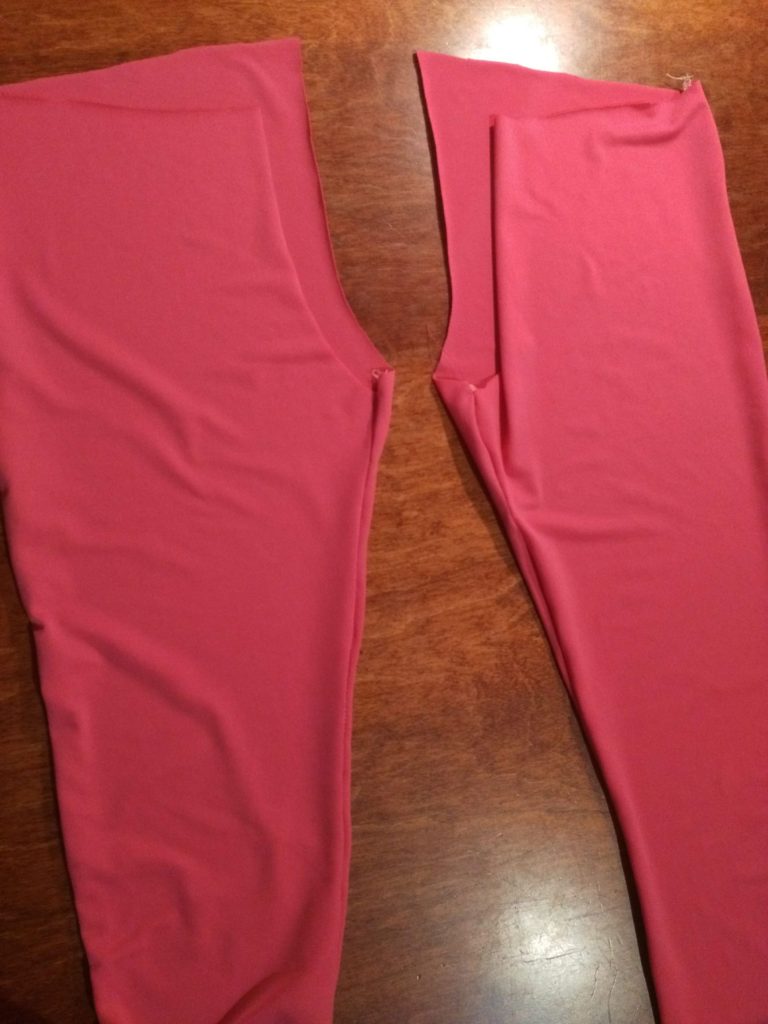
Trace your leggings to make a pattern
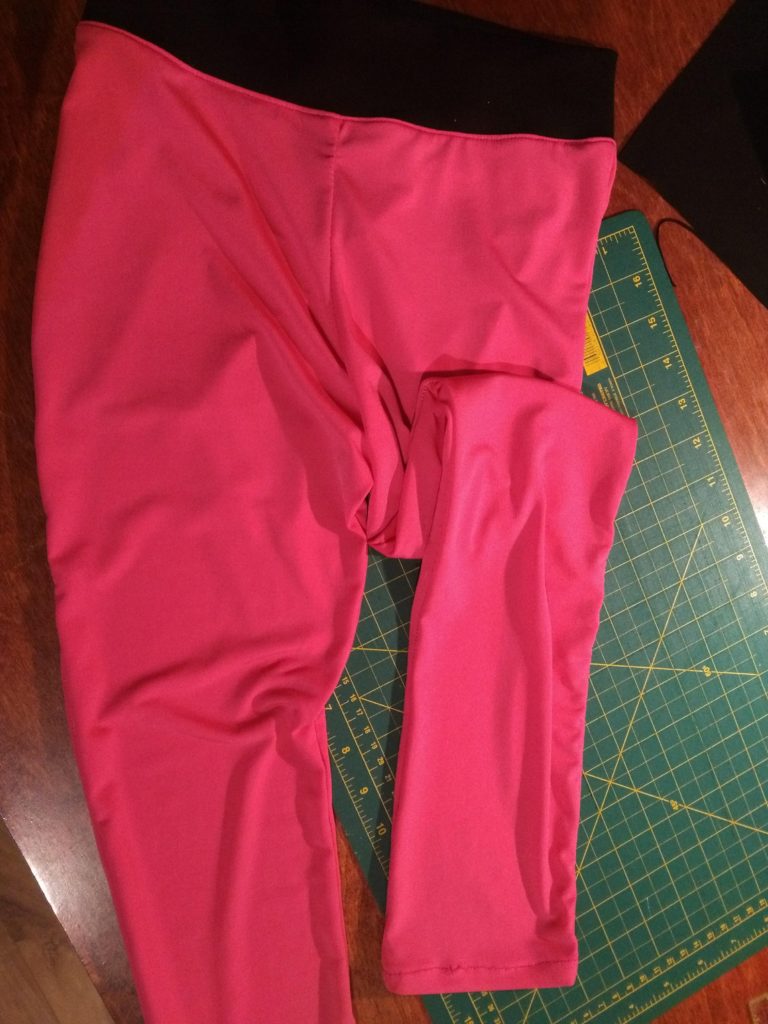
Turn your pants inside out and lay them flat on your fabric or pattern-making paper. (I usually use brown paper rolls from the post office or dollar store to make patterns).
Make sure that it is laying smoothly and that the crotch point and the waistband are sitting correctly. Pin in place.

How to trace your leggings to make the pattern
Start with tracing the front leg.
When you are tracing the front of the pant, make sure to trace the top of only the front waist- you will have to move the higher back rise out of the way to trace the lower front piece.
We will make a separate waistband in a later step, so only trace to the seam of where the waistband is and add your seam allowance.
To measure out your seam allowance from the garment:
- I recommend 1/4″ for the inseam and outseam if you are going to serge the pant leg together.
- If you are not using a serger, use 1/2″ (or a different seam allowance of your choice) for the inseam and outseam.
- For the crotch seams, I usually use 1/2″ and 1/4″ for the waistband and waist.
- For the hem, I like to use a 1″ hem allowance and do a 1/2″ double-turned hem.
- These seam allowances are guides. You can use the same all over if it is easier for you.
If you want to adjust the length of your pants, do so at this step by measuring the desired inseam length and then adding the desired hem allowance.
If you are tracing directly onto fabric, make sure that you have 2 front legs!
Trace the back leggings
Once you are done tracing the front, unpin the pants from the fabric or paper and flip them over and trace the back.
- This time make sure to trace the back part of the waist (with the higher rise).
- Use the same seam allowances as before.
- Label your front and back pieces (but if they get mixed up, remember the back has the higher rise).
We will cut the waistband after we assemble the pants.
Cut the fabric for the leggings.
You can either:
- Fold your fabric in half (selvages together) and place the pants pattern so that the pants are on the straight of grain, trace with tailor’s chalk, and cut through the two layers of fabric at once.
OR
- If you prefer to cut them out one piece at a time, make sure you flip the pattern over after you trace the first leg to make sure you have a right and left leg, for the front and back.
Sew leggings pieces together
After your fabric is cut out, we are ready to sew the legs!
Match the front legs to the back legs, right sides of the fabric together.
Pin starting by matching the crotch seam first, down to the bottom of the inseam. If there is a small discrepancy, it is easier to even it out in the hem allowance than the crotch.
Next, sew the outseam, again starting at the top and going to the hem. You can use a serger (4 threads) or a small zig-zag stitch if you don’t have a serger.
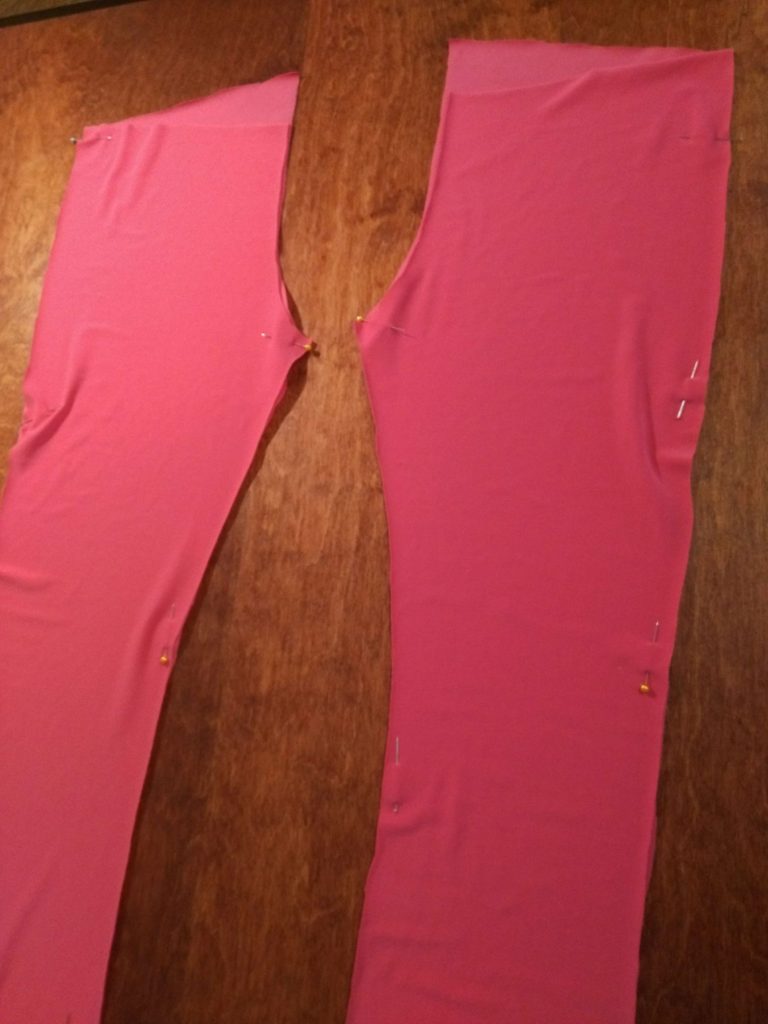
Turn the legs right side out, and match the crotch seams. Pin and stitch together with a 1/2″ seam allowance.
Try the leggings on now to check fit. If you want to make any adjustments, do it at this stage before we make the waistband (next).
I ended up wanting to take it in a bit at the waist, so I took 1/2″ in at the side seam, blending the new seam into the stitching of the hip. If you have a paper pattern, mark any changes on your pattern to make it easier if you use the pattern again.
Sew leggings waistband
For the yoga-style waistband, cut a strip of fabric 1″ smaller than the waist of your pants (measure the waist of the pants after you have tried them on and made any adjustments), by 5″ wide.
Match the narrow ends together and sew with a 1/4″ seam allowance. Now you have a loop.
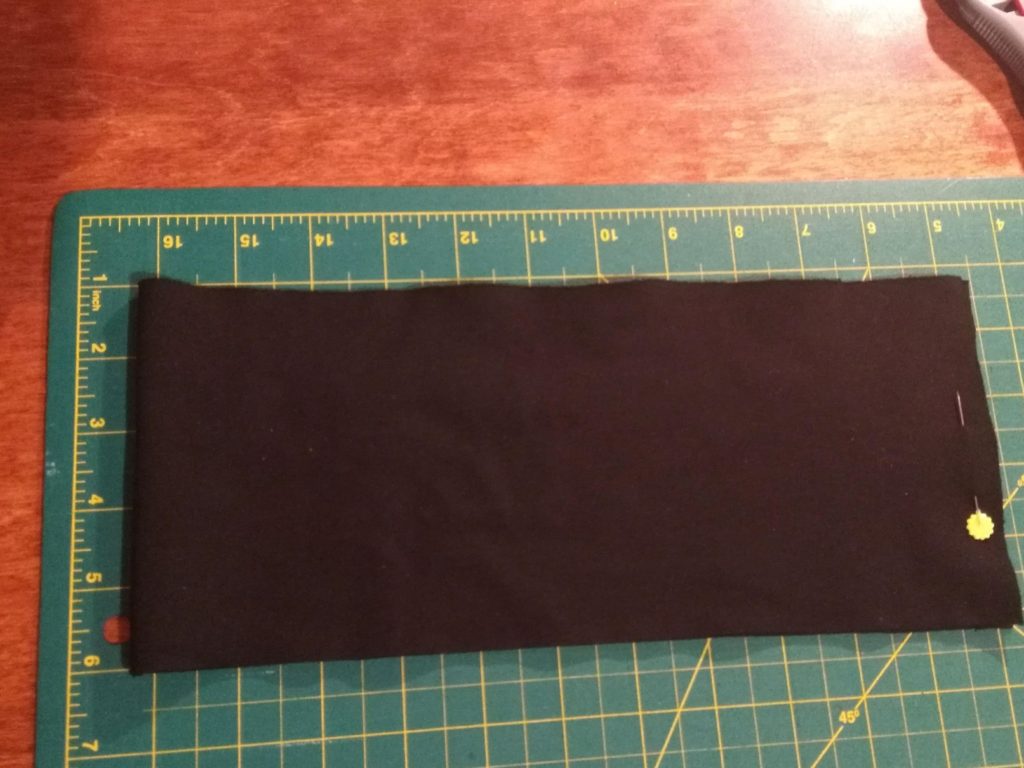
Fold the loop lengthwise with the seam allowance of your stitched seam facing in. The folded edge of the loop is the top of the finished waistband.
Pin the waistband to the pants
But first, a few tips! The waistband is smaller than the pants. That means it needs to be eased in.
The easiest way to do this is to have 4 pins on the waistband at equal points. Fold the waistband in quarters and put in the 4 pins.
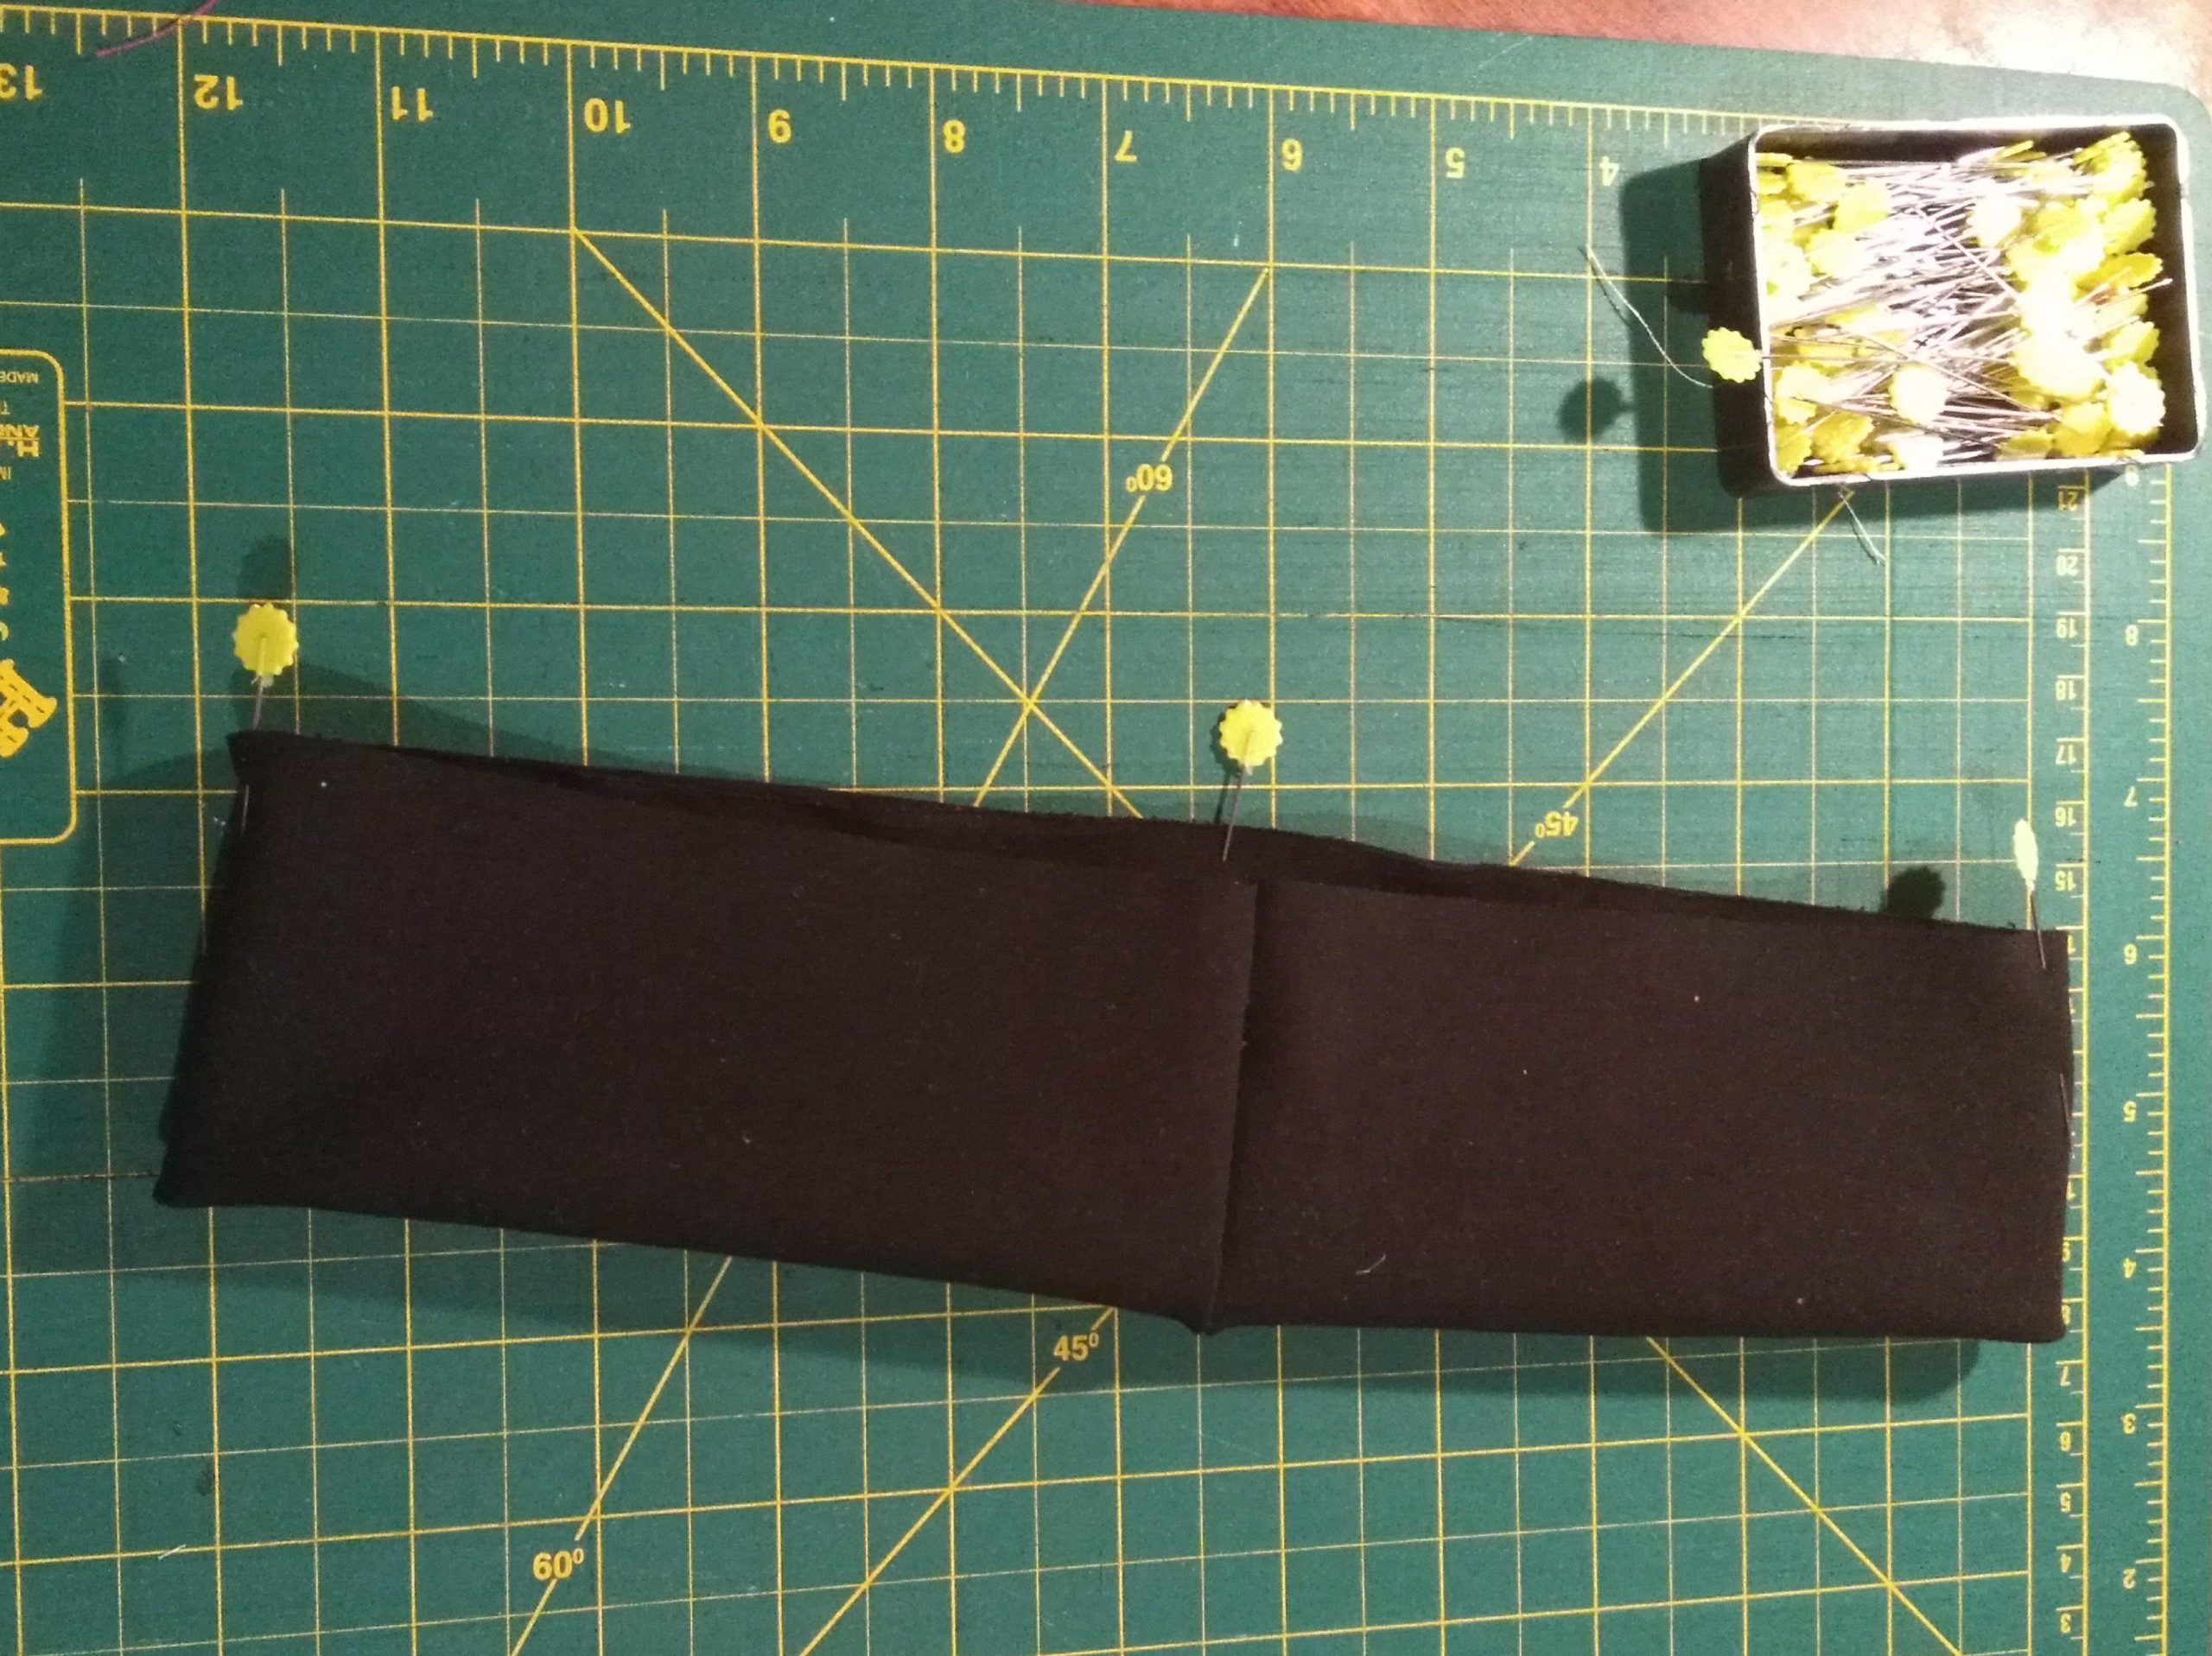
Place the waistband on the pants with one pinned point on the side seams, and the next on the front and back seam.
The waistband needs to be outside the pants, with the folded edge down and the raw edges of the waistband matching the raw edge of the pants.
Stretch the band to match the pants, and put another pin in between each anchor pin to help you ease it in evenly.
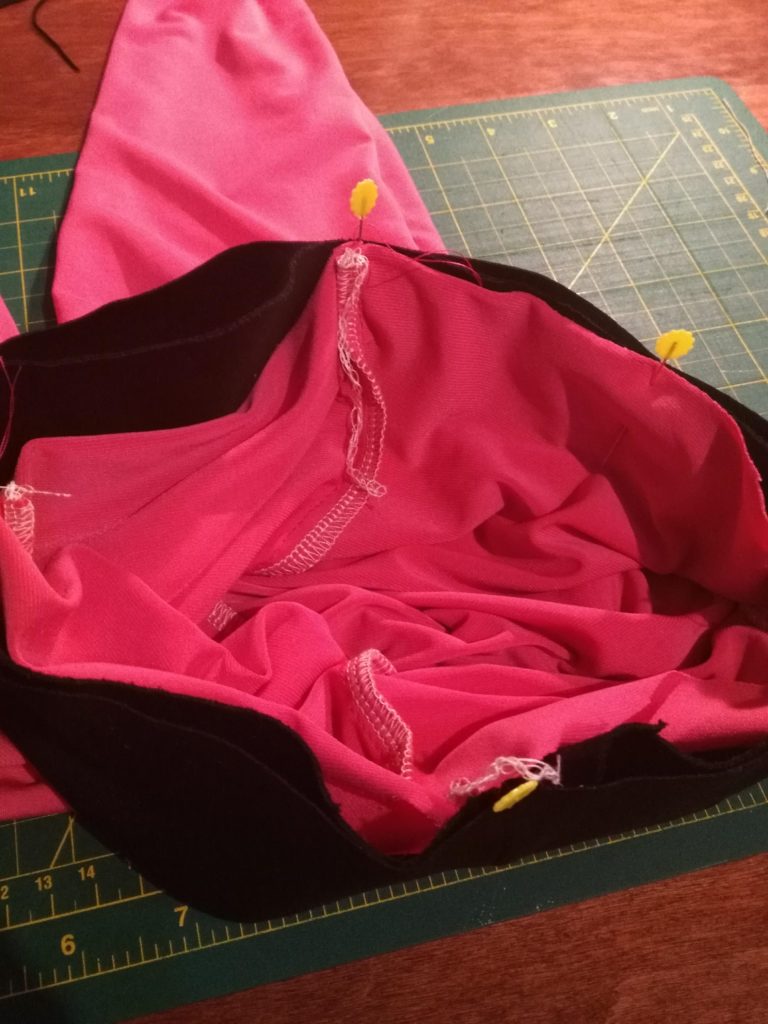
Starting at the center back seam, stitch the waistband on. You will need to stretch the waistband as you sew. You want the waistband and main fabric to go under the foot of the machine smoothly. This will likely be the trickiest part, so give it a stretch and take your time.
If you have a serger, serge the seams after you have stitched it on. If you are experienced with knits, you can just go straight to serging it together, but I prefer to machine-baste the waistband to the pants with a long stitch length, and then serge.
After the waistband is on and you are happy with it, stitch the seam allowance of the waistband down (sew through the main fabric of the legging and the waistband seam allowance), so the seam allowance stays pointing down.

Now you just need to hem your pants! I did a 1/2″ double-turned hem and topstitched.
If you have a twin needle on your machine, use it here.
You now have a new pair of cozy pants! I’d love to know how it went, leave a comment or reach out to me on Instagram.
YOU MIGHT ALSO LIKE: How to sew a pocket on pants
Want to learn more about altering clothes you already have, to fit your unique body and style? Receive my free guide full of tips to get you started doing your own clothing adjustments by signing up for my newsletter here.
This post was edited using Grammarly. Find out how Grammarly can help you write concisely and error-free.

9 responses to “Sew leggings from an existing pair”
Cool DIY leggings and great instructions on how to make them without a pattern.
Thanks Shannon! Let me know if you try it.
This is a great guide. Thank you.
Thanks Marsha! Let me know how it goes if you try it, or if you have any other questions!
Hi I am Rose of Roses Alaska Tailes. Thank you for sharing your sewing technics they are really good. This is nothing new to me because I am very experienced in sewing. I owned an alterations shop and store in Big Lake Alaska. I like your instructions they are very precise. If you do not know how to sew it can be tough. I thank you for sharing your expertise.
Thanks Rose! I’m always interested in feedback from other professional sewists as well as other folks just looking to pick up a new practical or artistic skill.
When making leggings, what type of thread do you use. Seems like you would need a thread with some give to it but I don’t know so I am just asking. So excited to try to make these for the geandkids
Hi Tammy, thanks for your question! I use regular thread – usually Gutterman. You need to use a stretch stitch if you have one on your machine, or a zig zag stitch. The stretch stitches are made up of very small stitches, and the stitching has room to stretch, but it isn’t the thread itself that is stretching. Zig zag is also able to stretch without actually stretching the thread. Hope that helps!
Excellent instructions.