

We are a participant in the Amazon Services LLC Associates Program, an affiliate advertising program designed to provied a means for us to earn fees by linking to Amazon.com and affilated sites. We may earn money or products from the companies mentioned in this post.
Making a natural tie dye Tshirt is a bit of an experiment
I love taking something that isn’t being used any more, and make it into something new. This was an unloved old white Tshirt. I looked around my kitchen for items to dye it.I came up with paprika, salt and onion skins. Making a natural tie dye tshirt is a bit of an experiment, and will turn out a bit different each time.
What is natural dye?
Natural dyes are created from items found in nature (usually, but not always plant matter). Typically, they are simmered and then a textile is added.
Because of variances in plants and natural dyes, you will get a slightly different result more often than not. The unpredictability is part of the fun!
What fabrics are best for natural tie dye Tshirts and other projects?
If what you are dying isn’t too precious, natural dye is a fun way to play around.
However, stick to natural fibres like cotton or linen for the best result. Polyester doesn’t absorb dye very well. In fact, you may notice that thread in a shirt might not absorb as much dye as the rest of your natural tie dye tshirt.
Other items that usually work well for natural dye projects are smaller items like fabric napkins or table runners. We will be simmering our project in a pot, so the fabric needs to sit comfortably in your vessel.
To make a natural tie dye Tshirt like this, you will need:
- Plain old cotton Tshirt (or something else to dye)
- Paprika (I used 1/8 of a cup)
- Salt (I used 1/8 of a cup)
- Onion skins
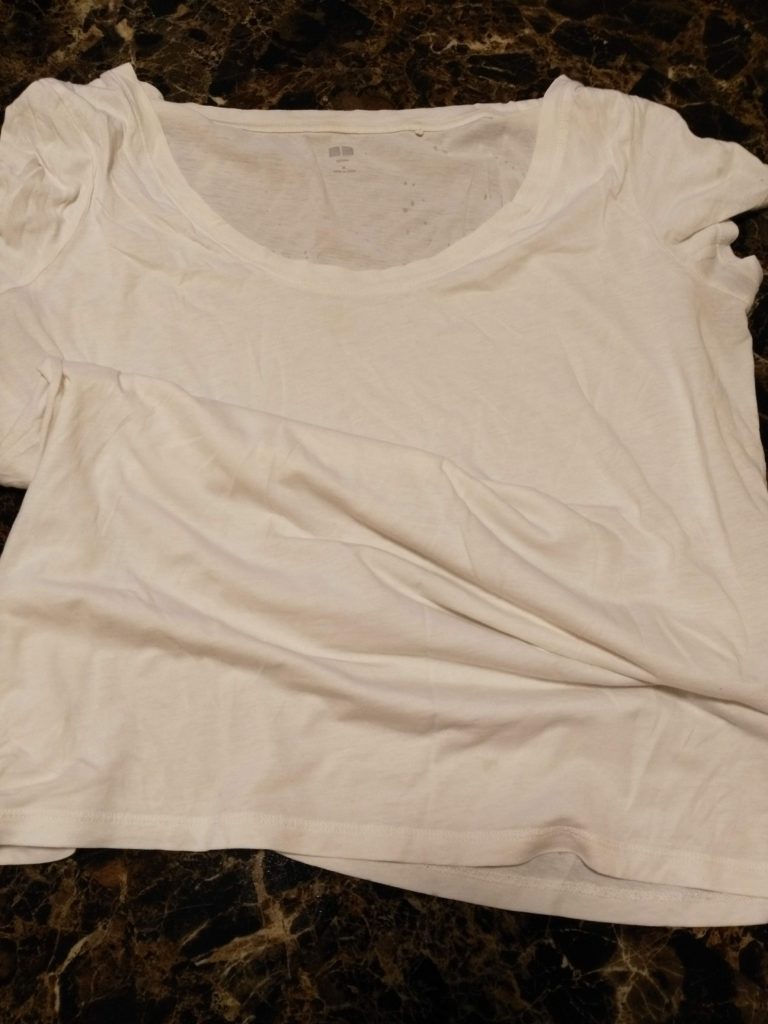
Pre-wash your Tshirt/fabric
This post contains affiliate links. Should you click a link and later make a purchase, I receive a small commission at no extra cost to you.
Before starting just about any dying project, you need to wash your fabric. This helps soften new fabric and removes “sizing” (chemicals added to the fibre when it is being turned into fabric) which can prevent the absorption of the dye. If your item is well-worn and washed many times, I would still wash it again to get rid of oils and dirt that can do weird things when dyed. (Sometimes you can dye over stains and sometimes they are still there, just a different shade of dye…don’t ask how I know….).
I like to use Tru Earth Eco Friendly laundry strips – think of them as just the detergent without the water. This eco friendly alternative to regular detergent is convenient and easy to use as the detergent looks almost like a little foam sheet.

For more on eco friendly washing, read my post on Eco friendly laundry room tips.
Tie your Tshirt or other fabric
Once you have selected and washed your fabric, let’s tie it!
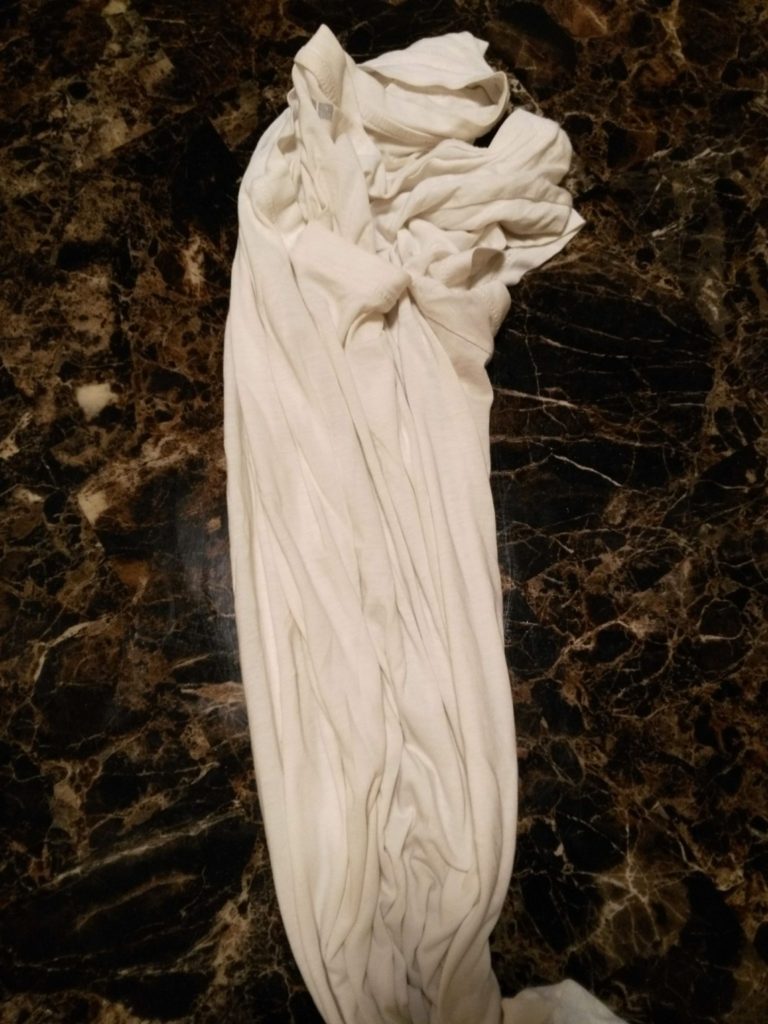
In this example, I scrunched my tshirt and tied yarn around it in a cris-cros fashion. I thought this might leave lines where the yarn was – it did not. If I were to do this again, I would wrap each section multiple times.
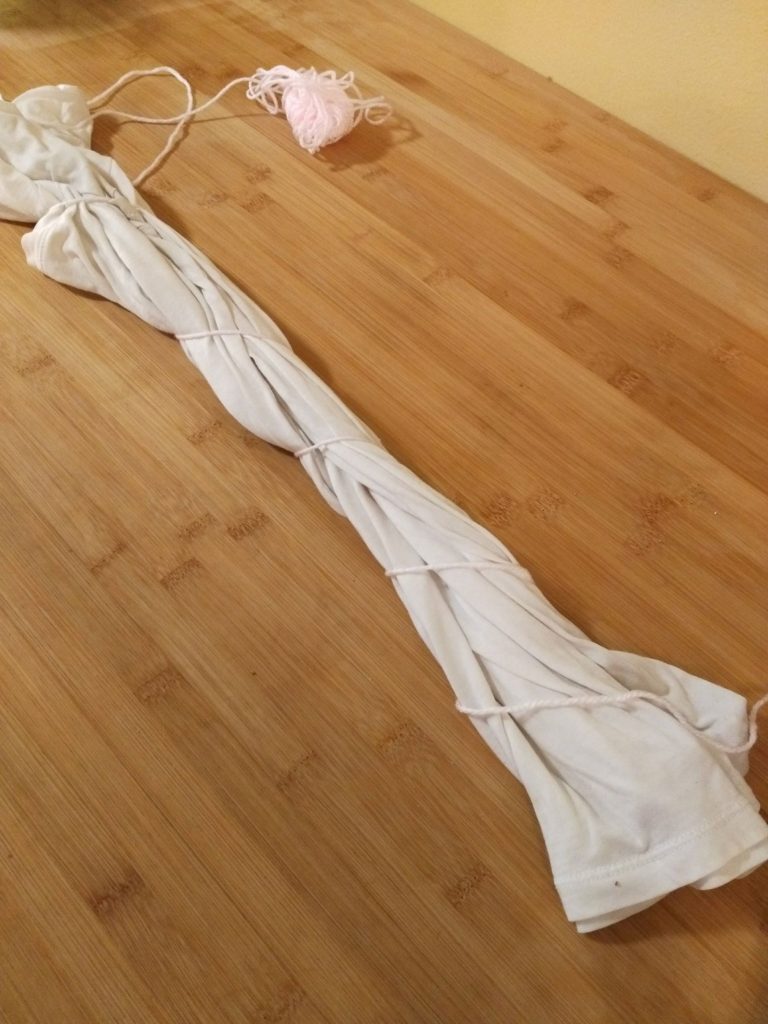
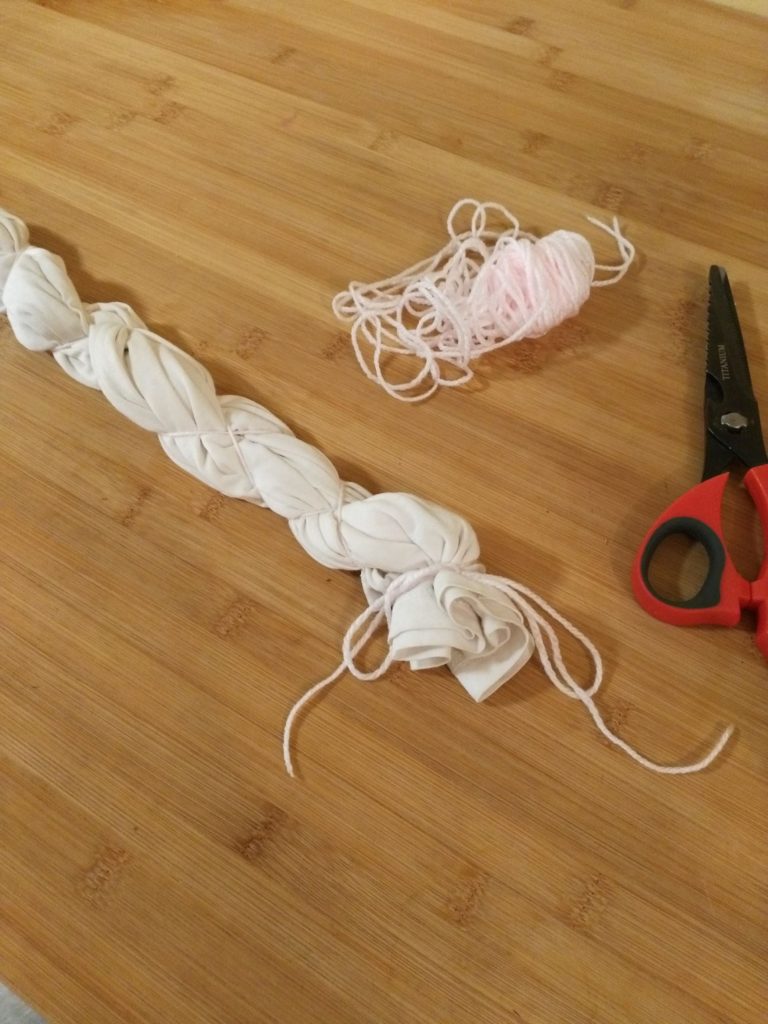
The idea behind tie dye is that the dye doesn’t reach the part that is scrunched up/tied, at least not as much. So you can do whatever you like here – there is no incorrect way! The reveal of the natural dye Tshirt is part of the fun.
While mine didn’t end up looking super tie dyed when it was done, it had an interesting mottled effect.
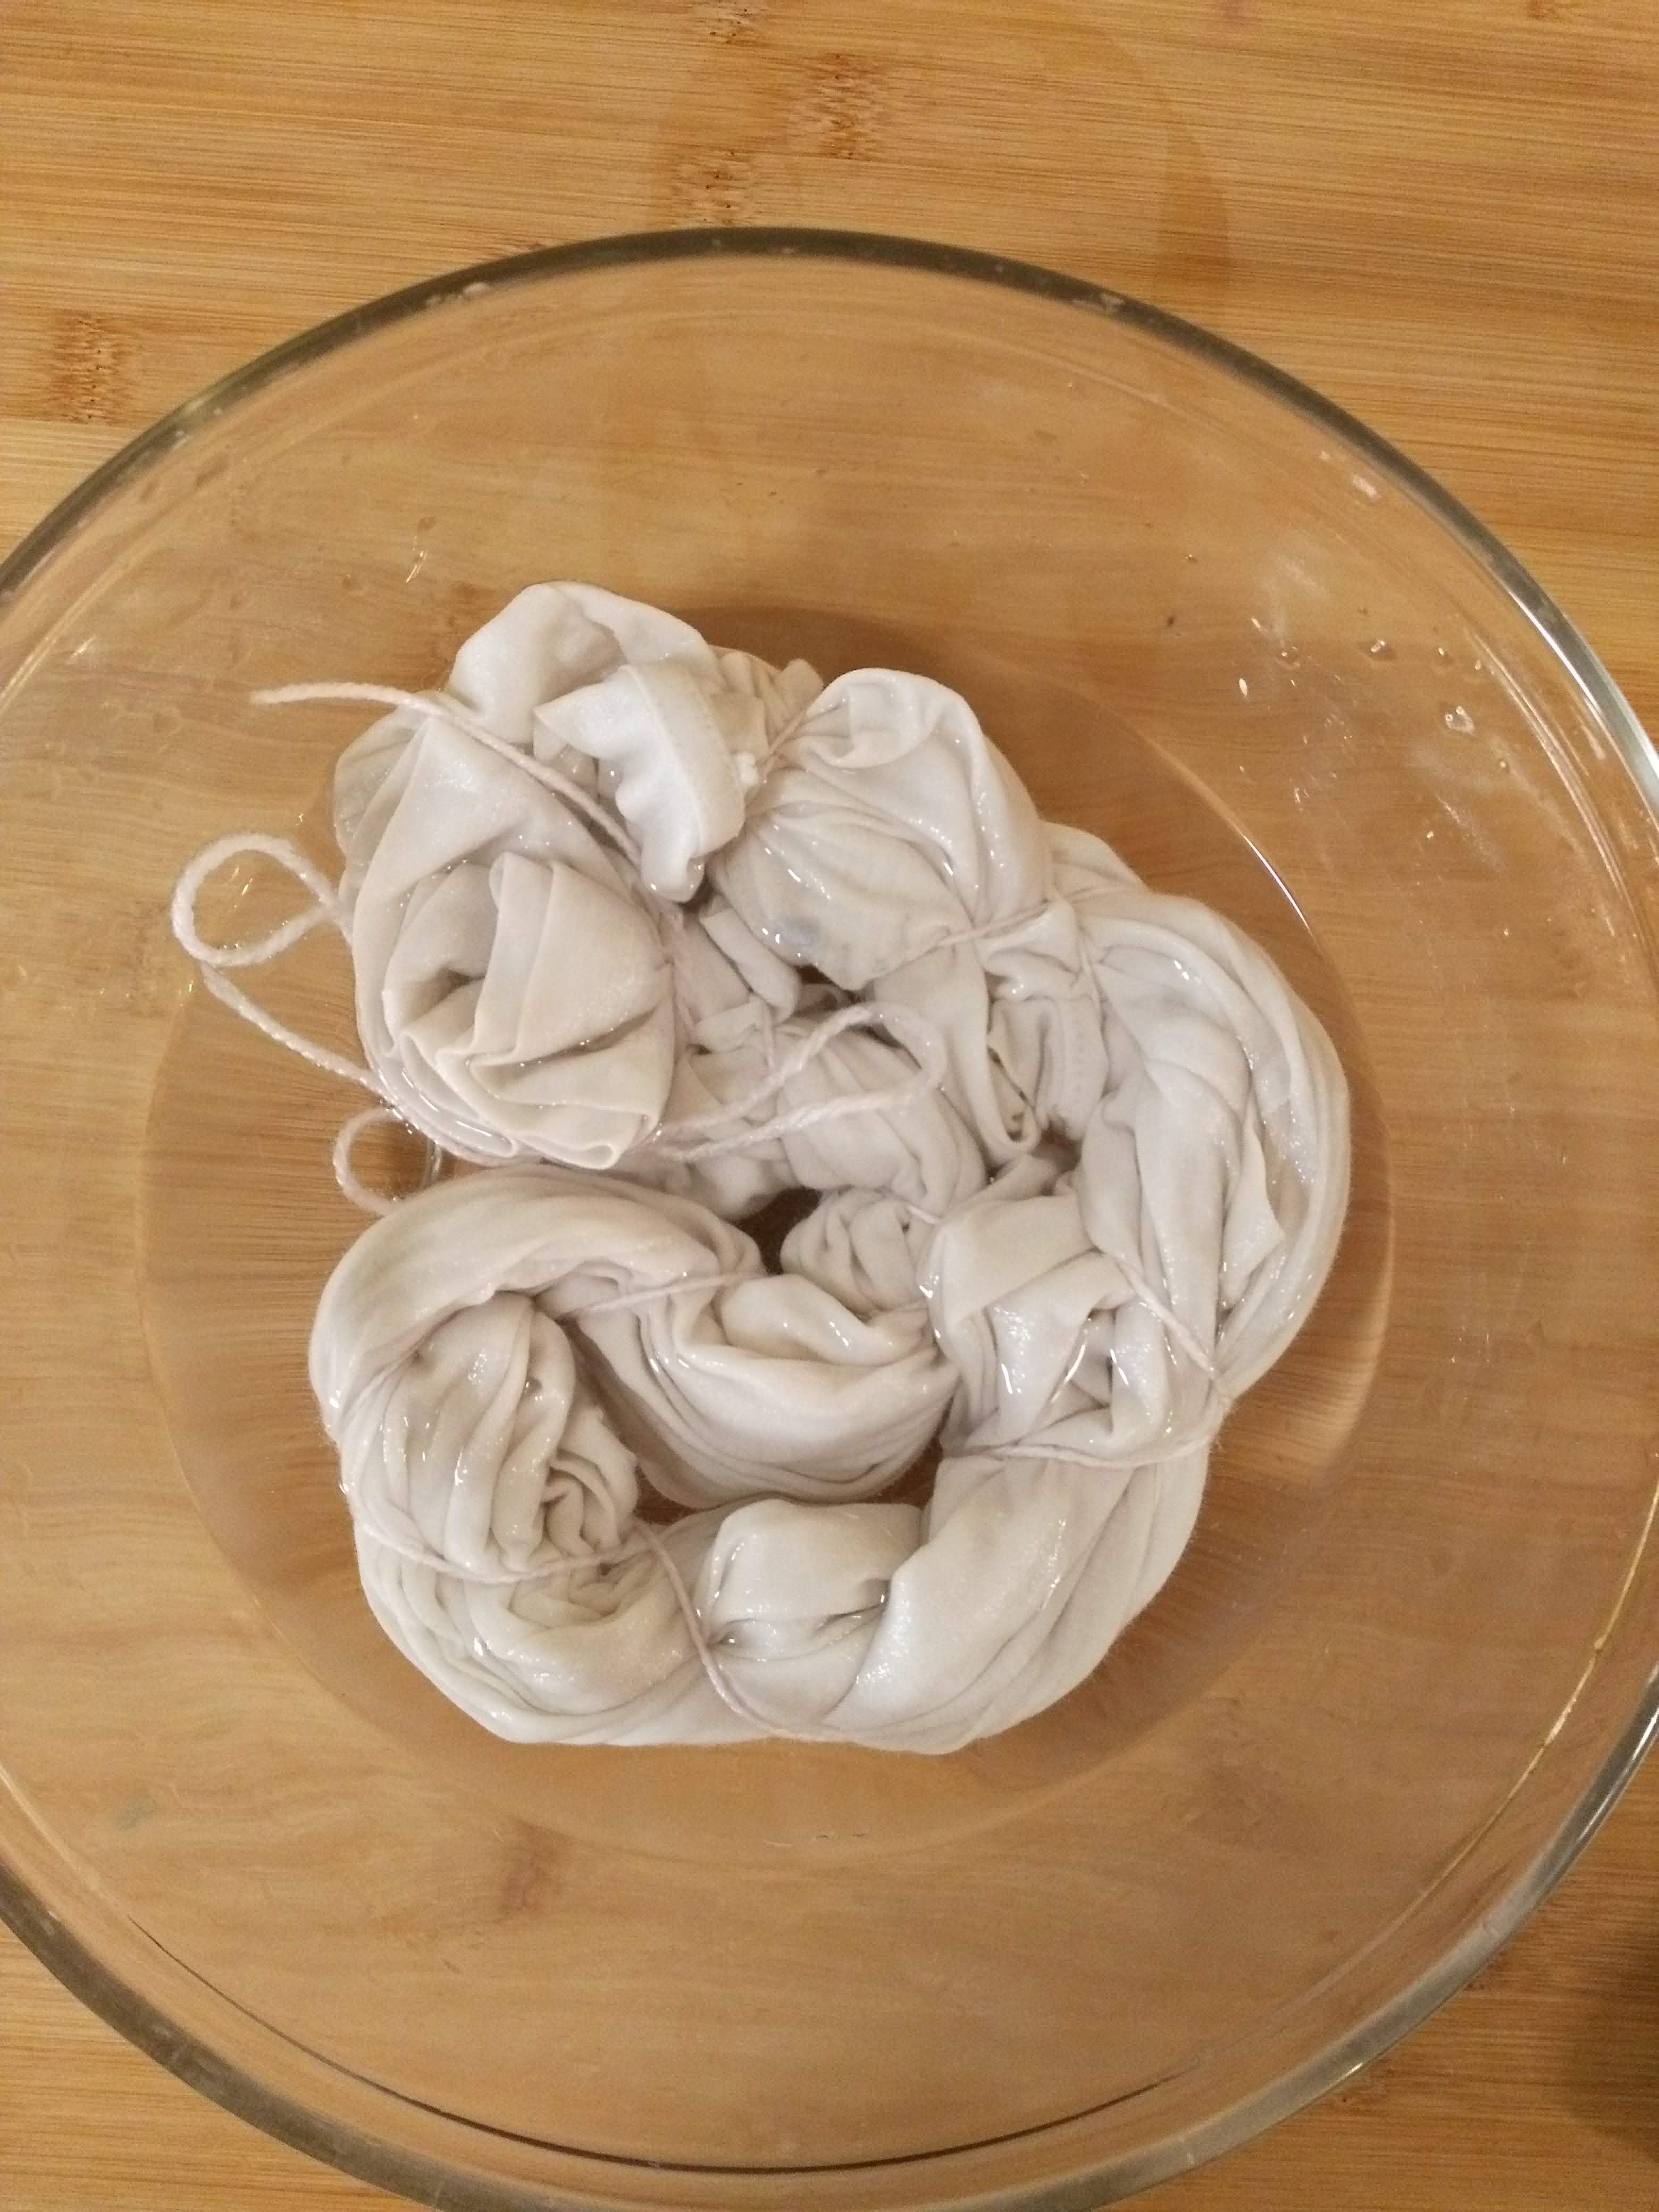
After you tie your fabric, place it in a bowl of water so it gets saturated with water before going in the dye bath. This helps it absorb dye more evenly (unless you want it even more mottled of course).
If you are going for an evenly dyed piece, make sure to wet your fabric.
Add your ingredients to your natural dye bath.
Fill your large pot with enough water to cover your project and bring to a boil. Don’t add your fabric yet!

I was thinking of a reddish orange colour when I started this project, and grabbed some paprika and salt out of the cupboard. I added about 1/8 cup of each to the pot.
Stir to dissolve and mix the salt and paprika. The paprika is for the colour, and the salt helps the fabric absorb the dye.
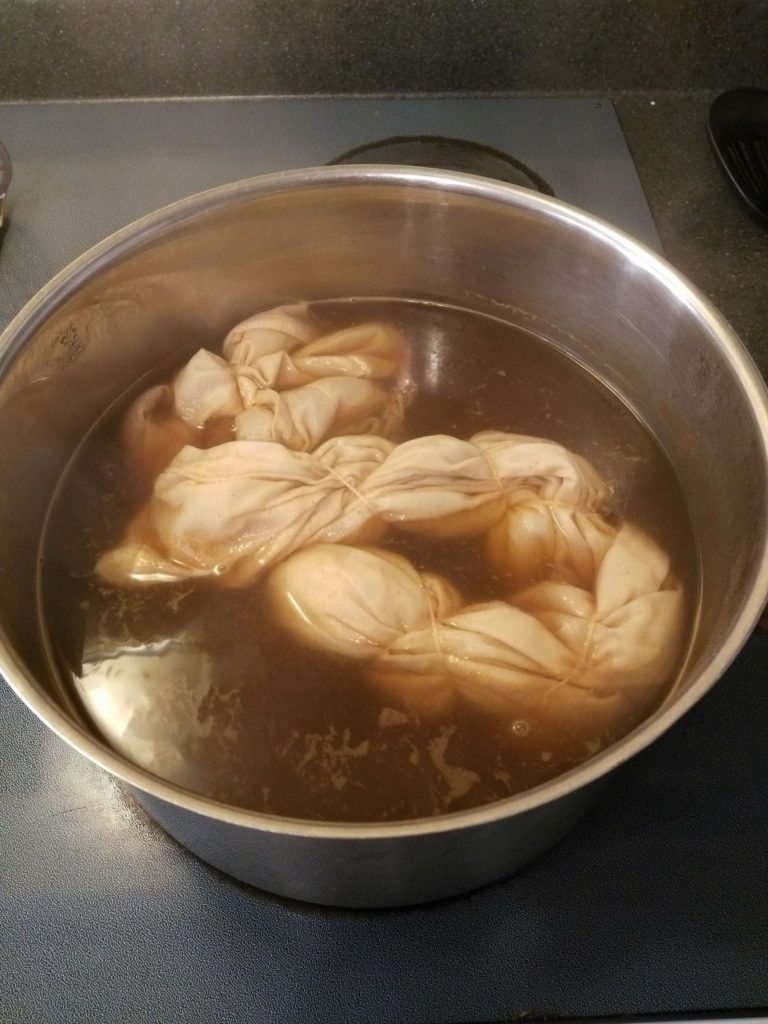
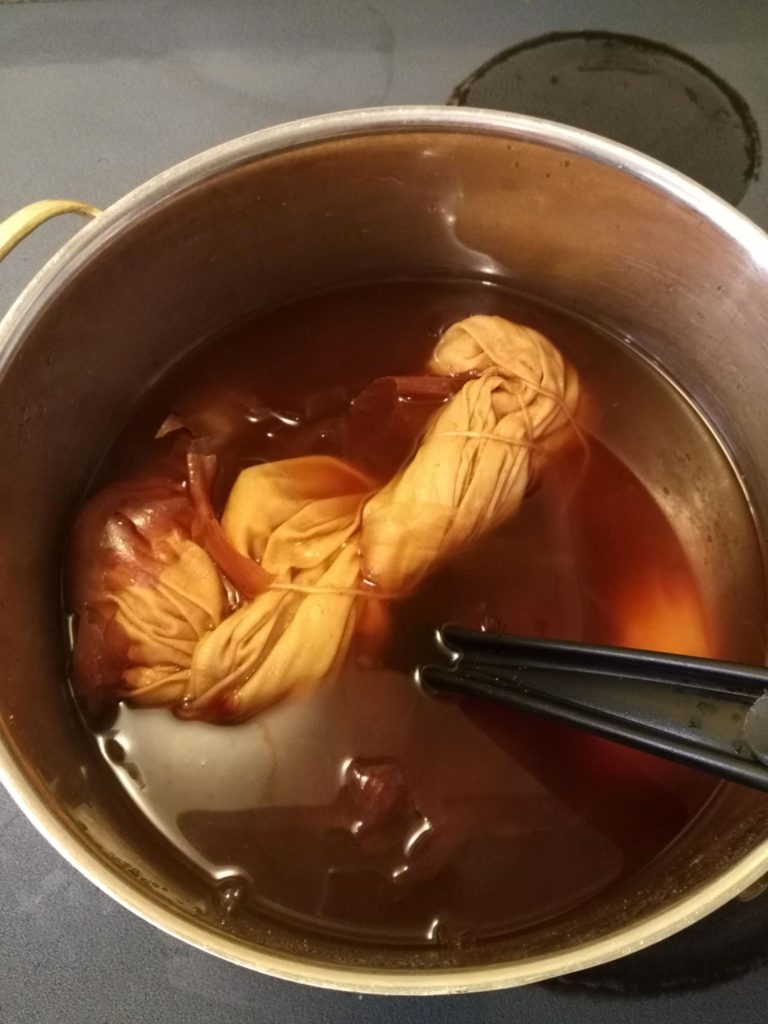
Turn the heat down to a very low simmer and carefully add your project and stir. You want to avoid having too many air bubbles that cause the fabric to sit above the water. There will be some. These spots aren’t getting as much dye, so if you are going for a more even effect you will have to stir more often.
WARNING! DO NOT LEAVE YOUR SIMMERING POT OF FABRIC UNATTENDED. THE STEAM CAN FORM AIR POCKETS THAT CAN CAUSE YOUR FABRIC TO BOIL OVER, POSSIBLY ONTO THE BURNER.
I let this simmer, stirring occasionally, for about 10-15 minutes. After this amount of time, you can get some idea of the colour.
Adding onion skins to the dye bath
At this point, the colour was not nearly as bright as I had anticipated. So I added onion skins I had kept in a ziploc bag in the fridge. As an alternative, I could have tried adding more paprika, but I keep a bag of onion skins on hand in the fridge for natural dye projects!
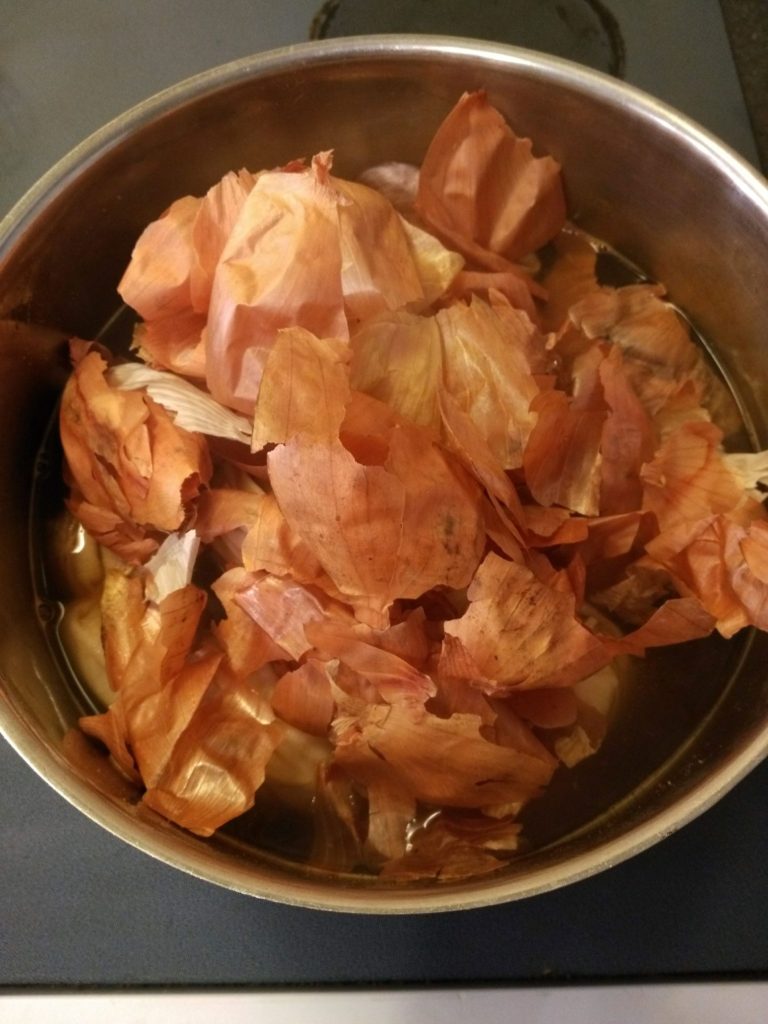
Onion skins make a golden colour. I have done a blog post on natural dying with onion skins previously – check it out here if you want to learn more about natural dye. The way I went about it was slightly different, using alum in the dye bath which may have added to the colour.
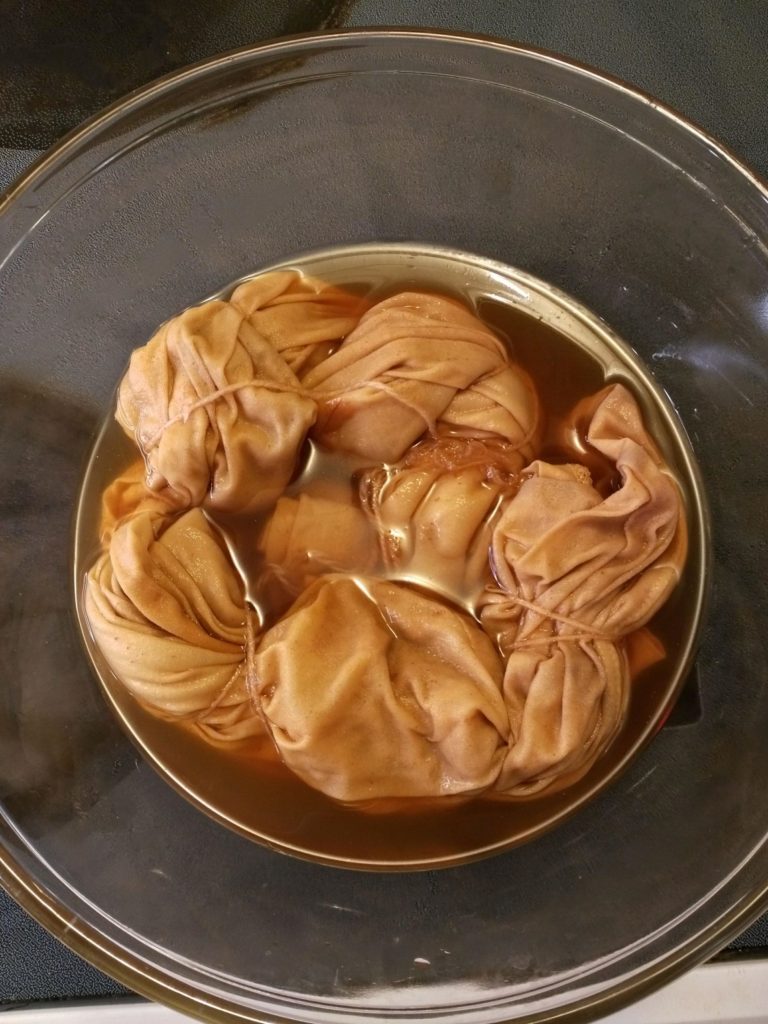
I dumped the onion skins on top and let it simmer for about 10 minutes, stirring occasionally. The colour became more vibrant, which is what I wanted. Then I shut off the heat, and let it sit for about an hour, stirring infrequently.
Rinsing your natural tie dye Tshirt
When you are ready to take out your Tshirt, scoop it out of the pot and into a bowl – careful, it is hot!
Add some cool water, and when it is cool enough to touch, carefully cut your string and open up your natural tie dye Tshirt.
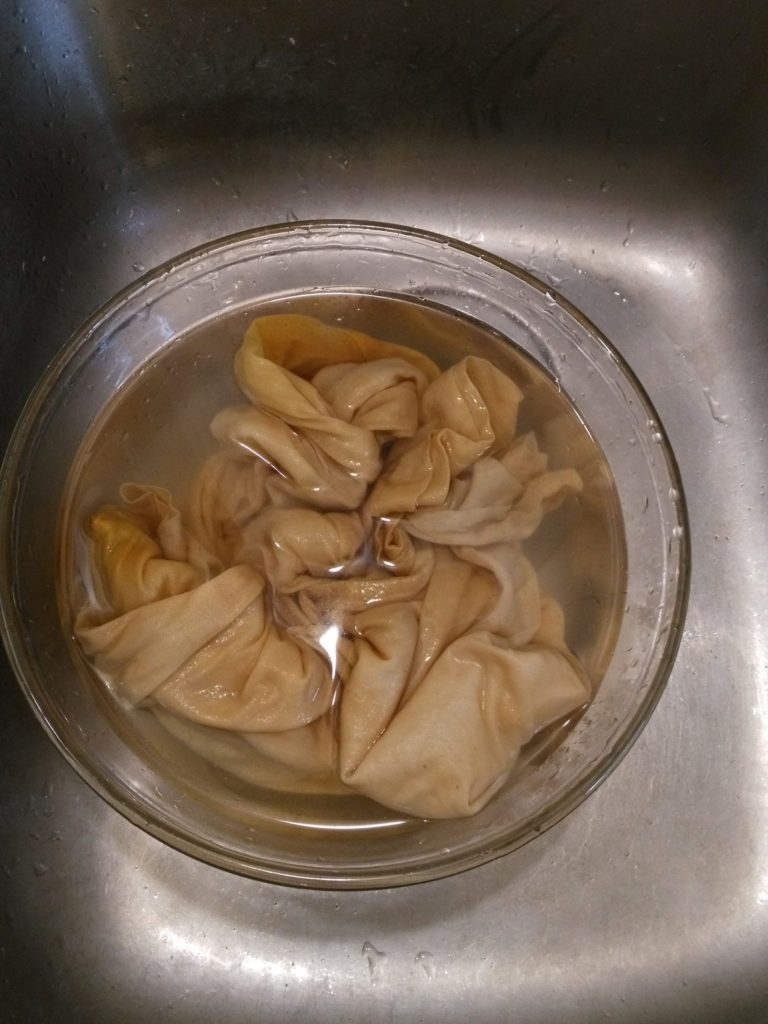
Give it a good rinse. This may take a while. You want the water to get as close to clear as you can. Pay special attention to remove any paprika granules and onion skin.
Hang your project to dry.
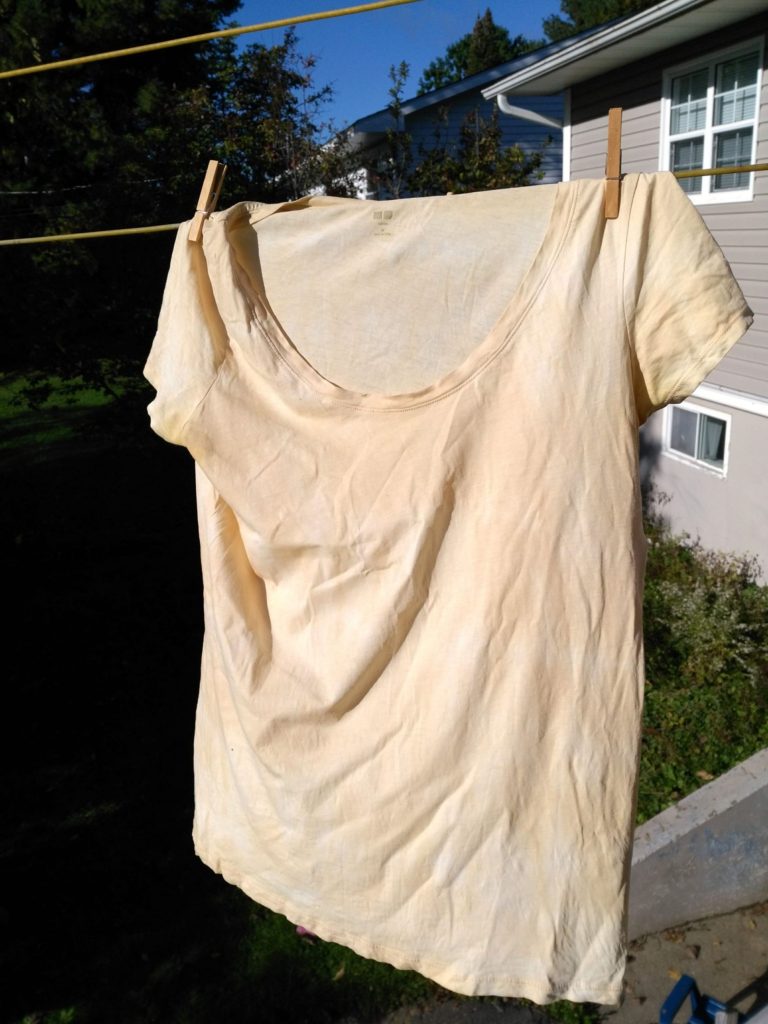
You’ve now completed your natural tie dye Tshirt!

Want to learn more about altering clothes you already have, to fit your unique body and style? Receive my free guide full of tips to get you started doing your own clothing adjustments by signing up to my newsletter here.
POST YOU MIGHT LIKE: Sew a skirt from a maxi dress
7 responses to “Natural Tie Dye Tshirt process”
I might have to try this! Have you ever tried using other vegetables like beets?
I haven’t tried beets but I have done just onion skins. I have done coffee grinds, tea. I’ve heard from others who have used concord grapes and avacodo skins, but I haven’t tried that myself. The trick is that you have to use a fair bit of the natural dye matter. Avocados actually dye it pink!
If you want to read my post about onion skin dyeing https://elisesewingstudio.com/how-to-dye-fabric-with-onion-skins/
This summer I did a lot of tie-dying with my daughter. Like this natural option even better. Will have to try this with her for sure. Thanks for the info.
Yes it’s fun to play around with! Kids can tie the fabric while the adult tends to the dye.
That sounds like so much fun. It would be fun to play with all the color possibilities too!
Looks interesting
Turmeric leaves a bright yellow/gold color. Learned that the hard way. Won’t even wash out of my poly fleece sweatshirt! Teal shirt, no less!
Great post! Thanks.