We are a participant in the Amazon Services LLC Associates Program, an affiliate advertising program designed to provied a means for us to earn fees by linking to Amazon.com and affilated sites. We may earn money or products from the companies mentioned in this post.

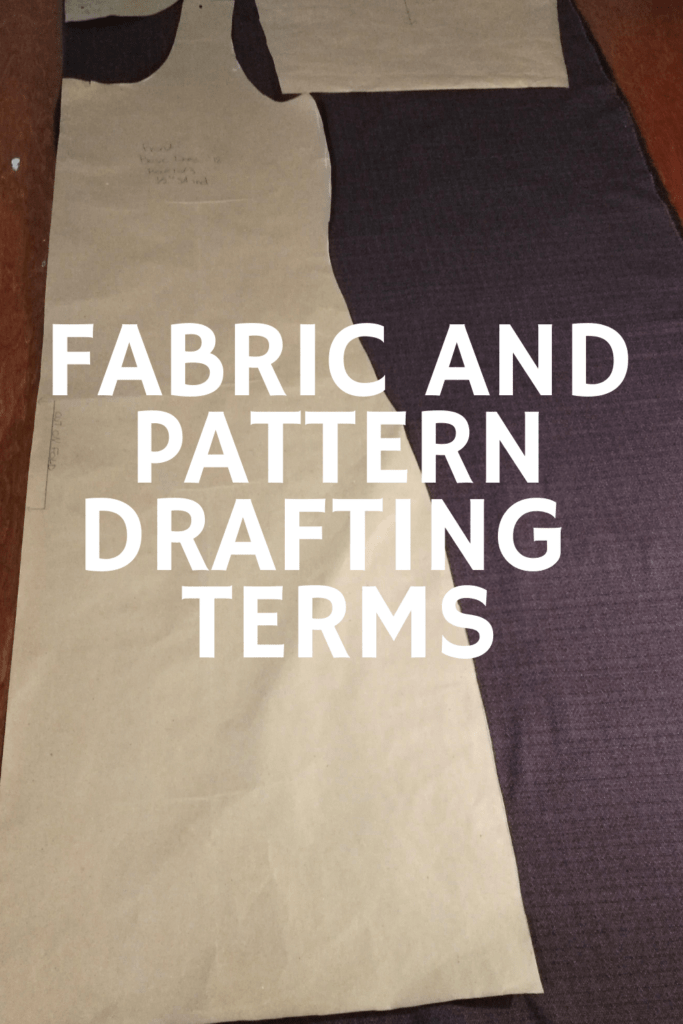
Grainlines. Bias. Cross grain. The world of sewing and patternmaking has a lot of words that a beginner or intermediate sewist might not be clear on what they mean – and this can affect the outcome of thier sewing projects. I thought I would devote a blog post to dive into some of these words to help make following tutorials and pattern instructions easier. I’ve also worked in some tips on pattern layout and cutting.
GRAINLINE:
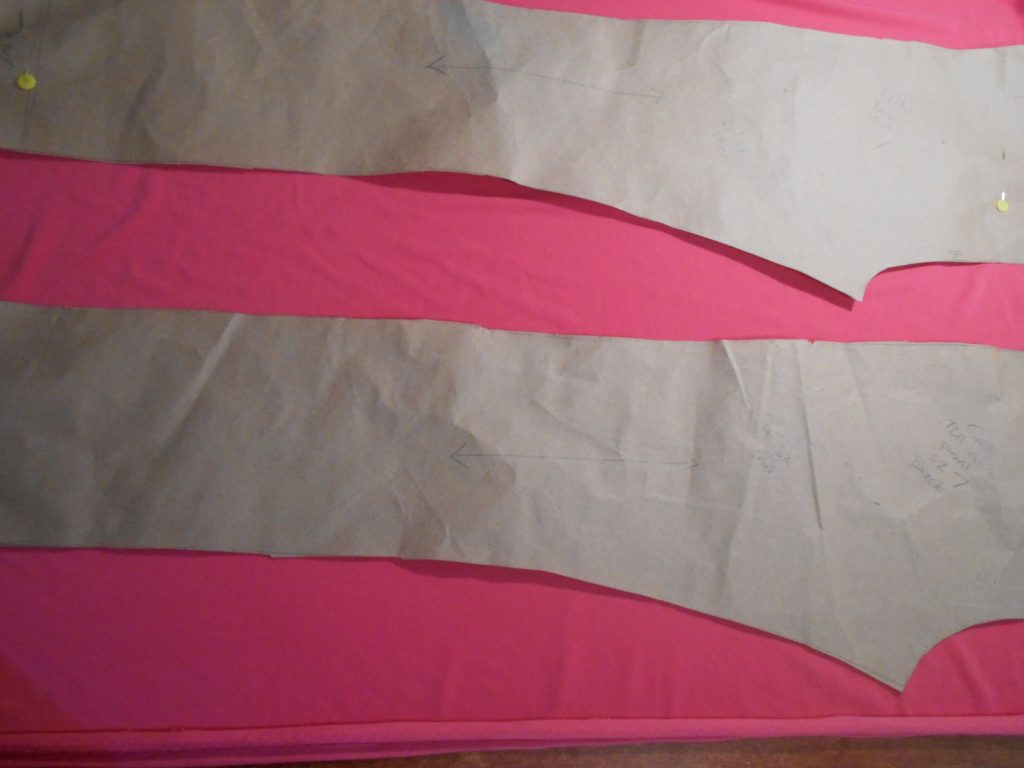
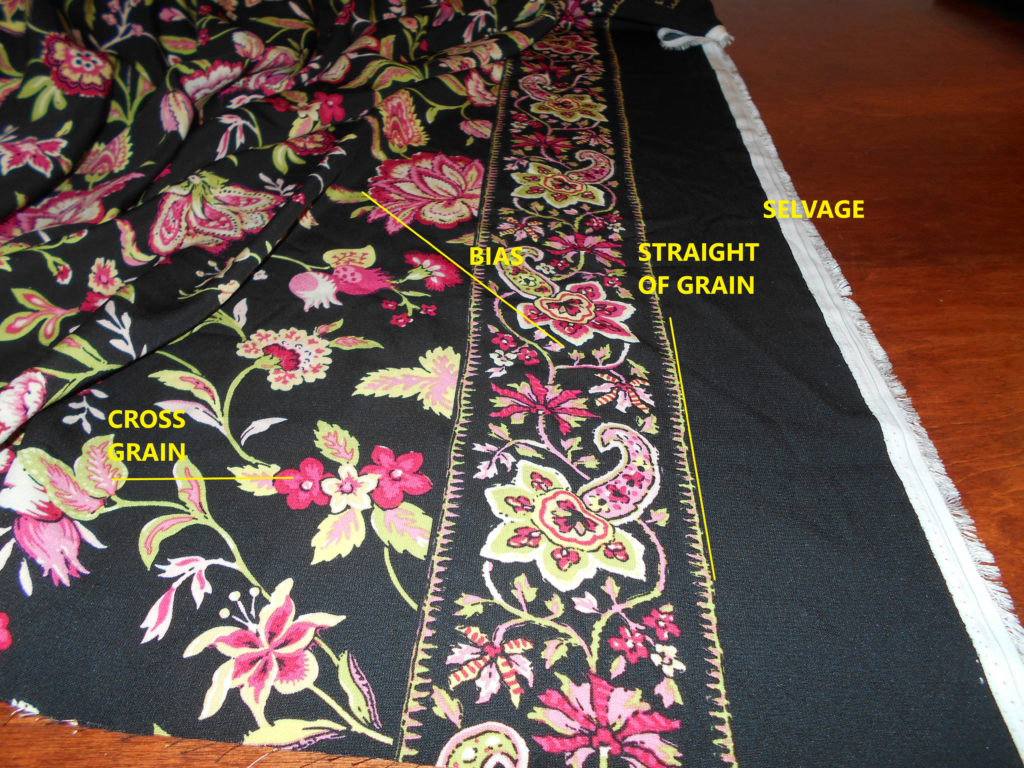
The grain of the fabric refers to the direction of the weave of the fabric – the direction of the threads that have been woven together to create the fabric. When you cut out a pattern, it is important that you line your pattern piece out correctly. If a pattern is designed to be on the straight of grain, the piece is cut with the grainline parallel to the selvage. Most pattern pieces go on the straight of grain, but there are many exceptions.
When you trace out a pattern on fabric it is important to follow the directions for placing the fabric on the correct grain. The up and down arrow should run parallel to the selvage (edge) of the fabric. How that piece of fabric has been placed and cut affects how the garment hangs and drapes when worn. Have you ever bought something that seemed to twist to one side after a few washes? Most likely, that was not cut straight – it might have been a bit crooked (grainline not quite parallel to the selvage) when it was cut, which is why the garment twists over time and won’t sit right.

SELVAGE:
The finished edge of a length of fabric when it is uncut. Or, the sides of a bolt of fabric. Sometimes information like the fabric company or fibre content is printed here.
BIAS:
Think of the bias as a diagonal line going across a piece of fabric. When fabric is hanging this way, it drapes softer, slinkier. You may have heard of “bias cut dresses”, which are slinky dresses cut on the diagonal of the cloth. When an item is cut on the bias, it has a tendency to stretch – it’s recommended to let a bias cut dress hang overnight before hemming because the hem of the dress can seem to “grow” or stretch out overnight.

To help demonstrate the difference between bias cut versus straight cut fabric, take a piece of fabric and give it a gentle tug on the straight of grain (straight up and down), cross grain (across) and then the bias (diagonal). The diagonal direction has a bit of give or stretch to it, and therefore garments cut on the bias have more bounce and movement to them. This is also the same reason that armholes and necklines can stretch out when you sew them – parts of the arm and neck will go through the bias. It’s good practice to stay stitch (run a line of stitching) in the seam allowance of the armholes and necklines after they are cut so that it doesn’t stretch out when you go to sew it. It’s one of those extra steps where a few extra minutes of care can save a lot of headache later (like your collar or facing being too small to fit the neckhole, because the neckhole has stretched out along the bias).
SIZING:
When a material is woven into fabric, it is typically treated with chemicals to aid in the weaving and fabric production process. This is referred to as sizing. Most of the time it is recommended to wash your fabric before use to remove the sizing in the fabric (assuming the fabric is machine washable – not all fabrics are – be sure to check first). This also softens the fabric.
NAP:
Fabric with a pile (such as velvet) has an up and down direction. It is important to cut the fabric with the nap going in the same direction. This is because it reflects the light in a certain way whether the nap is going up or down – and if it is mixed up it will look somewhat mismatched, with some sections lighter and darker than the next because of the direction of the nap. I like to mark the wrong side of my garment with an arrow pointing up while I am cutting out the pieces to avoid mix-up.
I hope this lesson helps you understand more about fabric and cutting patterns. Are there any other fabric terms you want to know more about? Leave a comment if you have a question or want to know more.
Want to learn more about altering clothes you already have, to fit your unique body and style? Receive my free guide full of tips to get you started doing your own clothing adjustments by signing up to my newsletter here.
YOU MIGHT ALSO FIND HELPFUL: Pressing and Ironing Tools
