
We are a participant in the Amazon Services LLC Associates Program, an affiliate advertising program designed to provied a means for us to earn fees by linking to Amazon.com and affilated sites. We may earn money or products from the companies mentioned in this post.

Making a DIY cloud tutu from tulle
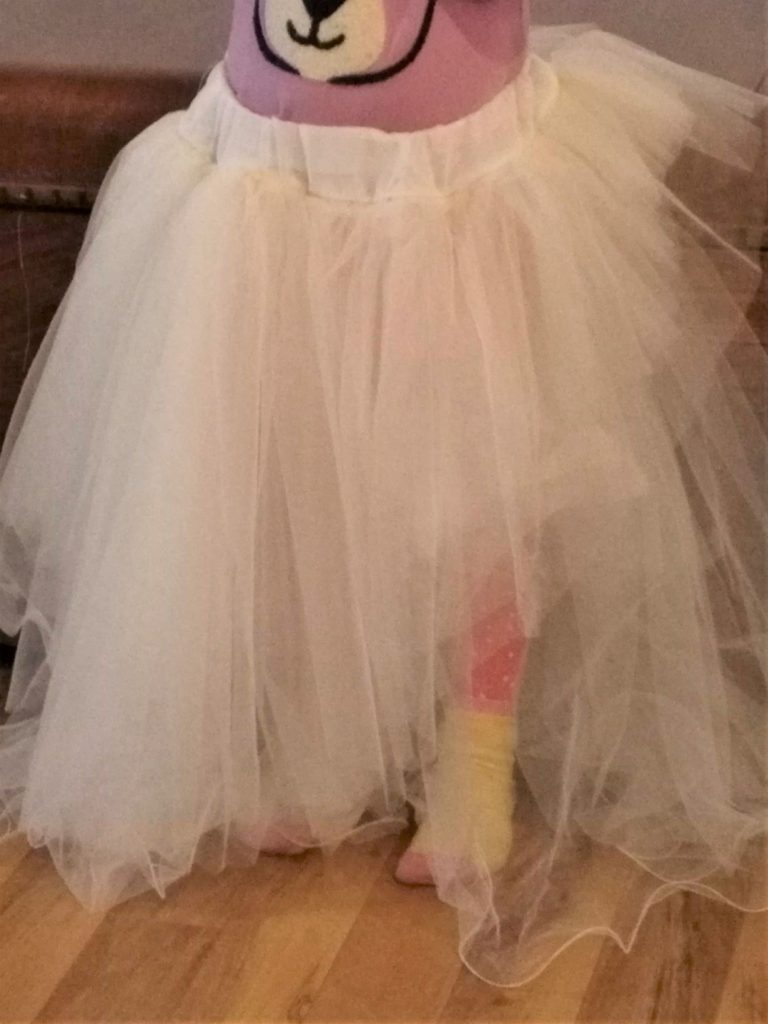
This skirt is actually the bottom part of a rainbow costume – but I thought I would do a tutorial on how to make a DIY cloud tutu first, and then a separate post on the rainbow portion.
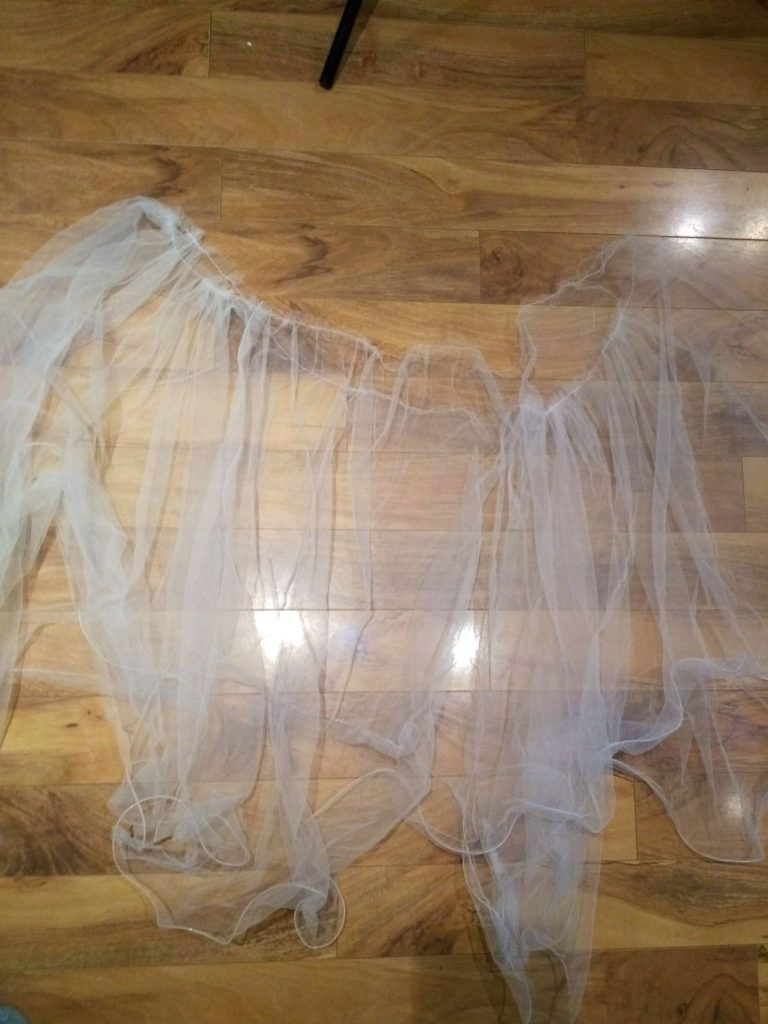
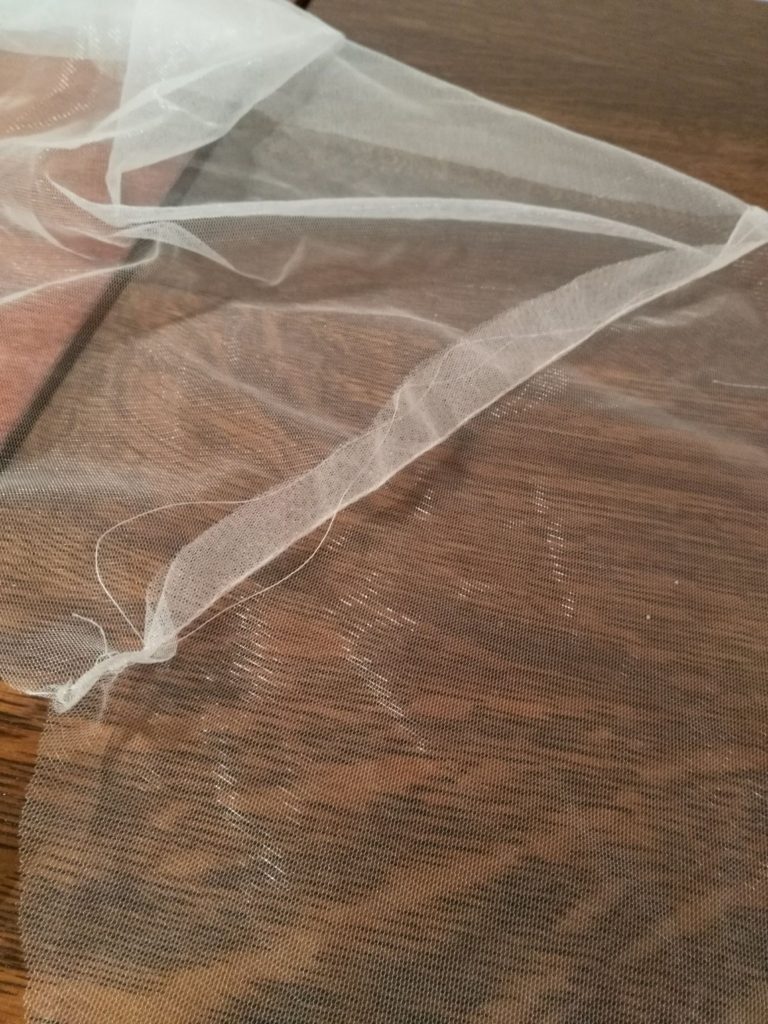
I actually made this skirt from bridal hems that would have otherwise gone in the trash! However, you can make this from tulle yardage. Lots of tulle yardage. I’ll get into the specifics in a minute.
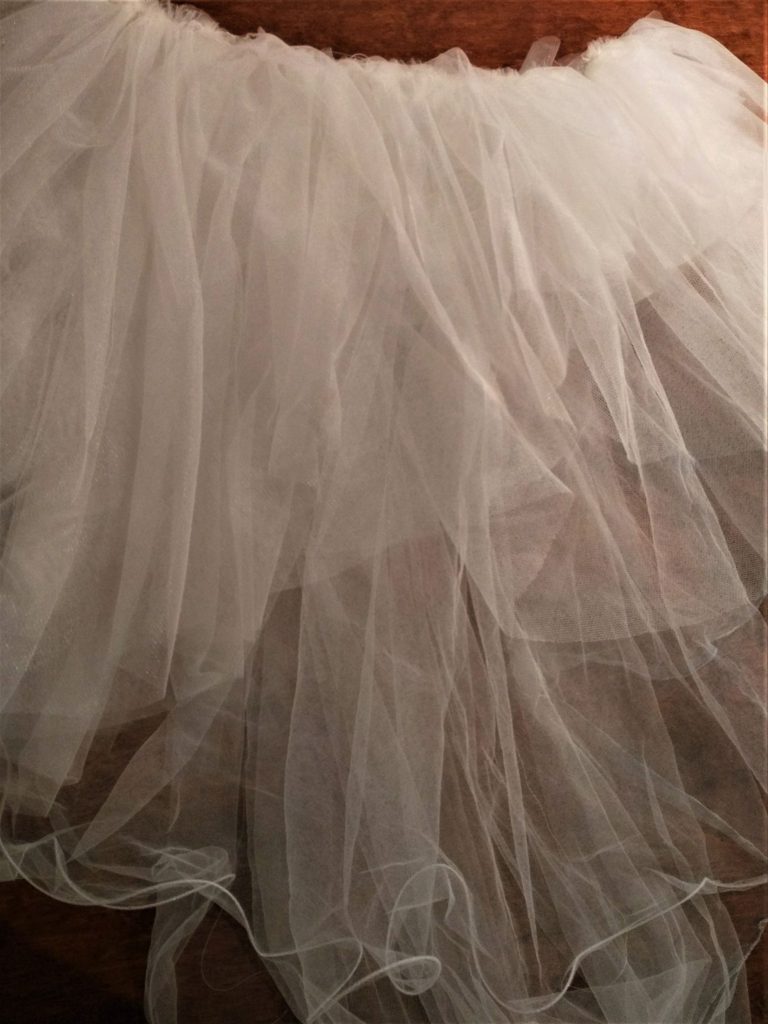
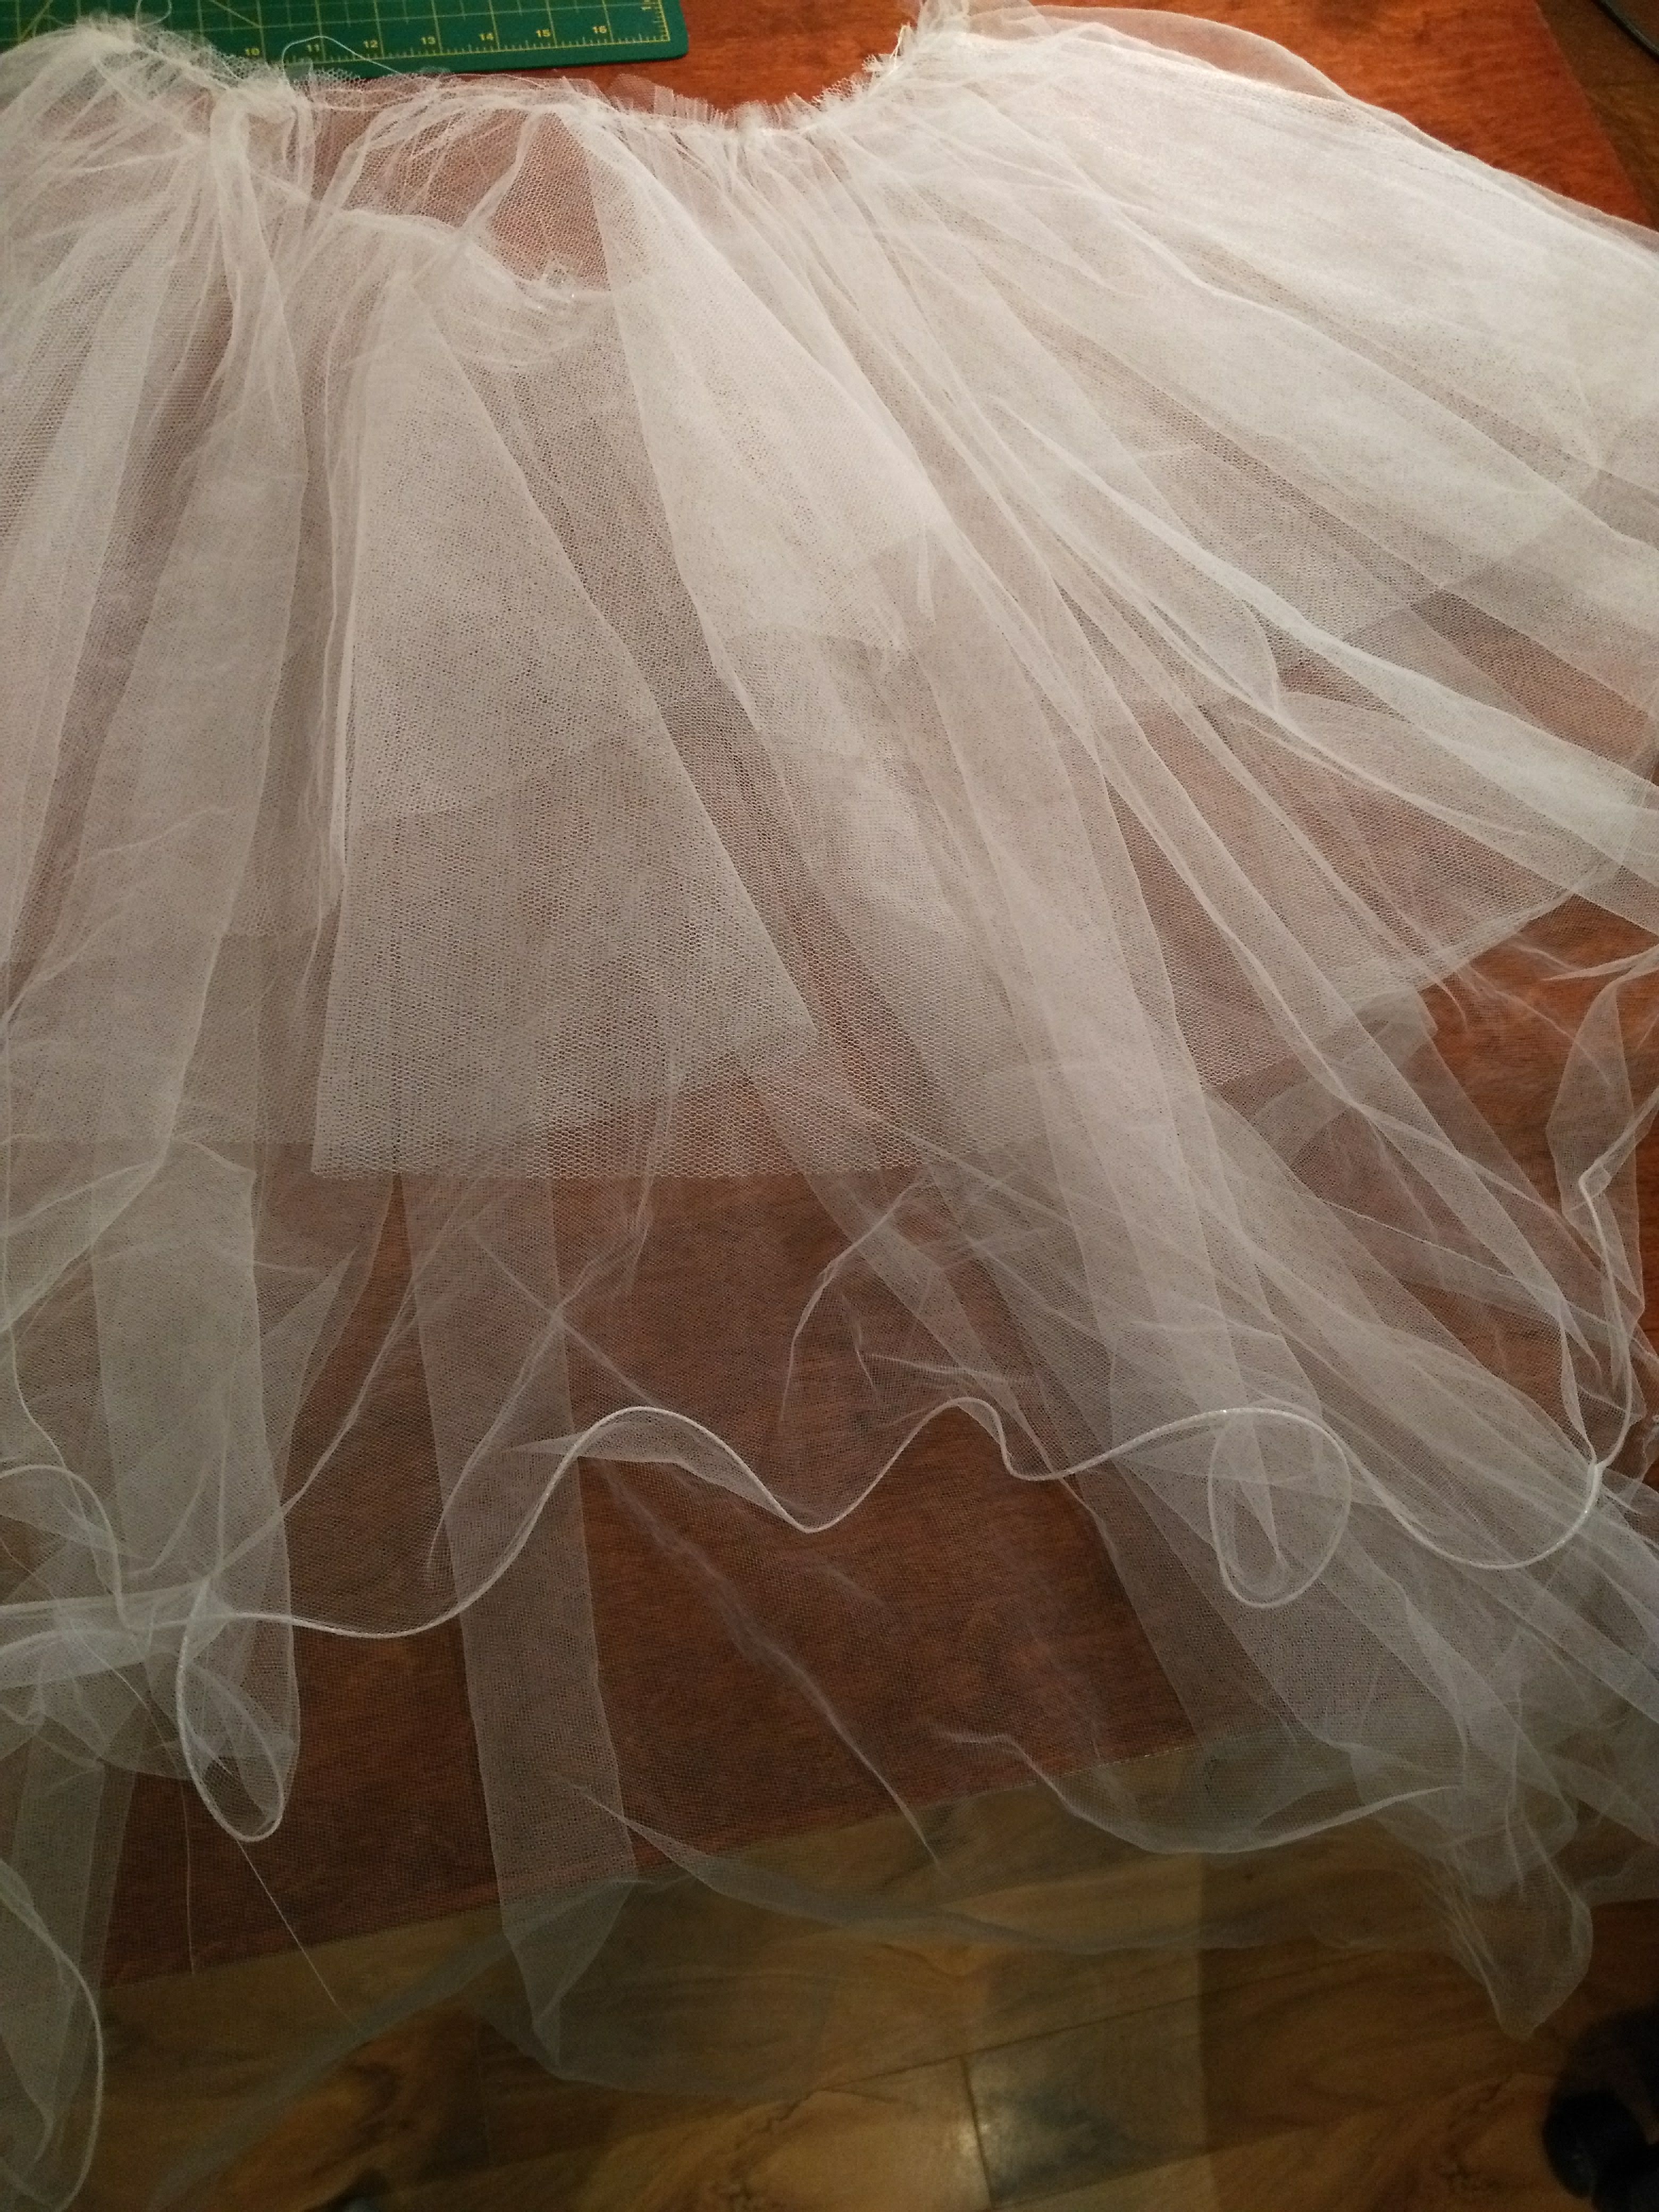
Since I wanted this tutu to be like a cloud, I decided to make it asymmetrical. The bottom tulle layers are the same length, but the top 2 are shorter on one side and longer on the other. I like how the short layers puff out.
This post contains affiliate links. Should you click a link and make a purchase, I receive a small commission at no extra cost to you.
DIY cloud tutu – You will need:
- Lots of tulle. You want each layer to be at least 4x your waist measurement. I used 4 layers of tulle and a small layer of stiffer netting. The stiffer netting is optional.
- A small amount of fabric for the waistband (I used a scrap sheer curtain panel casing)
- 1″ Elastic for waistband
- Fabric scissors
- Safety pin
A few notes on tulle before you begin
Sewing with tulle isn’t any more difficult than most other fabrics, but there are a few things to keep in mind.
It doesn’t fray, so you don’t have to sew hems, finish raw edges or make French seams. Just cut and you’re good to go!
Tulle can usually be ironed on low heat – but TEST this on a tiny corner first as it may not always be the case and you don’t want to melt it.
My skirt has 4 layers, but you can use less (or more!) and design as you go. Add more if you want more fullness, or want to play with symmetrical layers.
(Side note: If you want to look at amazing tulle dresses, check out the spring 2010 collection from designers Viktor and Rolf. I have been amazed by this collection since it was new and keep finding myself looking up pictures of it….)
Calculate how much tulle you need for your tutu
This was made with 4 layers of tulle. Each layer should be about 4 times the waist circumference (at least!)
So, measure your waist and multiply by 4.
For the length, measure from your waist to however long you want it to be. You do not need a hem allowance and we will be adding a waistband towards the end, so you don’t need to add seam allowances.
Don’t cut your fabric yet! Read the next section first.
This tulle tutu was made with gathered flounces – not just a rectangle of fabric gathered in.
What is the difference between flounces and gathering?
Gathering is just scrunching up fabric along one edge to create a ruffle.
A flounce is when something is cut in a circular shape, so it falls in waves without being gathered. For this skirt, cut the tulle in the shape of a flounce, and then also gather it. This creates the most amount of volume in the skirt.
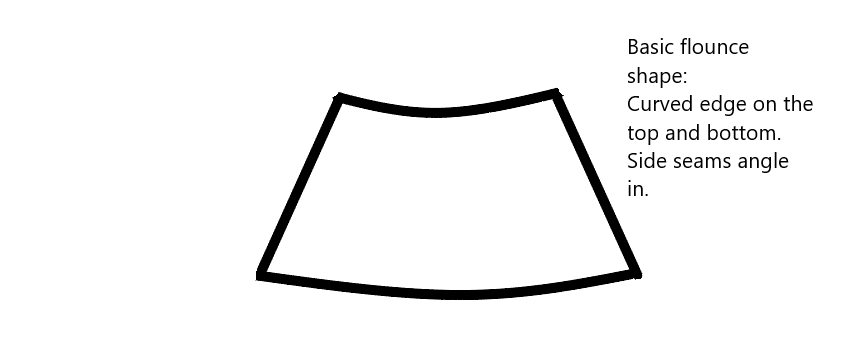
So, this skirt needs 4 pieces of tulle in this general shape. The waist (top curved line) should be about 4 times your waist measurement. In other words:
- Cut 4 panels with roughly this shape, each panel about the length of your waist measurement.
- Then sew together at the side seams. You should end up with a circle.
Repeat for all the skirt layers. You can choose the number of layers.
Constructing the skirt
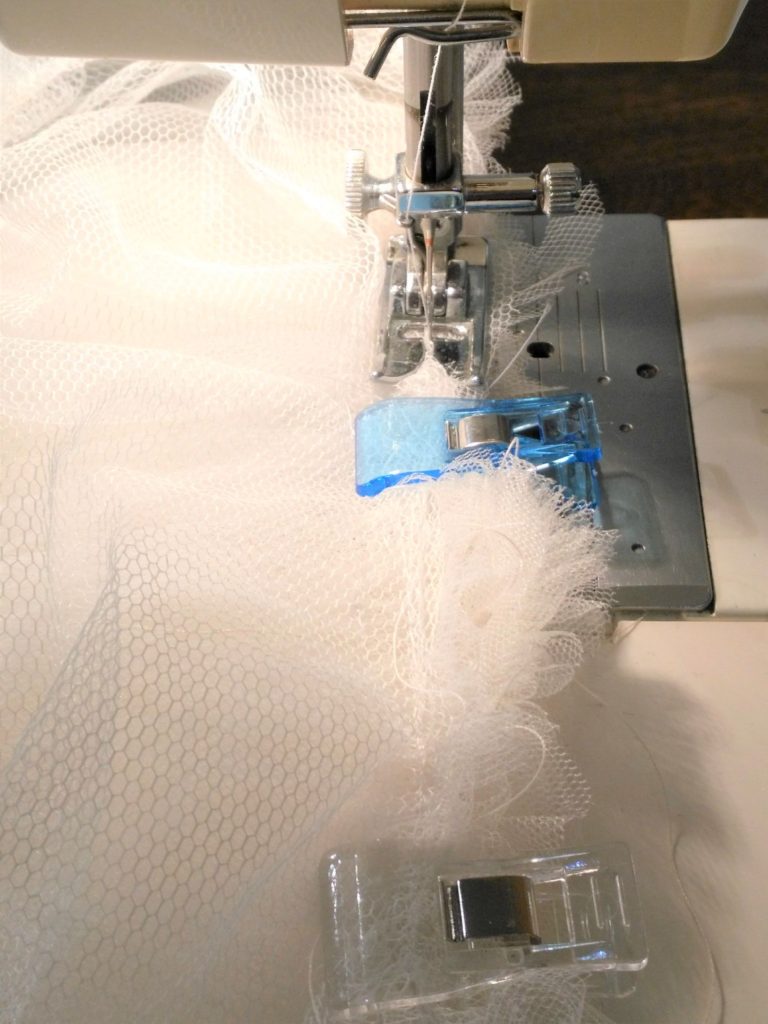
Start with the innermost layer. Sew a gathering stitch all the way around the skirt waistline, about 1/2″ in from the edge. A gathering stitch is a long stitch length – on most machines, it is a 4.
Sew your gathering stitch all the way around. Do not backstitch on either end, as we need to pull these threads to gather it in.
On most projects with a gathering stitch, I sew two rows of gathering stitches. However, for this one I did just one. (This project will take a lot of thread, check your bobbins from time to time!)
Holding your bobbin thread, gather the skirt all the way around until it is roughly double your waist measurement.
Repeat the gathering stitches and gathering on your second layer of tulle.
Put the two layers of tulle together with clips and sew them together with another gathering stitch. We will be gathering them into the elastic waistband later.
Asymmetrical top tulle layer
Since the look I’m going for here is a cloud, I want the skirt to be really puffy.
For the top layer, I had two layers of tulle that were significantly shorter on one side.
The easiest way to do this would be to cut the 4 panels as before, and sew them together on the side seams to make the circle again. Fold in half (so your skirt is in a half-circle) and cut one side much shorter, tapering out to the full length.
You might have to restitch the seams here where the fabric was cut so they don’t come undone. Don’t throw these scraps away – use them to make a headpiece or accessory to go with your costume. (It could be easily scrunched up to make a cloud headband, or bottom of the rainbow).
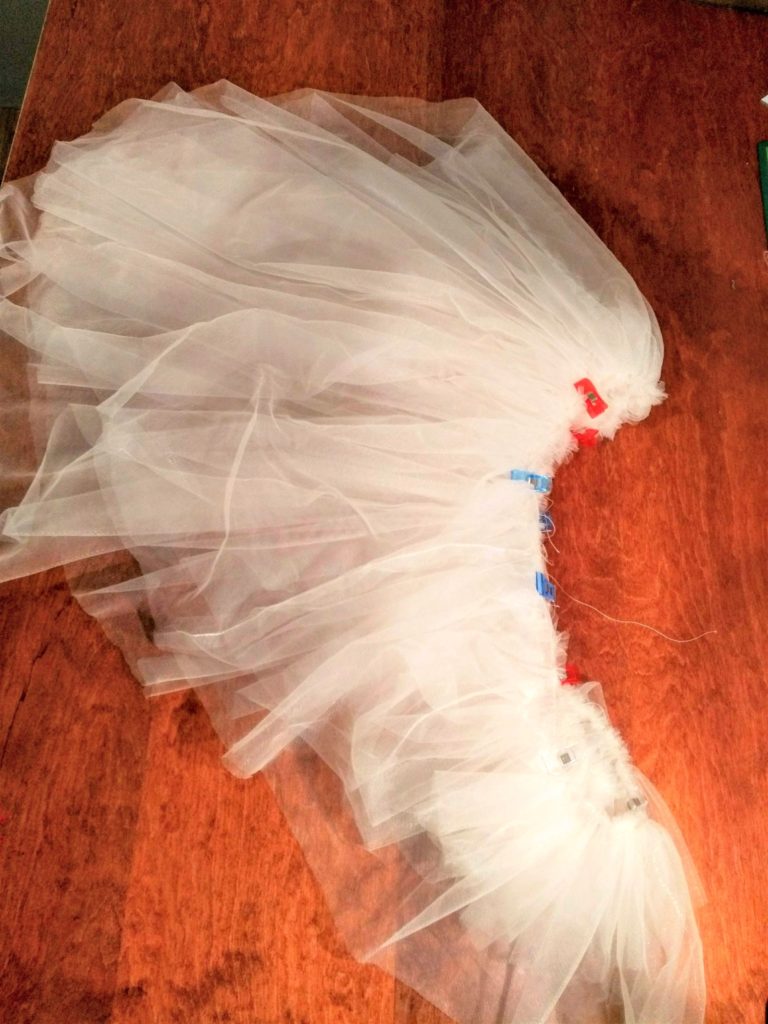
Gather your top layers as before, scrunching them into the same size as your bottom layers.
Use clips to attach all the layers together, and use a gathering stitch all the way around. I suggest clips with tulle instead of pins, as pins will disappear into the tulle and get lost.
After all the layers are stitched together with a gathering stitch, you are ready to make the waistband.
Making the waistband
To get the measurement of the waistband casing, measure around your hips and add about 5″ to get the length. If you have a 1″ elastic for the waistband, make your width for the band 3″.
Cut this out of the fabric you have selected for your waistband. I don’t recommend tulle here. I used a scrap from an old curtain sheer that was in my scrap bin, but any fabric the right colour will do.
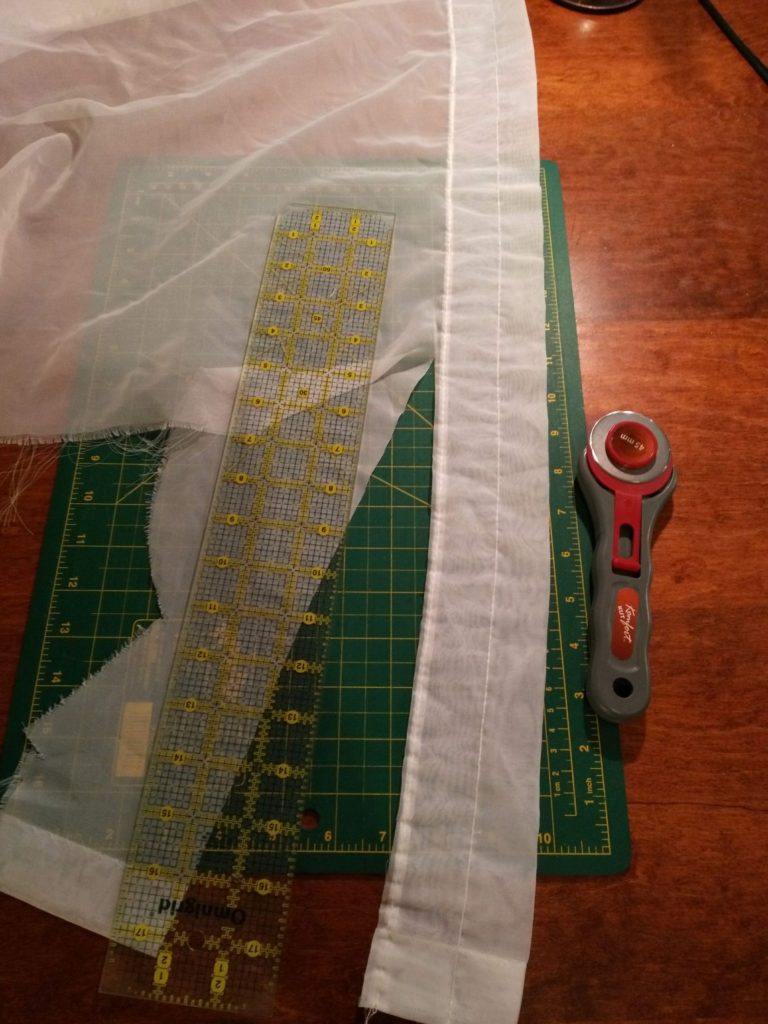
Fold the two short sides in about 1/4″ and press. Fold the waistband in half lengthwise and press.
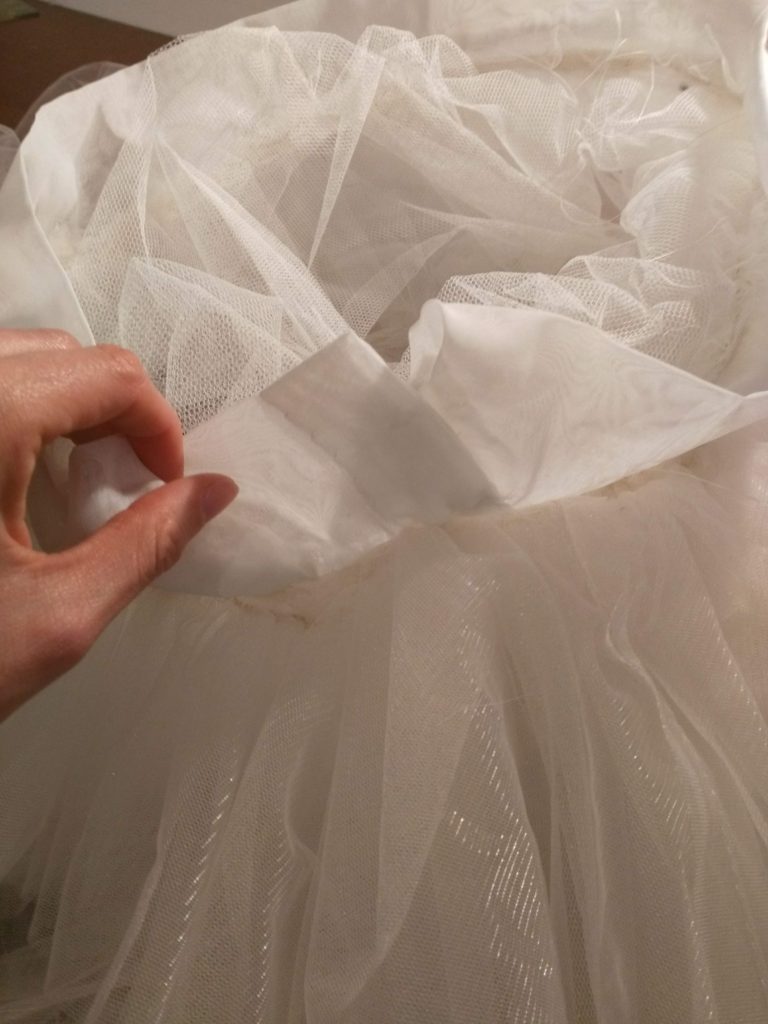
Clip or pin your waistband to your skirt. If the waistband is not the same size as the skirt, adjust the gathering stitches to make it the same size. The waistband should be clipped to the outside of the skirt, with the open edges meeting the edge of the skirt.
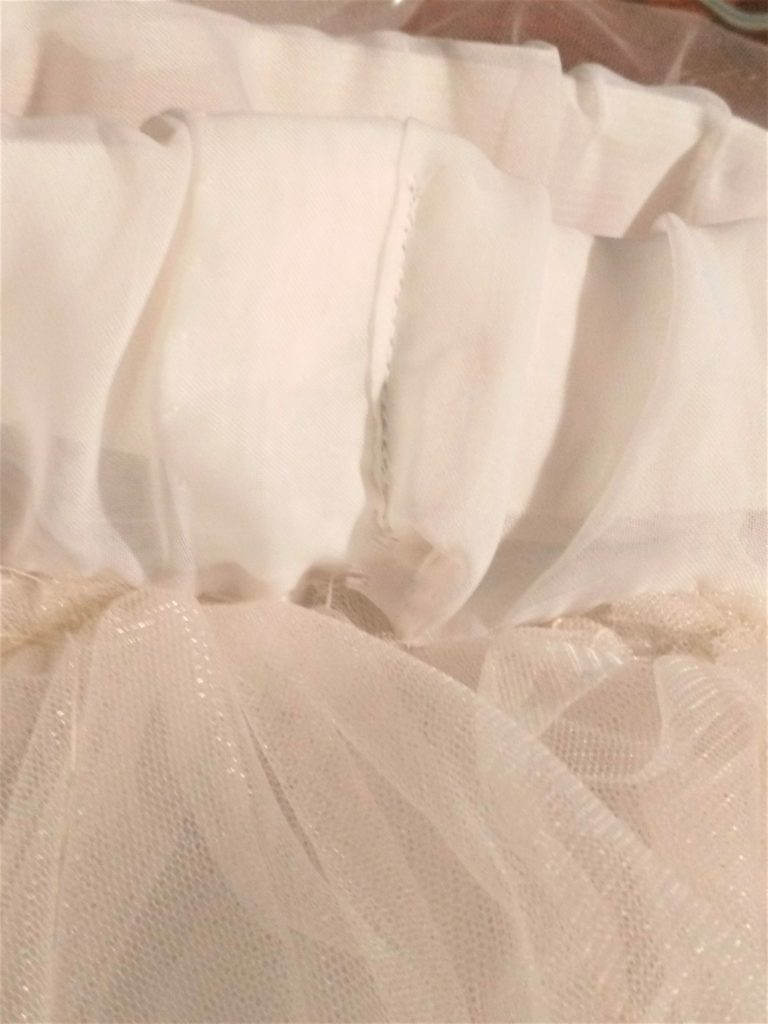
Using a zig-zag stitch, sew the waistband on all the way around, leaving the narrow side open.
Insert the elastic into the casing
Find a safety pin and secure it to one end of your elastic and feed it through the casing.
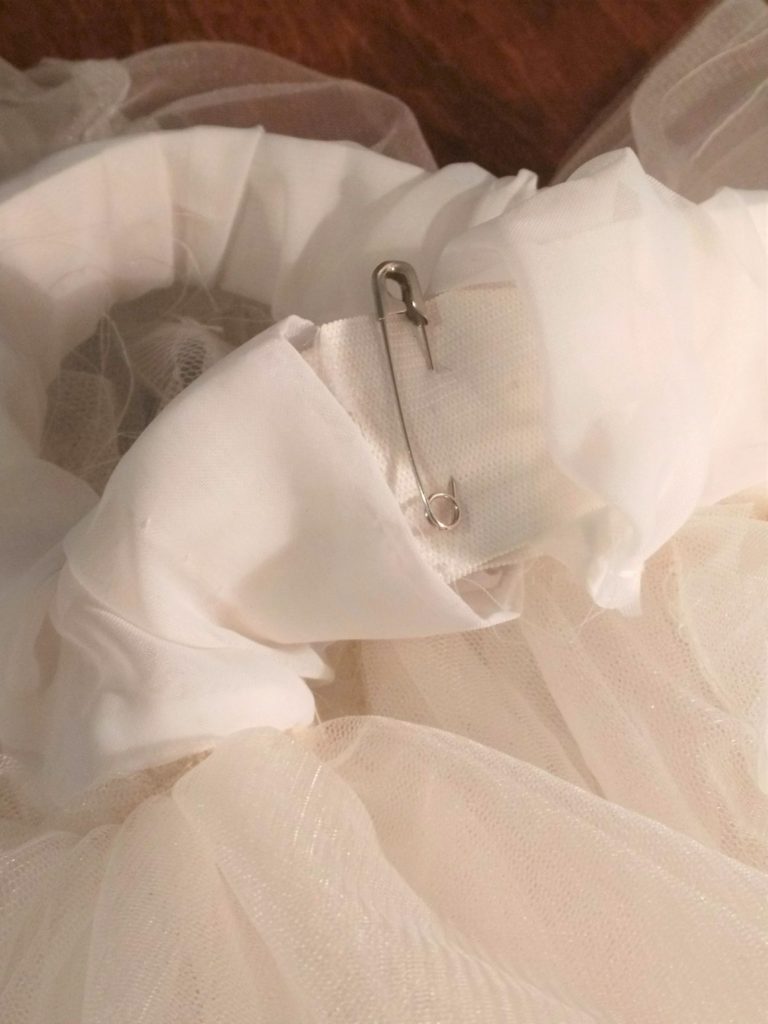
While holding the safety pin (so it doesn’t go back into the casing), try the skirt on. Pull the elastic so it is snug but comfortable around the waist and pin the elastic together with the safety pin. Take off the skirt, and cut off any extra elastic.
Sew the elastic together using a zig-zag stitch so the two edges are overlapping. Slide the elastic back into the casing and sew it shut with a straight stitch going through the casing openings and elastic.
Try on your tulle tutu!
Try your skirt on. You can make any adjustments to the length by just cutting, no hemming required. You can play with the asymmetry of the top layers if you like as well, just cut carefully.

You’re done your tutu!

Let me know in the comments how your tutu went, and what kind of costume you have made it for!
Want to learn more about altering clothes you already have, to fit your unique body and style? Receive my free guide full of tips to get you started doing your own clothing adjustments by signing up for my newsletter here.
YOU MIGHT ALSO LIKE: How to sew a maxi dress into a skirt
Featured Affiliate Product:
