

We are a participant in the Amazon Services LLC Associates Program, an affiliate advertising program designed to provied a means for us to earn fees by linking to Amazon.com and affilated sites. We may earn money or products from the companies mentioned in this post.
While velvet is a beautiful fabric to make clothing and decor from, it can be challenging to sew. The “nap” (texture) can be challenging to work with. Here are some of my favourite tips to help you sew your next velvet project with ease.
Reasons why sewing velvet can be tricky
Nap Direction
Before you begin cutting your project, decide on the direction you want your nap to run.
You can run your hand up and down the fabric to feel the nap.
Hang it in one direction, then the other. You will notice that it catches the light a bit differently in each direction.
Pick one direction, then ensure your pattern pieces are cut so the nap runs in the same direction.
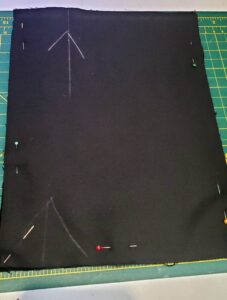
I like to use chalk to mark an arrow on the wrong side of my pattern pieces with the arrow pointing up, so I know that I am keeping my pieces consistent.
If you have one pattern piece cut in a direction, the nap might catch the light differently for that one piece, so you want to avoid this mistake.
Velvet can shift while you sew
When you create a seam with two pieces of velvet, right sides facing each other, the nap from each piece will push against the other under the sewing machine, causing the fabric to shift. When this happens, you might find that at the end of the seam, one piece of fabric sticks out past the other and is not even.
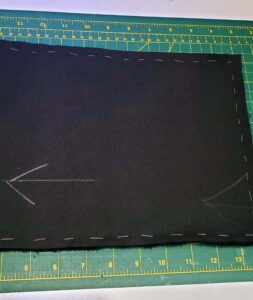
To save this frustration, I will hand-baste the pieces together. To hand-baste, use a needle and thread to create a running stitch. This keeps the fabric together to avoid shifting while sewing.
Pin the fabric together as you would to sew. Hand-baste and remove the pins.
Basting is one of those extra steps that can save you some frustration later. I will baste slippery fabrics as well as anything that doesn’t seem to want to line up right.
Now you can sew on the machine. When sewing thick fabrics such as velvet, I like to increase my stitch length slightly. If you sew thick fabric with a regular stitch length, the stitches shrink in the thick fabric.
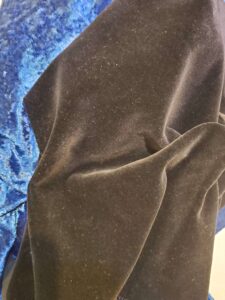
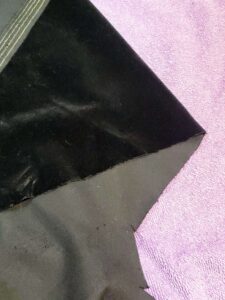
You will find these techniques helpful for other thicker fabrics with a nap, such as stretch velour, pictured in blue. The stretch velour is a thinner fabric with a softer drape than velvet.
What size needle is best for sewing velvet?
I usually use a universal needle to sew velvet. Test your stitch length and tension on two scraps of velvet, right sides together.
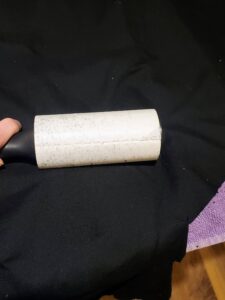
Velvet lint removal trick
Once you cut velvet, you will find that velvet lint pieces seem to get everywhere.
While this is inevitable, a sticky lint roller helps to clean these up.
At the end of your velvet project, you’ll need to do a bit of cleaning in your machine. I recommend giving the area around your bobbin and throat plate a clean with a dry brush to get rid of lint build-up that will accumulate there while you sew.
Always unplug your machine before doing maintenance. Your sewing machine manual should have instructions on how to maintain your machine.
How to hem velvet
While you can hem velvet with a regular machine stitch, I recommend sewing it by hand for an invisible finish.
A blind herringbone stitch is what I usually use.
The best way to finish a velvet item would be to add a lining, as opposed to serging or using bias tape. The underside of velvet is typically rough and not comfortable against the skin.
How to press velvet
Pressing seams in just about any garment makes your finished product look crisp and professional.
However, if you press velvet, you will crush the nap.
While pressing the wrong side of velvet fabric, the good side of the fabric needs to rest on something so the pile doesn’t smush flat during pressing.
Velvet boards allow the fabric to be pressed without flattening the pile.
Lay the right side of the velvet face down on the velvet board. The board has bristles that allow the nap to go in between, so the pile won’t get crushed during pressing.
If you don’t have a board, I have gently steamed and pressed just with the tip of the iron along the seam allowance and placed the velvet on a terrycloth towel to avoid crushing the pile. You have to be careful, but this does work.
Now you’re ready to give sewing velvet a try!
If you have other tips for velvet, feel free to make a comment below.