We may earn money or products from the companies mentioned in this post.
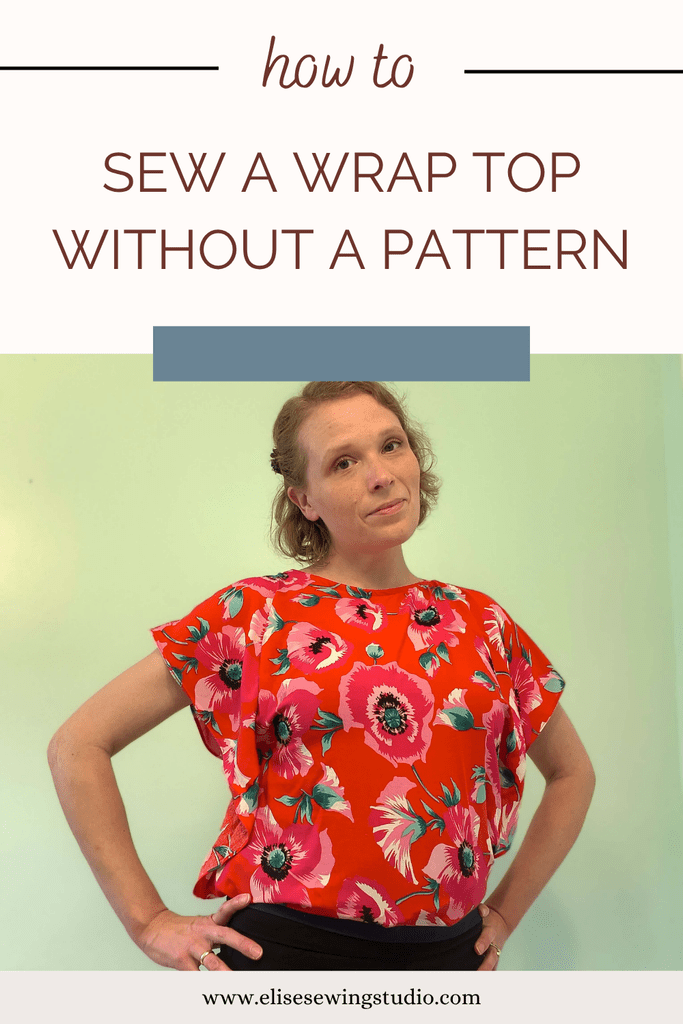
I’ve been wanting to explore clothing that adjusts to the wearer’s body. I love elastic-waist skirts, and have been wanting to experiment with more clothes that incorporate ties, drawstrings, and other fasteners that adapt to the body.
I’ve seen other makers sew these vintage-inspired wrap tops, and I knew I wanted to give it a try!
To sew a Wrap Top, you will need:
- Snaps – optional
- Coordinating thread
- Lightweight woven fabric, such as cotton or rayon (Want to learn more about fabric? I have a post here to help)
- Bias binding for neckhole
I came up with my own measurements to use after some trial and error. Here are the final measurements I came up with. I want to add that this is a “one size fits many” pattern. You may want to adjust the numbers to better work for you.
Wrap Top Measurements
- Body: 48”L x 28” W
- Straps: 66”x3.5” (x2)
- Neck: 2” deep and 10” wide on both the front and back
Sewing a Wrap Top without a Pattern – Guide
Cut your fabric to the right-size rectangle and straps.
Hem the long sides of your fabric with a narrow double-turned hem. I used a rolled hem foot, but you can do a regular hem.
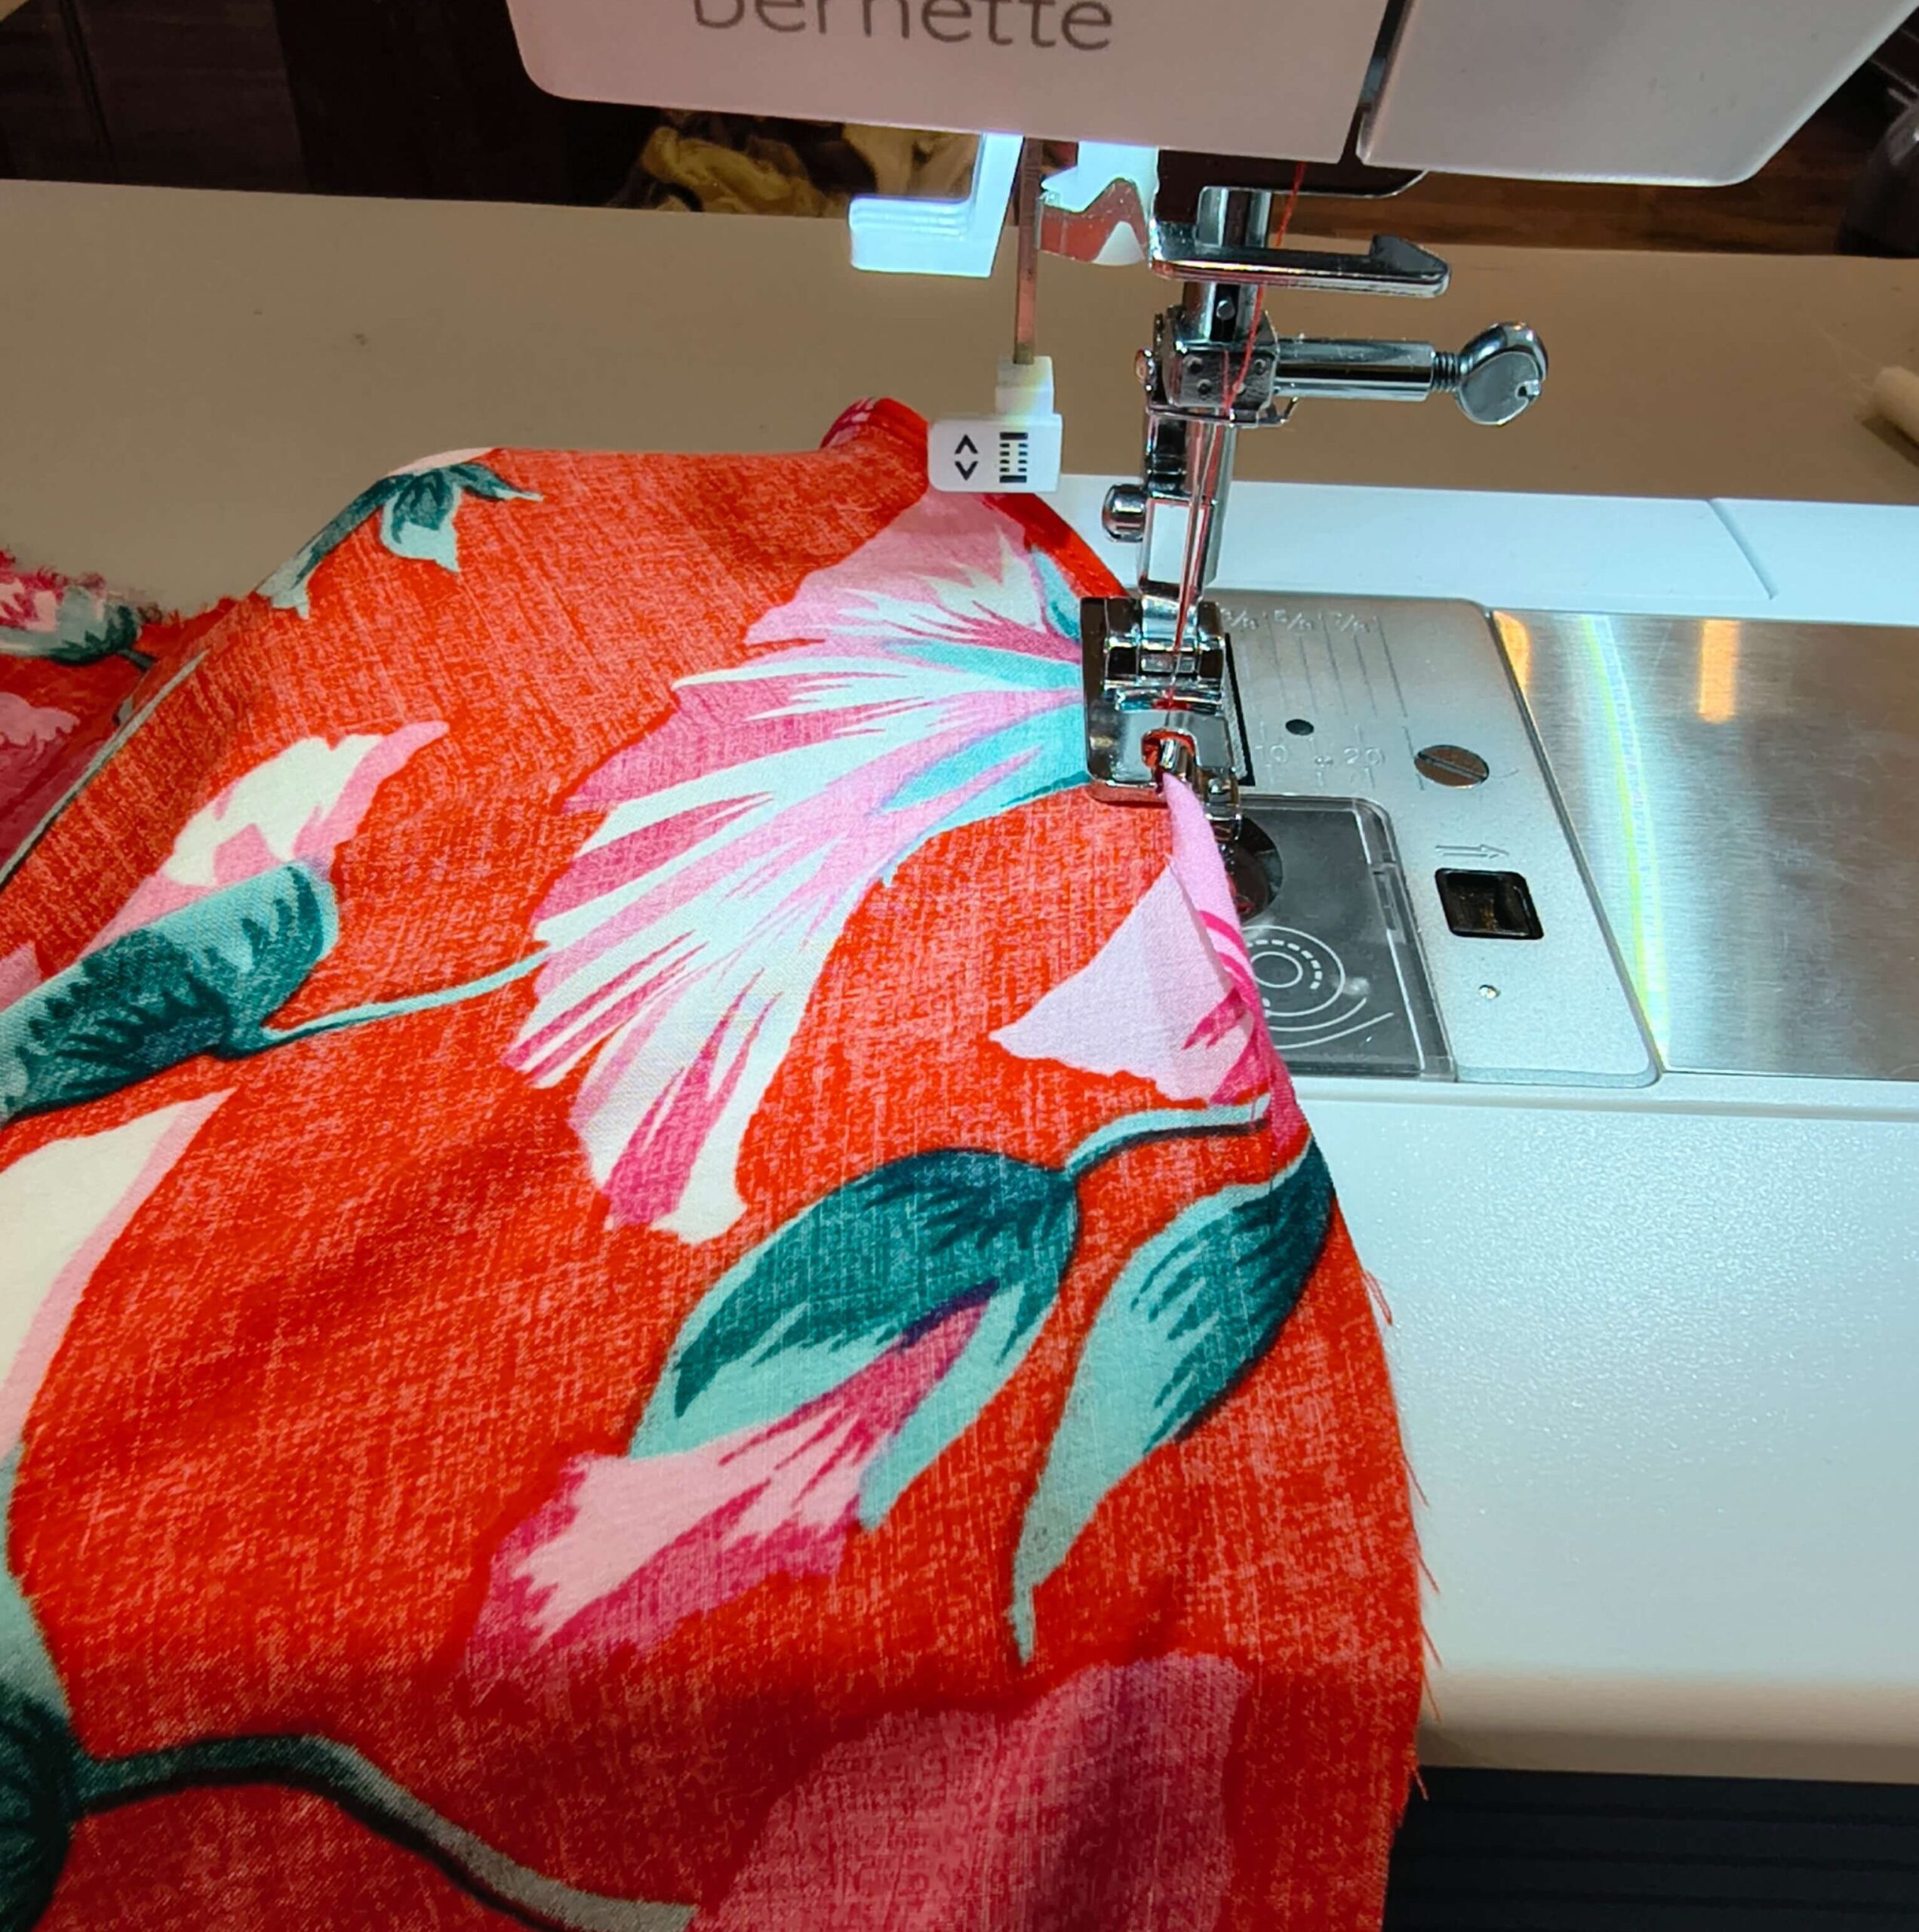
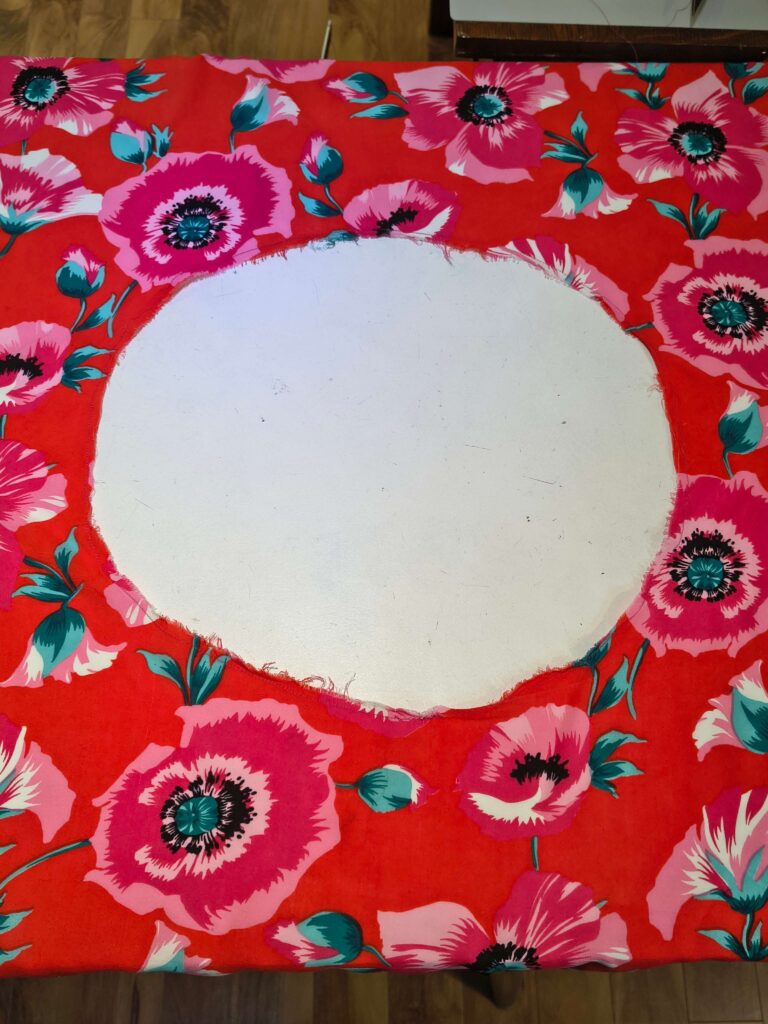
Cut a neckhole. Mine is 2″ deep and 10″ wide while the fabric is folded in half lengthwise. Staystitch along your neckhole to prevent it from stretching out, with less than 1/4″ seam allowance.
Open the folds in the bias tape and press. Pin the bias tape to the right side of the fabric, edges matching. Stitch in the fold of the bias tape around the neckhole.
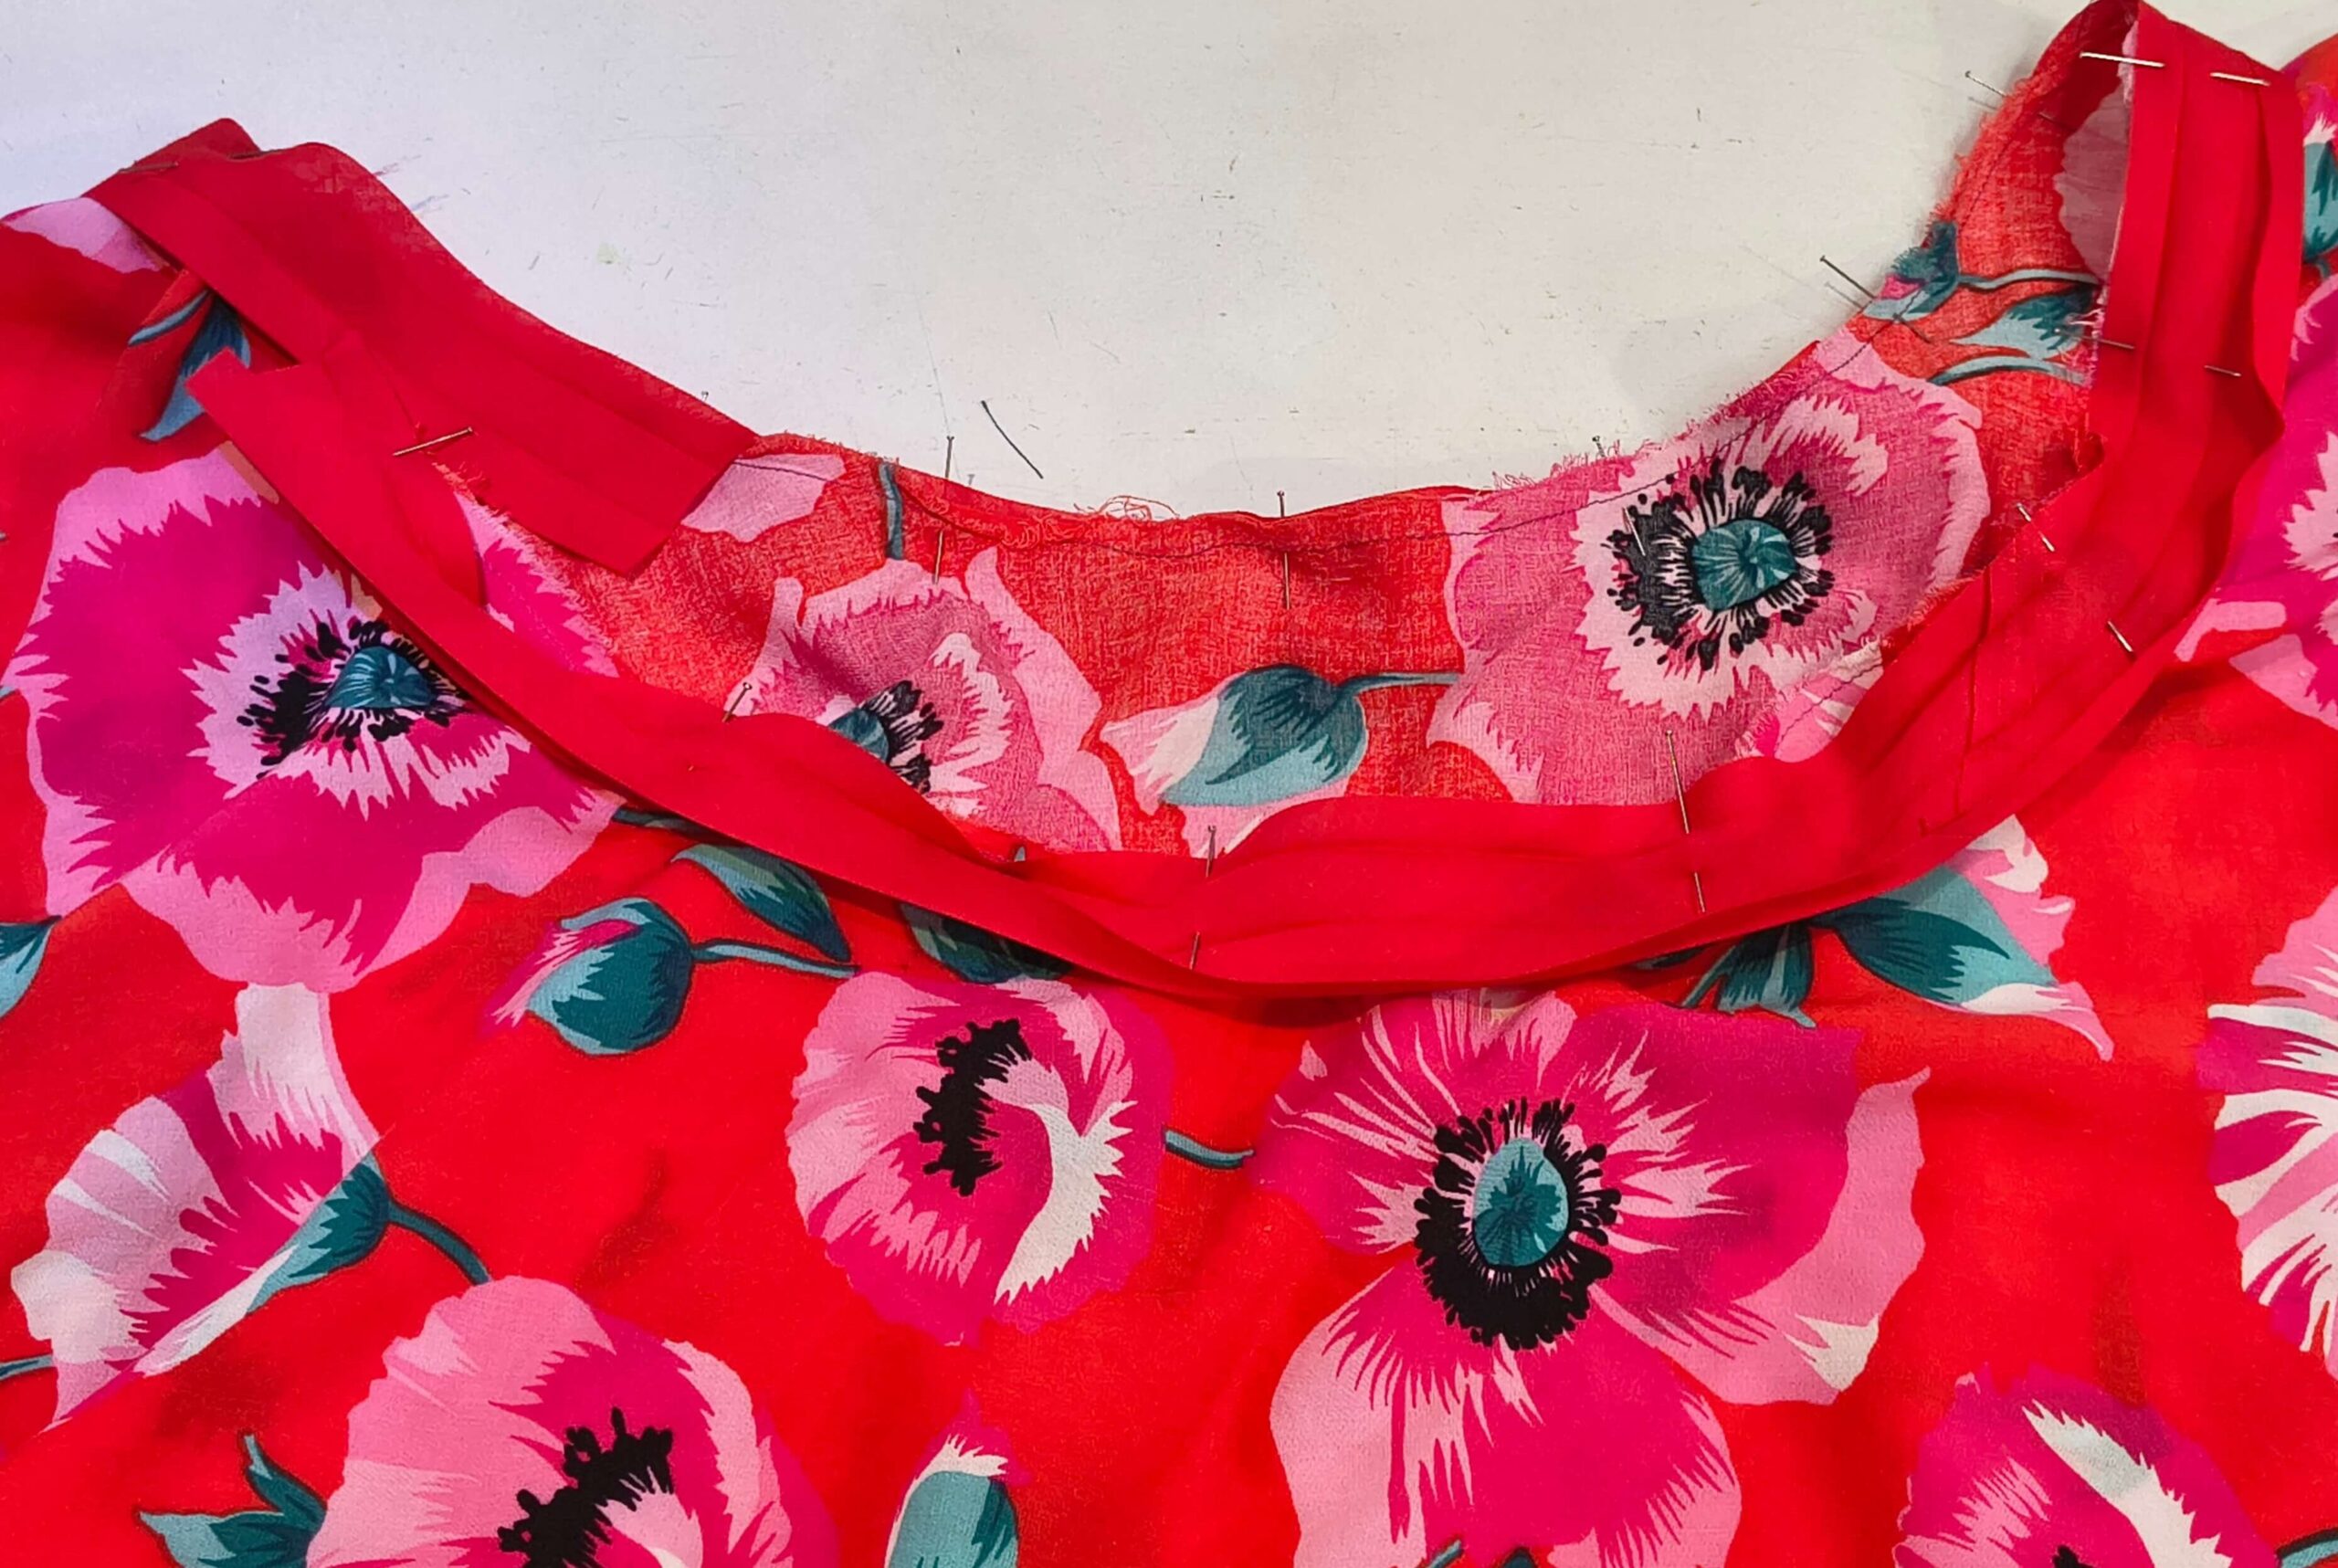
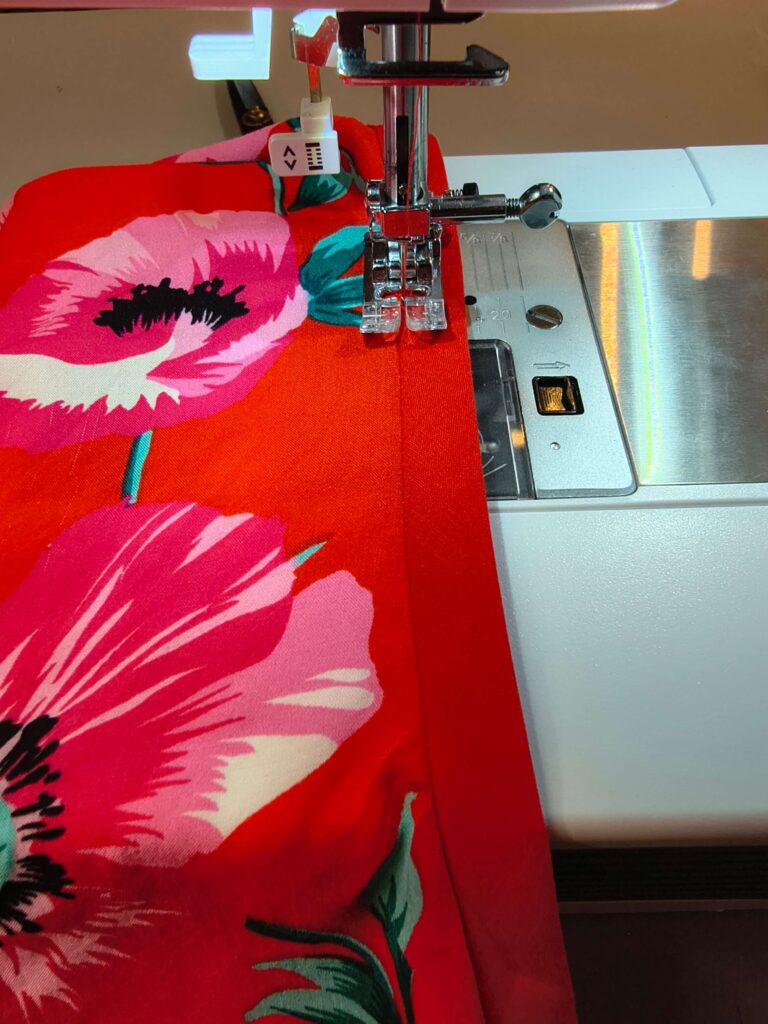
Press your bias tape up and over the edges of the fabric, and back underneath to create your neckline. Press and stitch in place, and press again. You now have a finished neckhole.
Sew the ties
Take both ties and fold in half lengthwise.
Press the crease down the length of the tie.
Open it up, and pin the ties to the bottom edge of the front of the top, making sure that the ties are centered. Sew with a 1/4″ seam allowance. Repeat on the other back of the top.
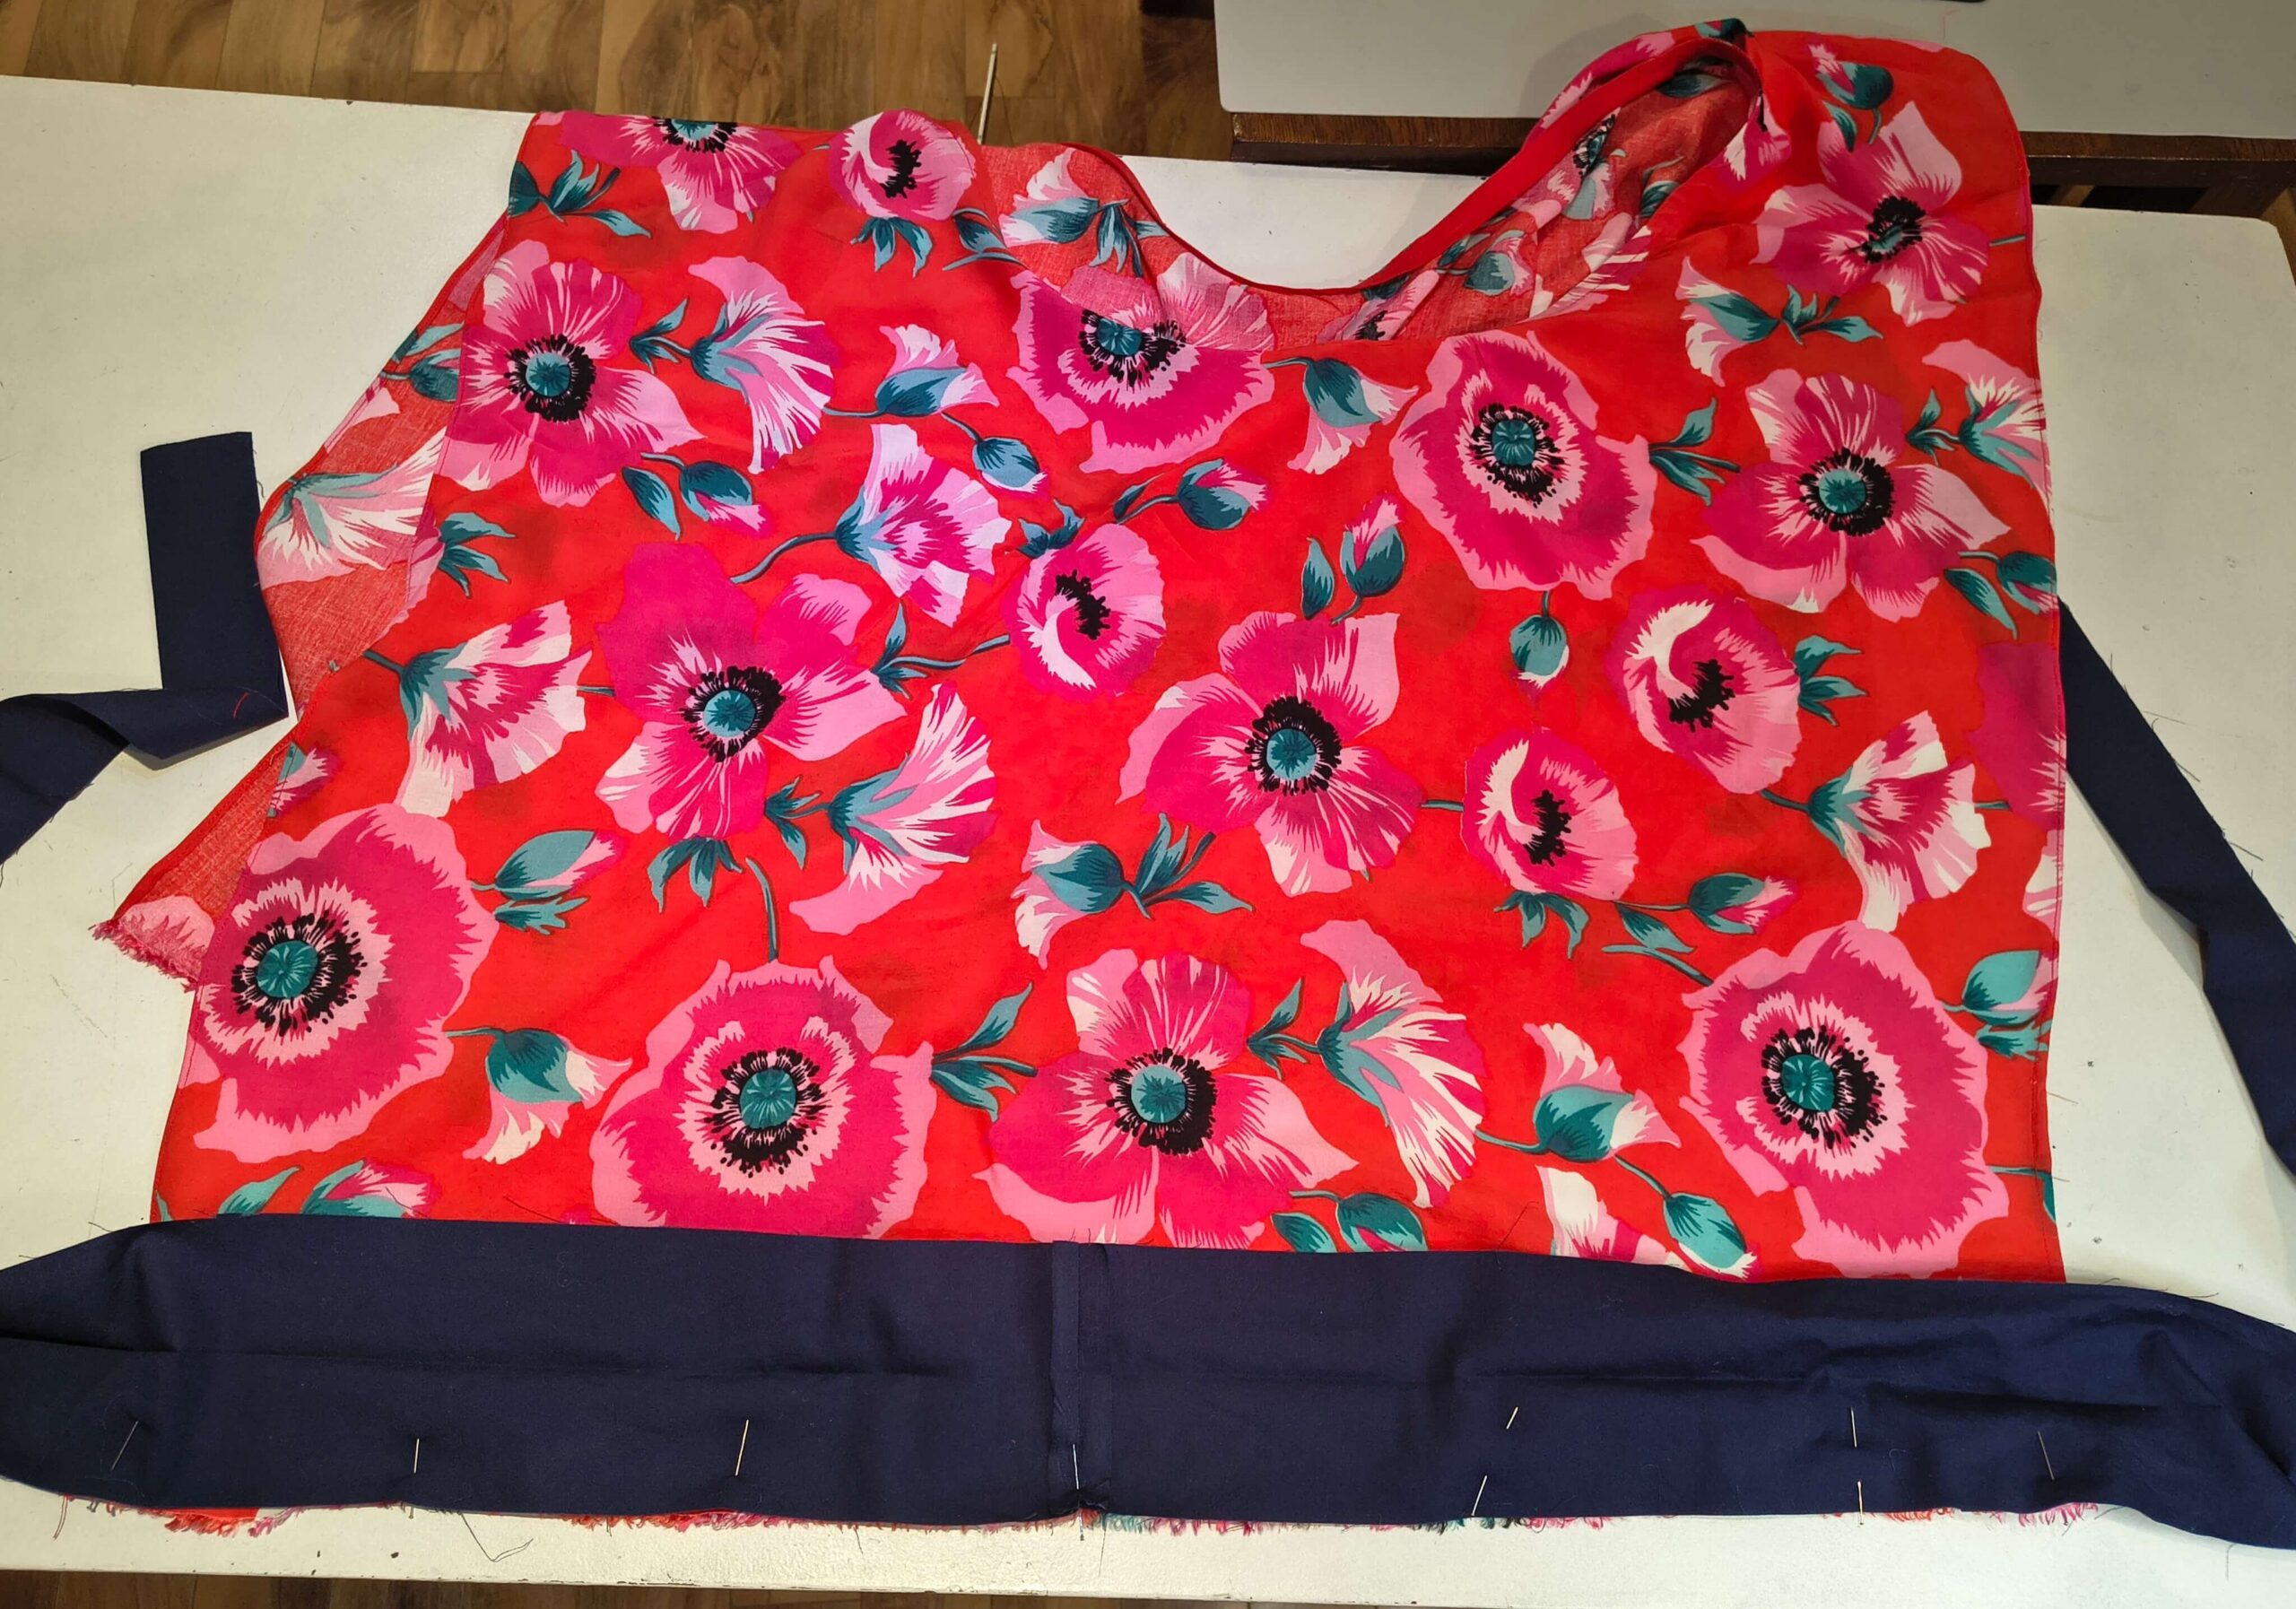
Fold the non-sewn edge of the tie in to the center 1/4″ and press. I am using a hot hem ruler (intended for use at the iron), but you can also pin with metal pins and press between the pins.
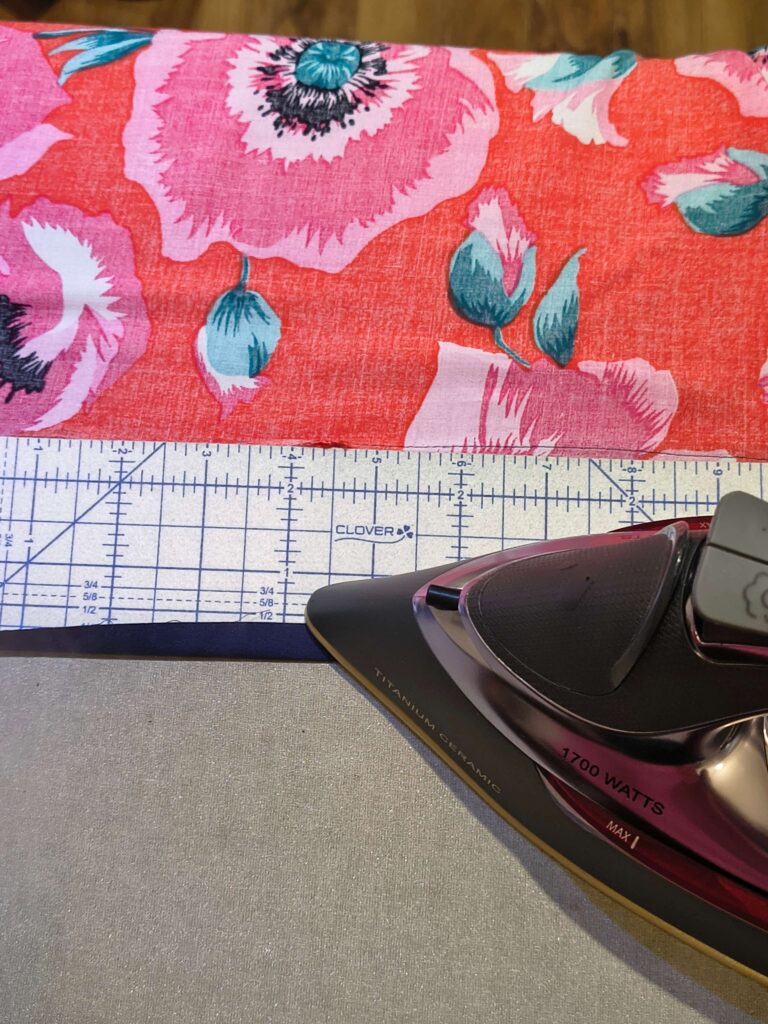
Press your stitching from the previous step flat, then press the seam allowance down, so it is pointing away from the neckhole towards the tie. Press the tie flat, then stitch in place, finishing the ties on both front and back of your top.
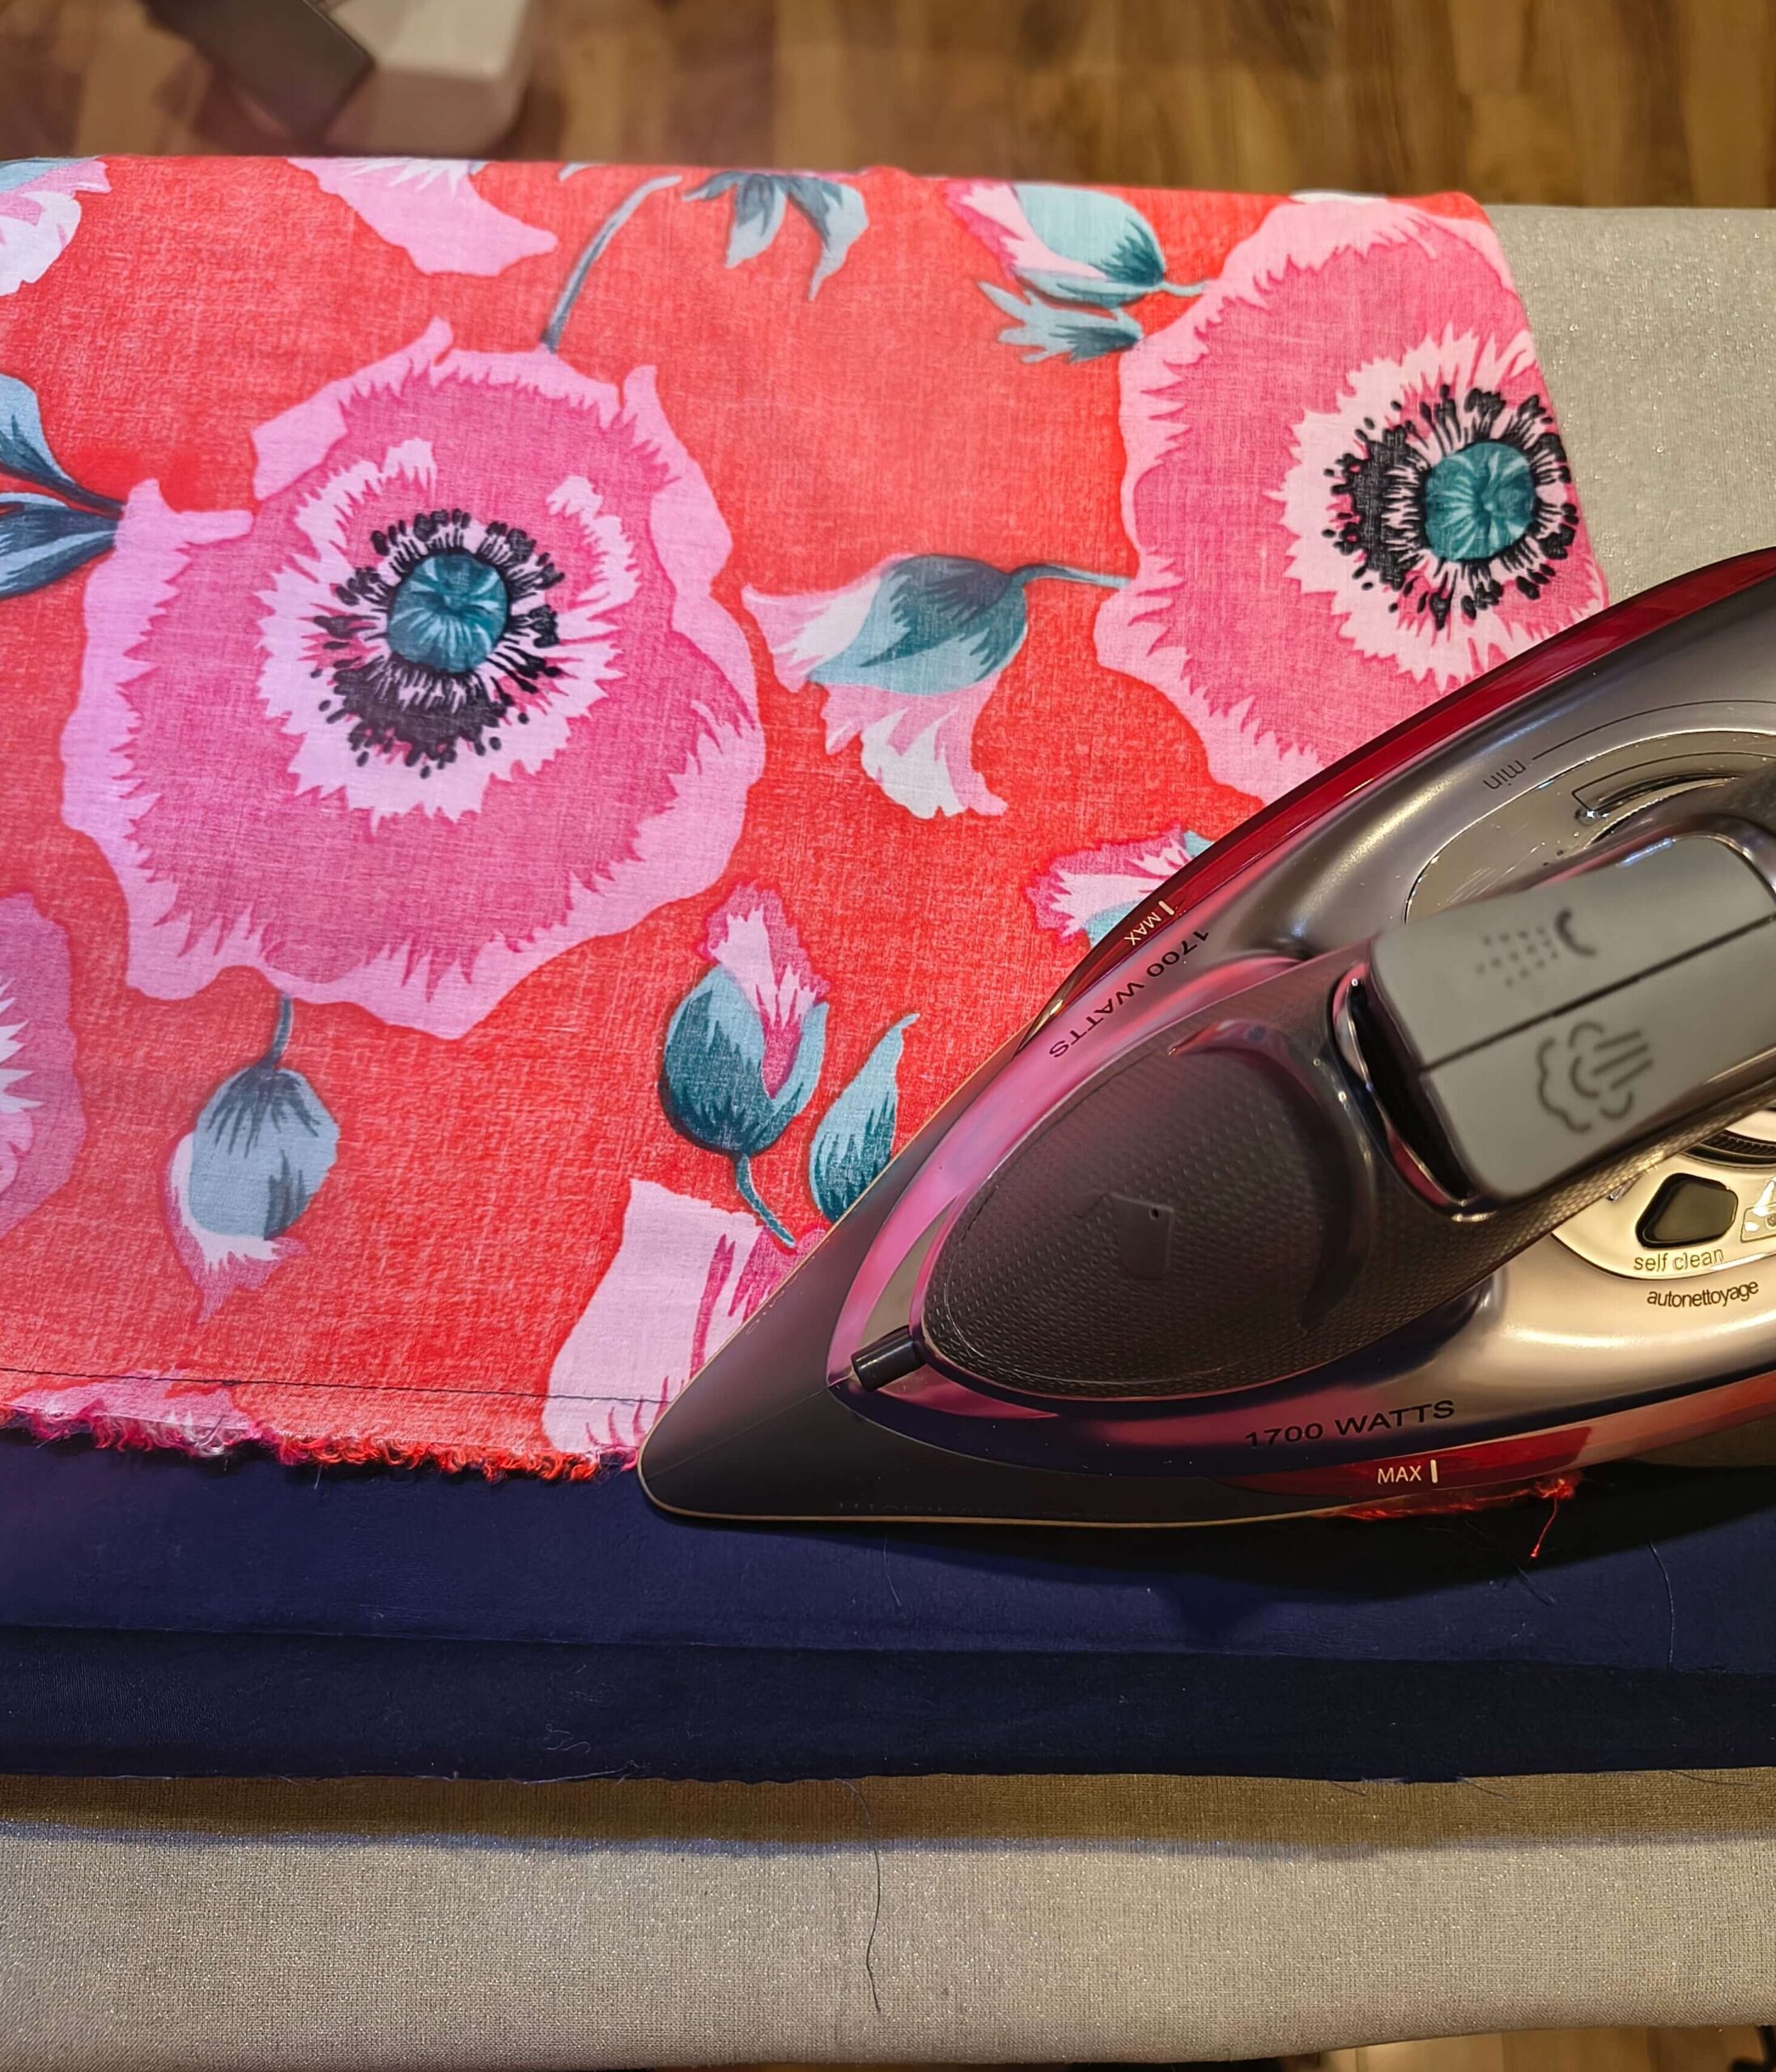
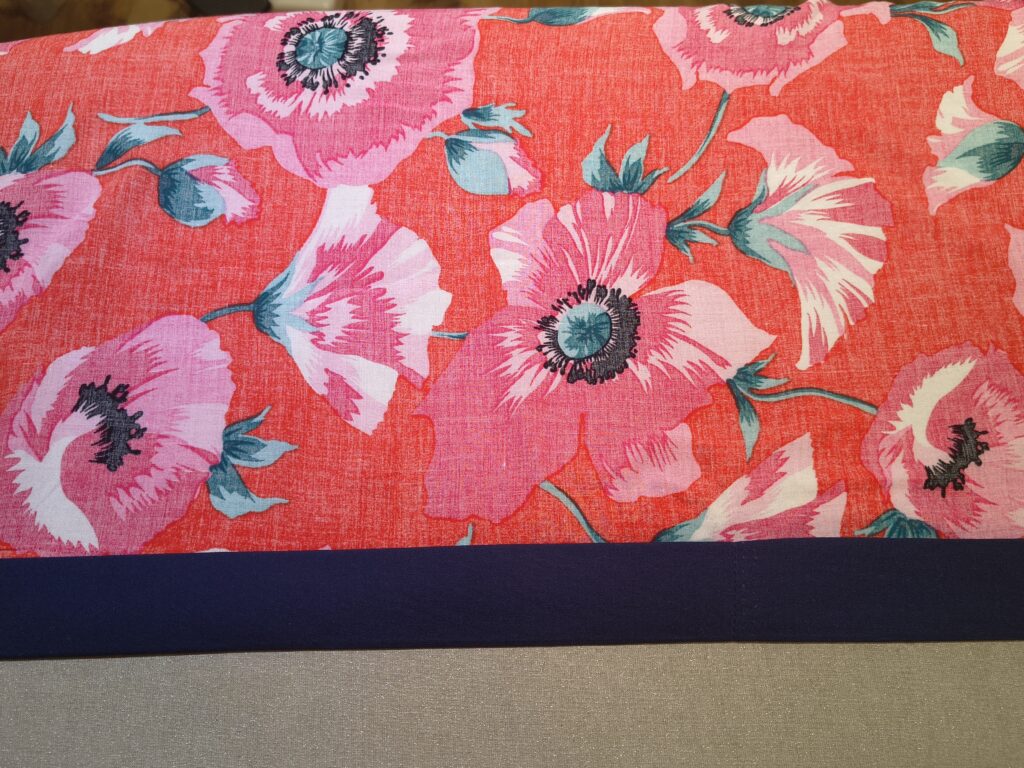
Tie (try) it on!
I tied mine by taking the back straps and tying them at the waist at the front, then took the front straps and tied them in the back. I found that the armhole gaped way too much on me.
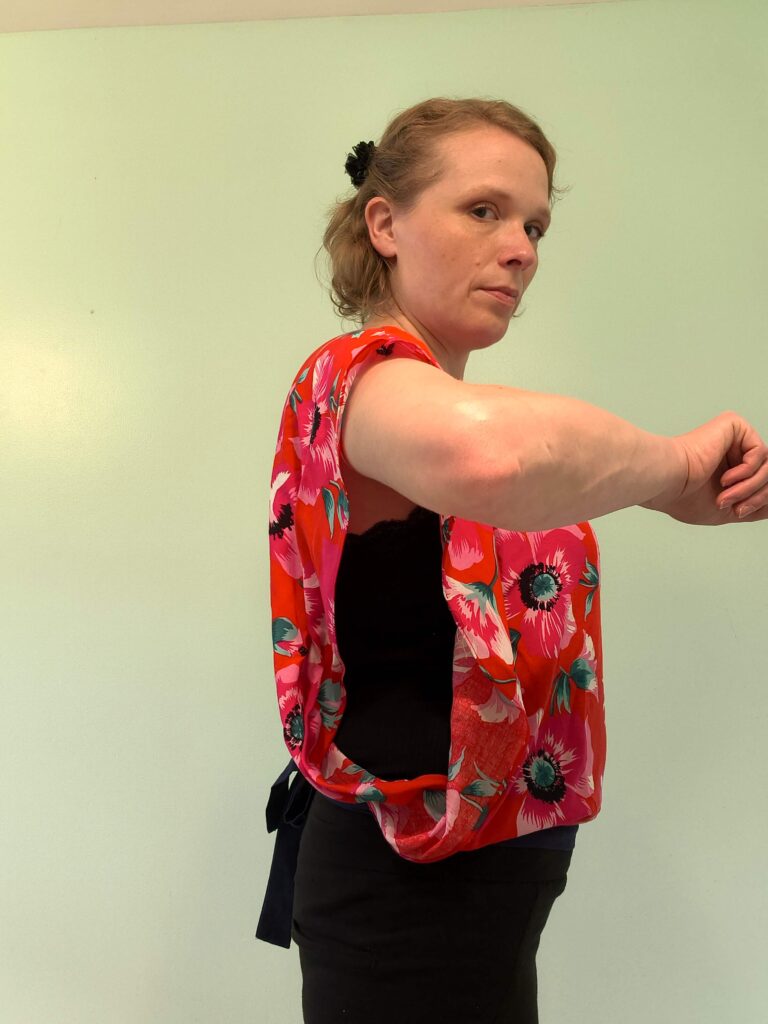
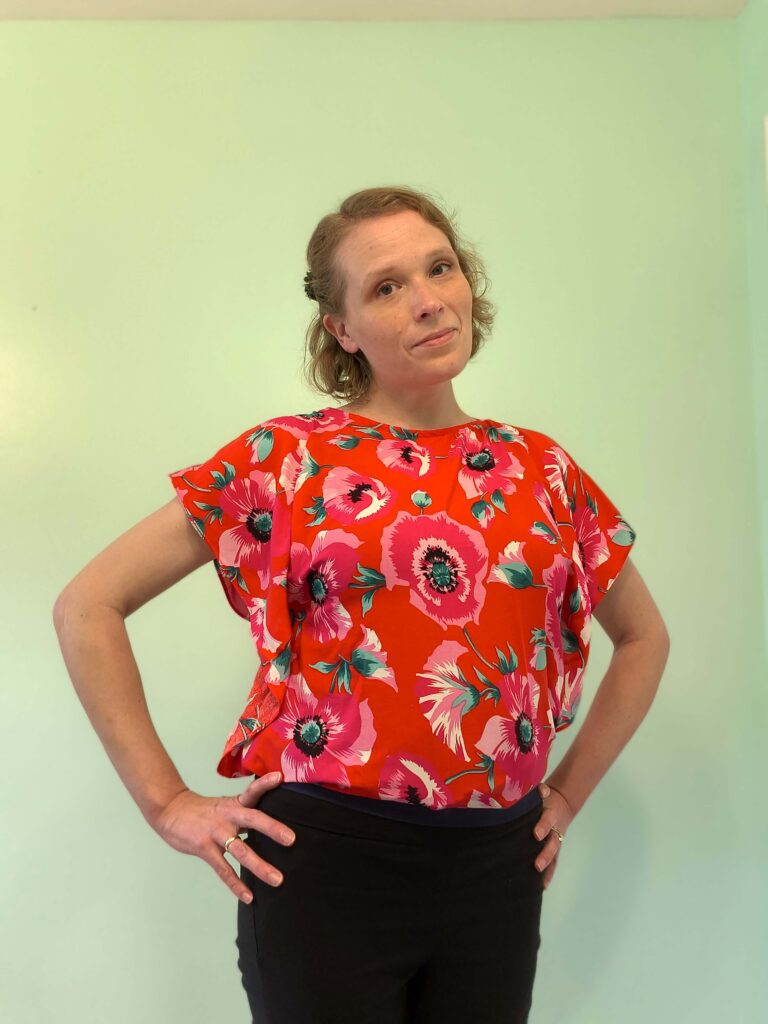
To fix this, I added snaps to the sides (just one set of snaps on each side) to close the armhole a bit more.
This step is optional, and I sewed the snaps on by hand. I was much happier with the snaps!
Wrap top variations
You can create a wrap top with different variations.
I might make the straps longer in the front to wrap around the back and tie in the front (and if I don’t like that, I can always cut them shorter!)
I will try this top again in a solid colour, with a V-neck and a facing. Read how to make a neck facing here. I also think a keyhole neckline would be nice.