We may earn money or products from the companies mentioned in this post.
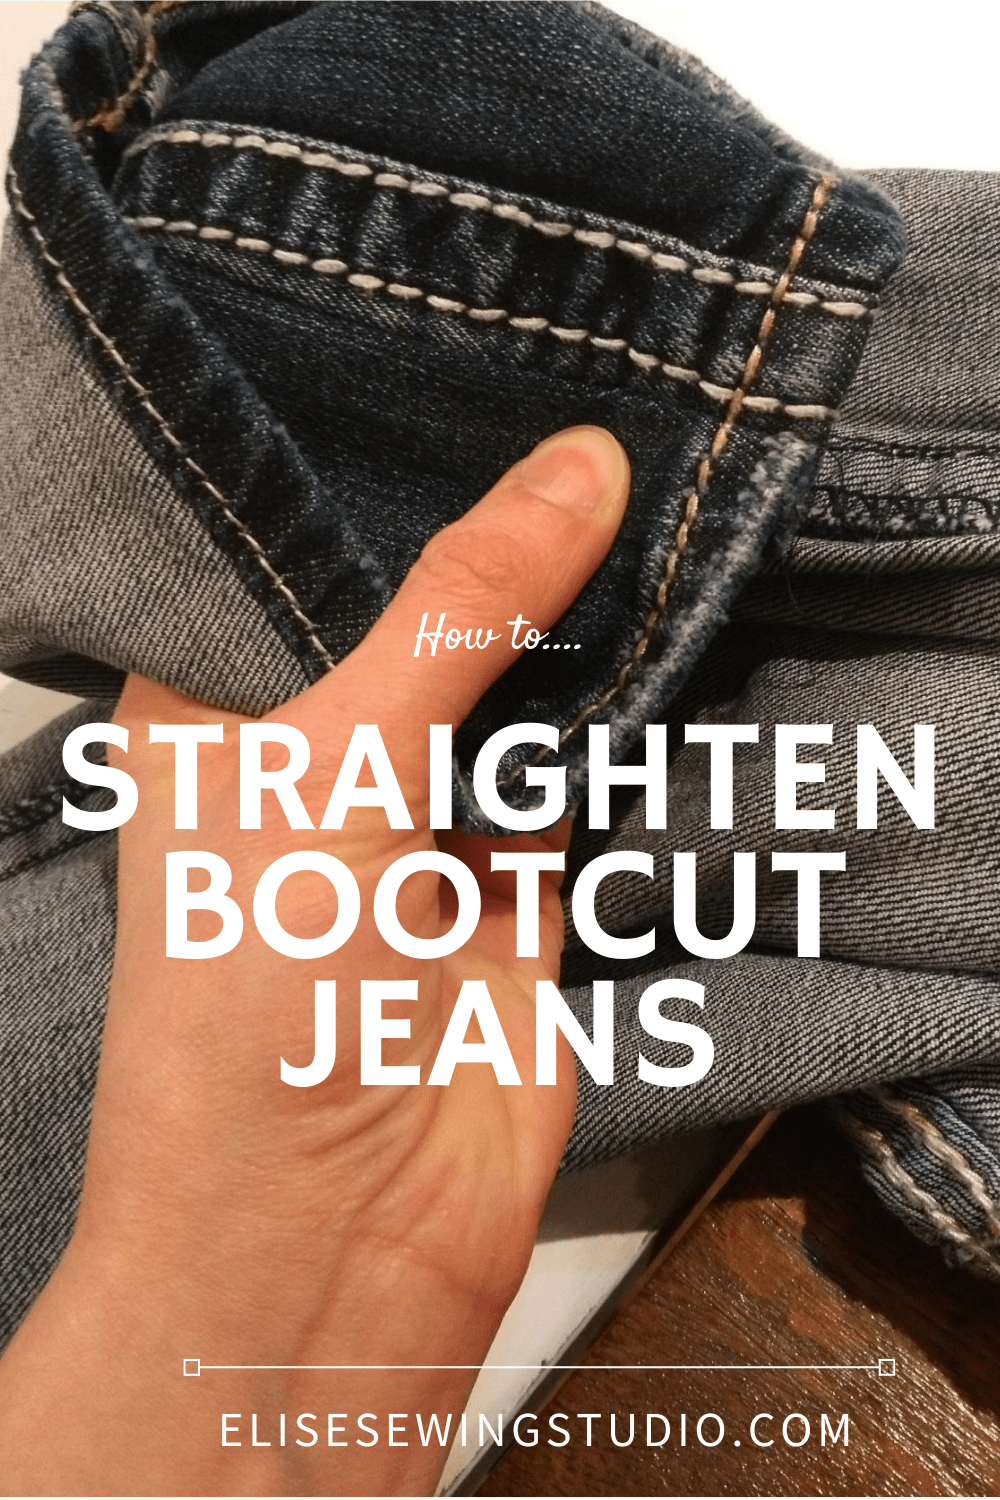
A fairly quick way to update old jeans is to adjust the fit through the leg. I’ll show you a trick I have to sew around those bulky topstitched seams so you can straighten bootcut jeans.
This also works for reducing the flare on flared jeans. You can apply this technique anywhere you want to sew denim in at the leg, such as making them tapered.

To straighten bootcut jeans, you will need:
- Denim sewing needle: Denim needles are longer than universal needles and sew through thick fabrics with less struggle.
- Zipper foot attachment
- Pins
- Tailor’s chalk or something to mark a line
- Scissors
- Iron
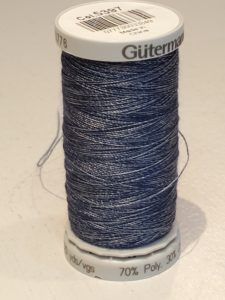
A note on thread: For jeans, regular navy thread is fine, but if you can get denim thread that is even better. The mix of blues and greys really blends into the fabric.
Mark how you want to straighten bootcut jeans
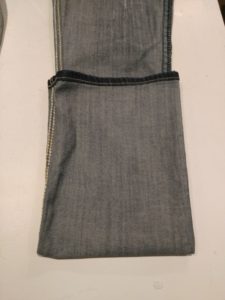
Flip your jeans inside out and lay them out flat.
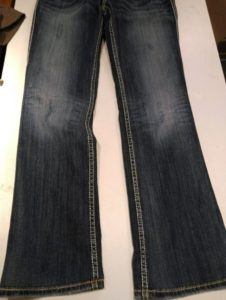
Bootcut jeans are wider at the bottom than they are at the knee. If you want them straight, fold up the bottom so the hem meets the knee and mark the extra fabric.
Unfold your jeans and draw a line from your mark at the hem up towards the knee. You need your line to blend into the stitching that is already there.
If your jeans are bootcut and you are only sewing them in a little, you can probably get away with just taking it in at one side. If you want to make them more tapered, or if they are more flared to start with, you should do this on both sides.
Pin your stitching line in place.
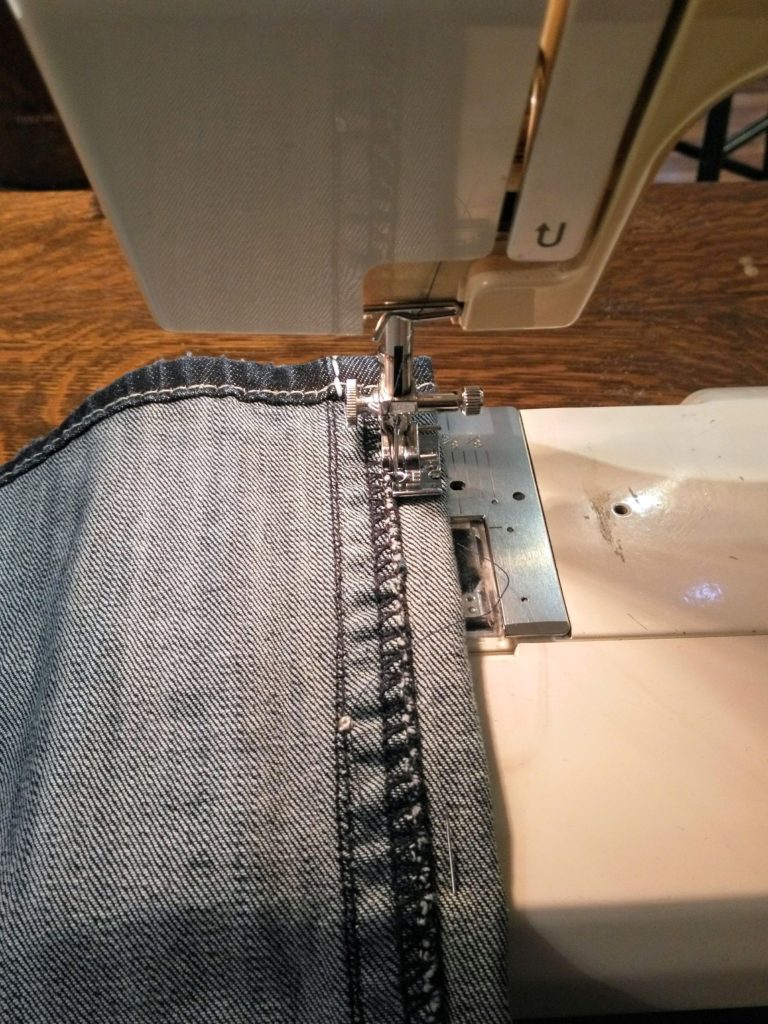
What should I do about the flat felled seam?
This is where you need the zipper foot.
Most outseams on jeans are double topstitched – this is called a flat felled seam. You can undo this seam and resew it, matching the thread and stitch length in the original.
However, this is easier said than done if you do not have an industrial sewing machine, which can sew through really thick fabrics. As well, some brands use really particular topstitching threads that might be hard to match.
I’ve come up with a workaround to avoid undoing the original topstitched seam.
Using a zipper foot, you can sew right next to the flat felled seam to take the jeans in, either through the leg or for alterations. The trick is to use a good thread match, and get as close to that seam as possible.
Press your seams after sewing
Once you have sewn your new pant legs, press your seam flat (meld the stitches together) while still inside out.
If you have a lot of seam allowance, you might want to cut the extra away and either serge, zig-zag, or bind the raw edge. For these jeans, I just left it as is.
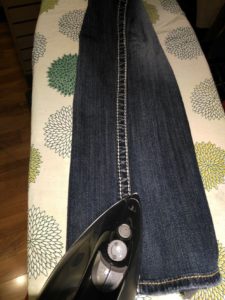
Flip to the right side and give your seam a good press again. If you have a clapper, you might want to use this here. If you don’t and your seams are bulky, you can use a hammer or rubber mallet to mash your seams flat.
Hem your straightened bootcut jeans if required.
If you also need to hem your jeans, it’s easier to do this after adjusting the leg. In general, I find I get better results by altering something in the width before adjusting the length.
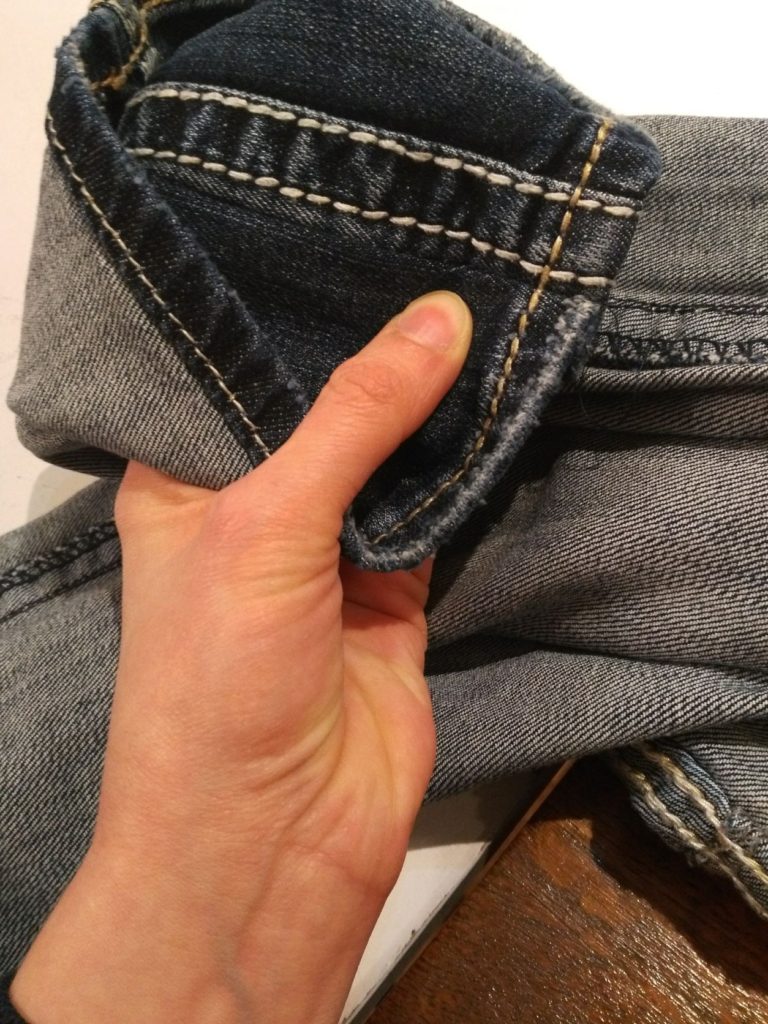
If you look closely in the picture, you can just see the seamline for adjusting the leg width and the Euro hem. But the more jeans are pressed, washed and worn, the more these lines will blend in.
There is a method to hemming your jeans while keeping the original stitches. I did a blog post about how to sew a Euro hem which walks you through it. You’ll need your zipper foot again. After straightening the leg here, I next did this technique to the hem.
Your jeans are done! You can use this technique any time you want to sew in jeans or pants with a bulky flat-felled (topstitched) seam.
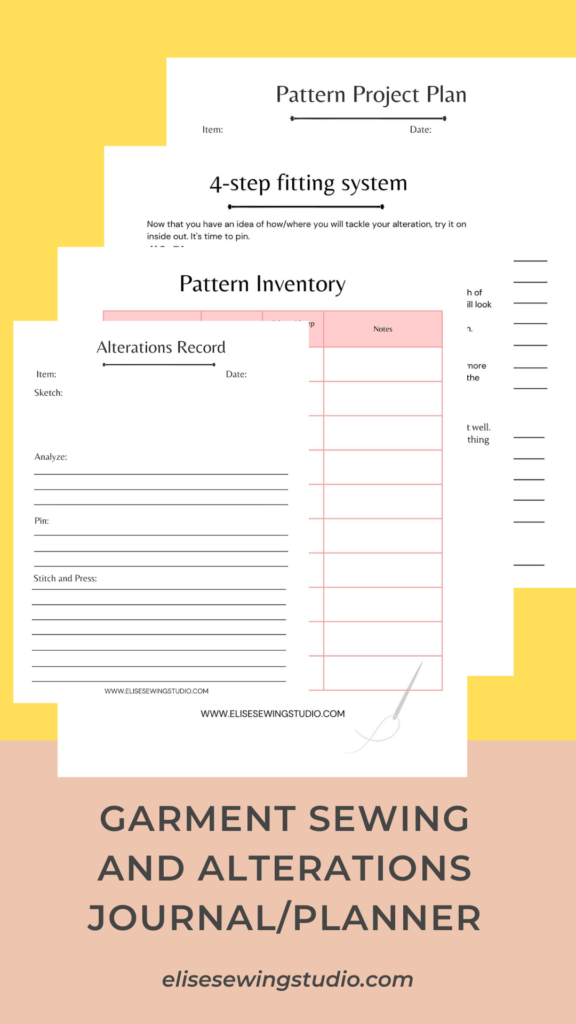
I created a print-at-home sewing journal and planner for garment sewists who could use something to keep their projects, measurements, alterations, and sewing supplies more organized (this was me!) I also included info on the correct order to do alterations and fitting tips. Click here to get the printable planner.